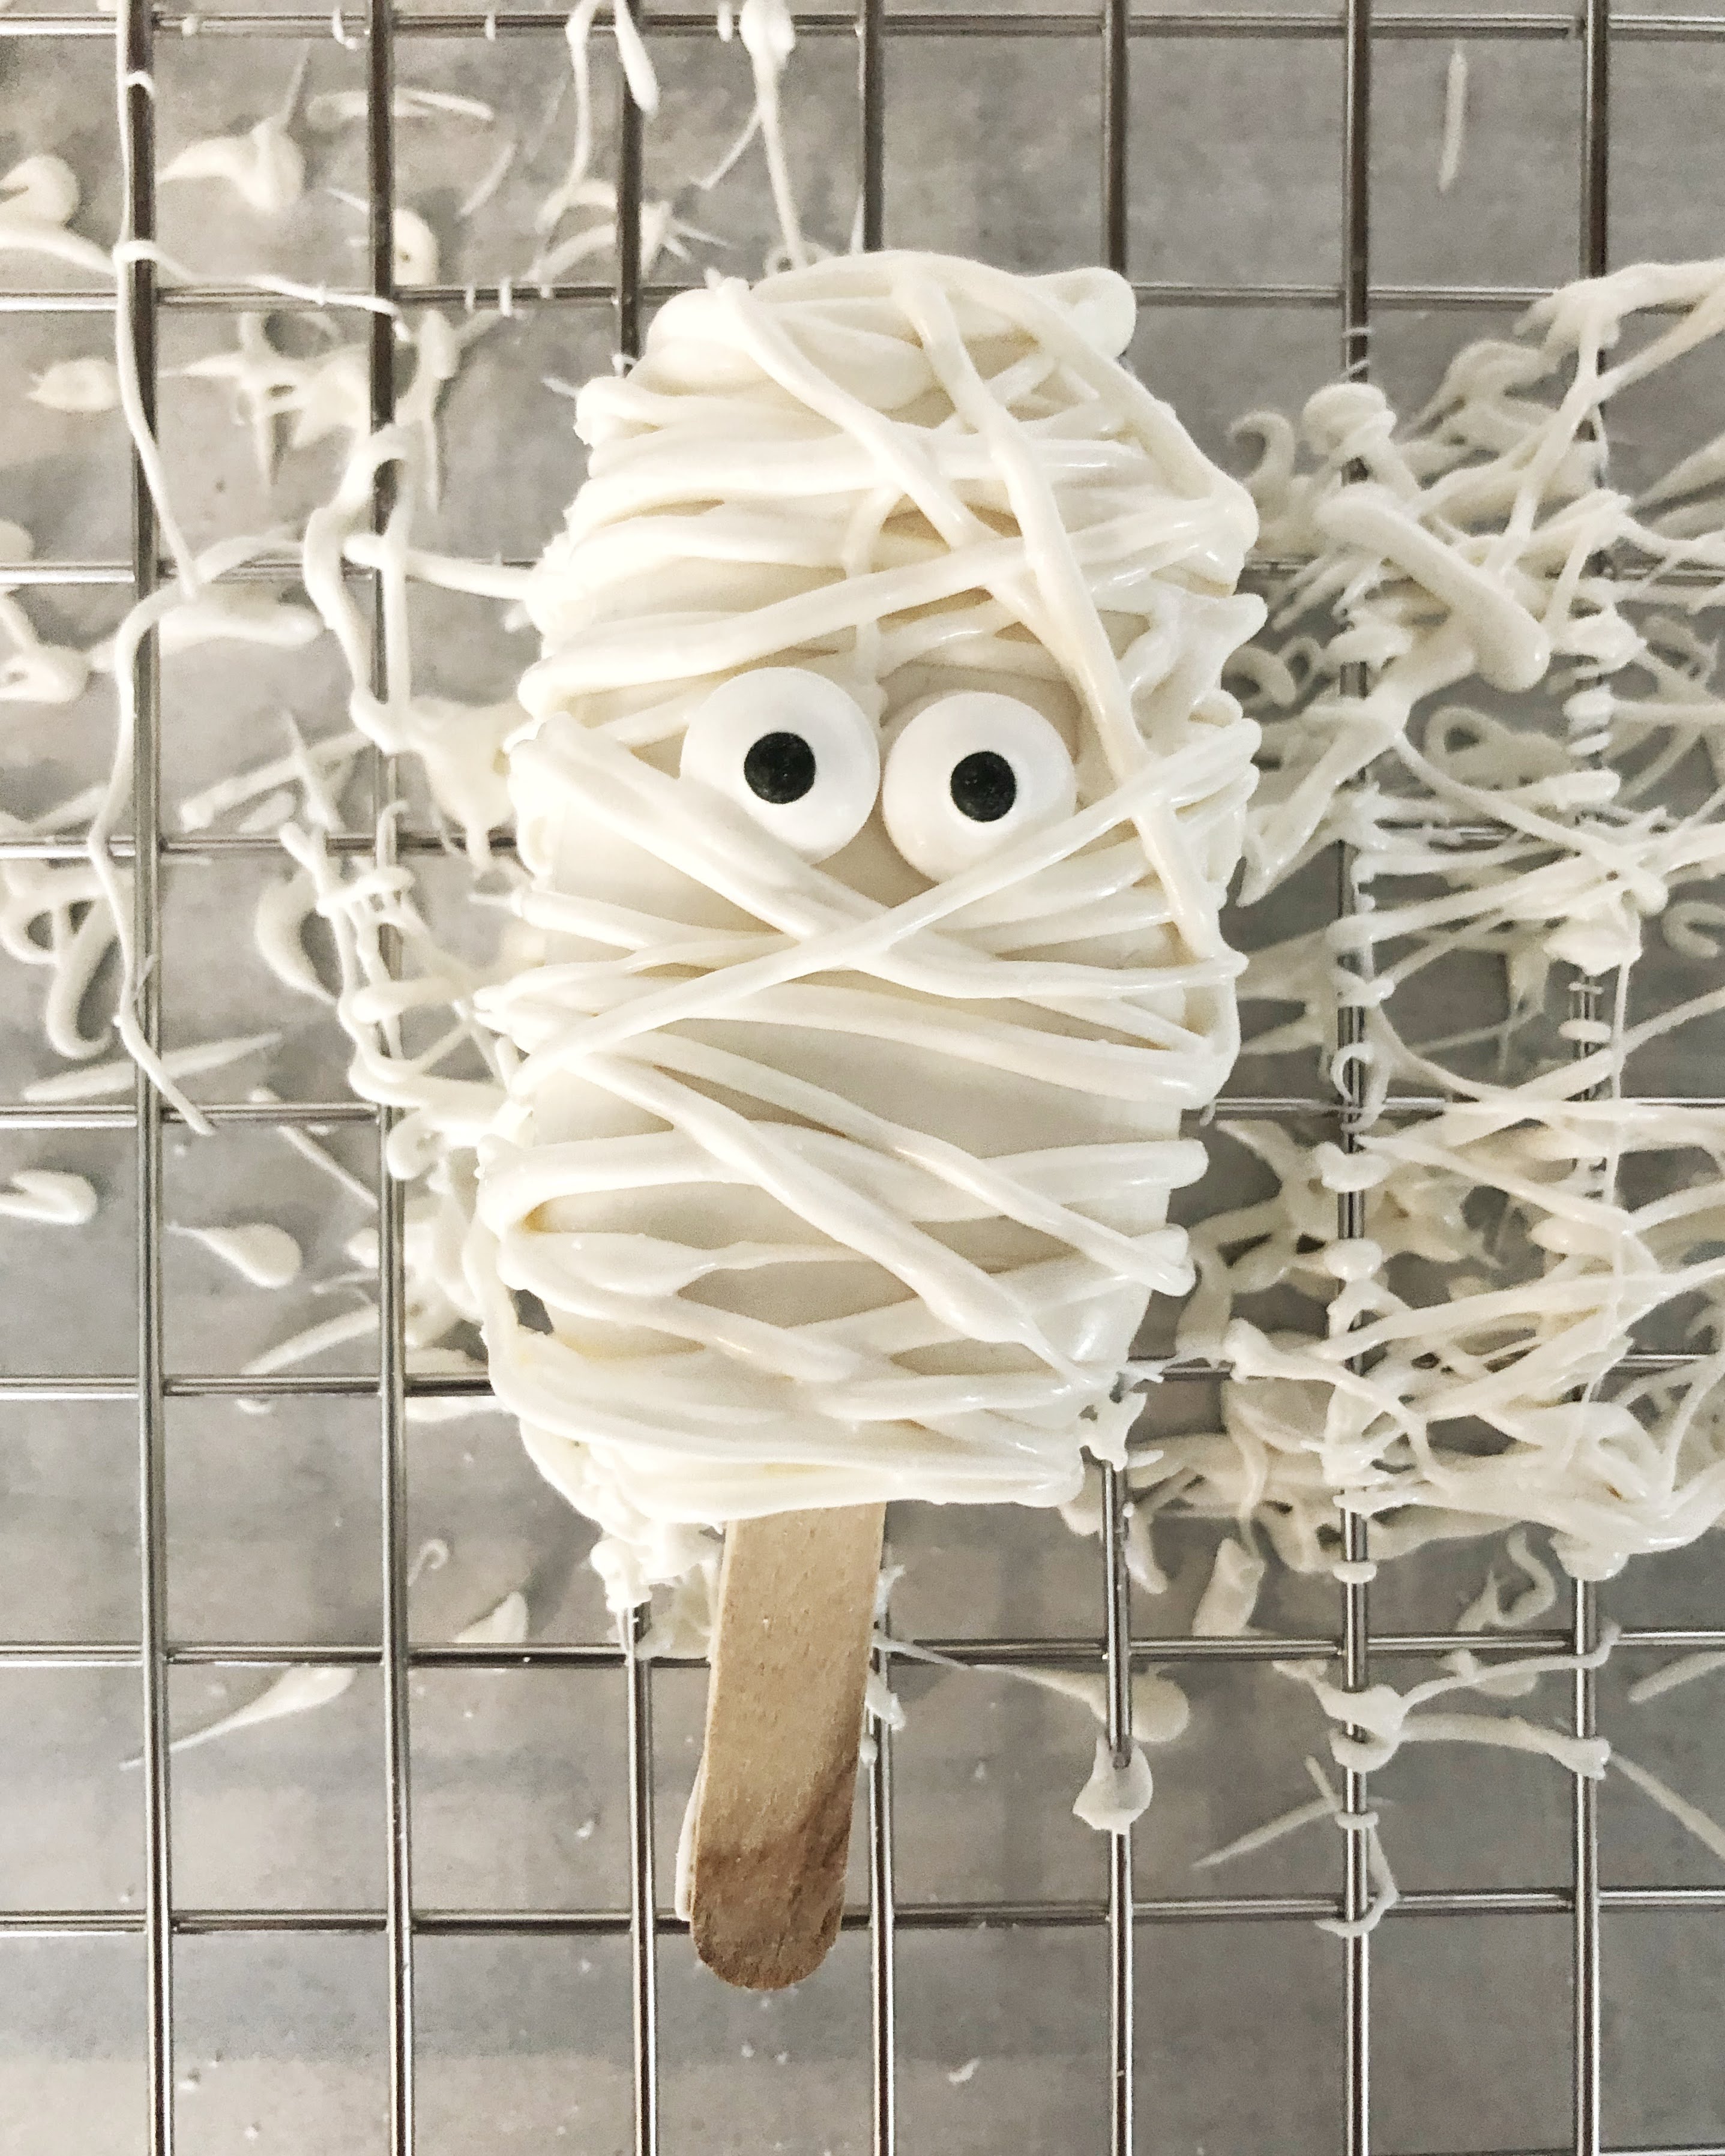
If you're not familiar with cakesicles, they are like cake pops but... MORE cake and MORE chocolate! What could be better than that? These mummy cakesicles are made up of white cake with a white chocolate coating and candy eyes.
Now cakesicles are not difficult, but they can be a little tricky to master. However, what makes these mummy cakesicles so great, is that they are extremely forgiving. If you have any imperfections taking the cakesicle out of the mold, it will be covered!
Disclaimer: This post may contain affiliate links, meaning I may get a small commission if you decide to make a purchase through my links at no cost to you.
Ingredients You Will Need:
Supplies You Will Need:
- Cakesicle Mold
- Mini Popsicle Sticks
- Piping bags
- KitchenAid Stand Mixer or Food Processor
Why Use a Cake Mix versus Cake From Scratch?
For this recipe, I chose to use a mix for a few reasons. For starters, they are still delicious and yet super easy! Sometimes when you are putting a lot of time into decorating the cake pop, it makes sense to cut a few minutes out on the cake side - especially when you want to do a generic flavor such as white, yellow, or chocolate. If you have a recipe you love, you can absolutely test it out and MOST recipes I've tried with cake pops or cakesicles have been fine.
Also, cake mixes are typically very light and airy which makes for a very easy to work with dough!

Turning the Cake into Crumbs
Bake the cake mix in a 13x9 pan as directed on the box. I used a white cake mix for this, but you can substitute for any cake mix flavor. Make sure the cake completely cools.
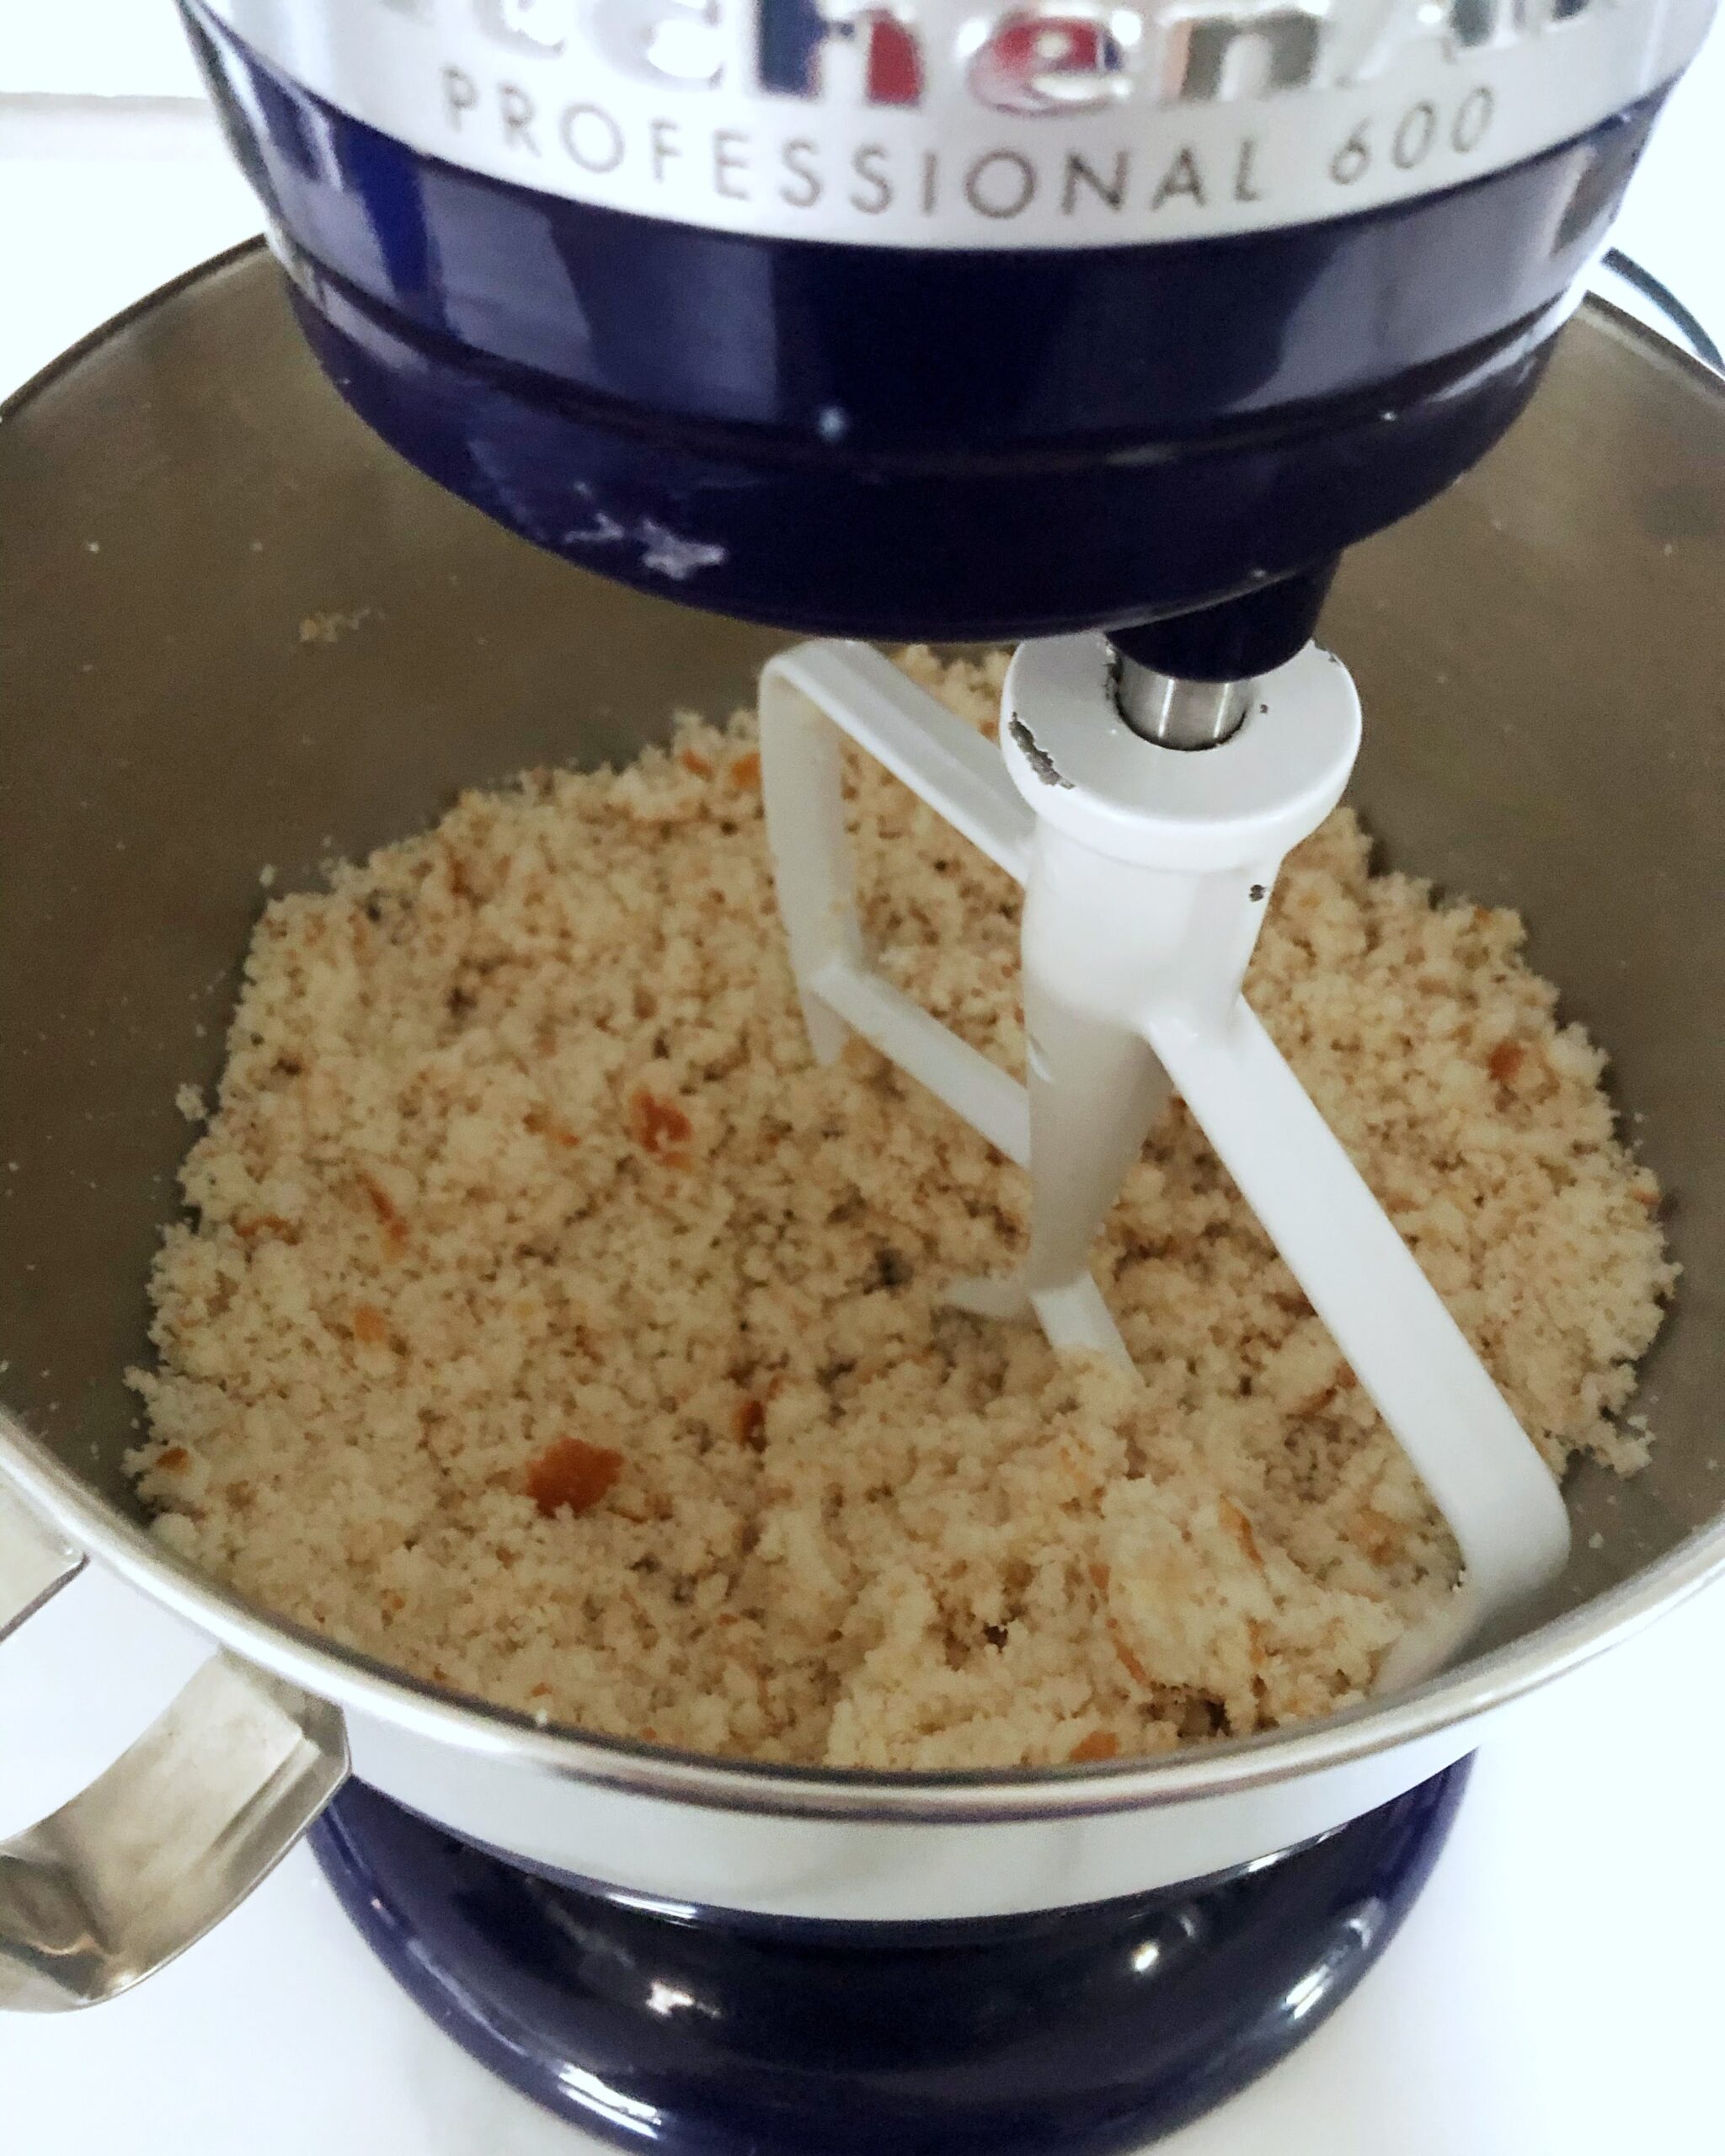
Cut the cake into 8 large pieces in the pan. If you have a stand mixer, place the pieces into the bowl and turn the mixer on high to turn the cake into crumbs. You can also accomplish this step with a food processor. Last resort, you can use a hand mixer to make the crumbs - but you will not be able to achieve as fine of a crumb as with a stand mixer or food processor.

Mixing the Crumbs and the Frosting
Now you will combine the crumbs with the frosting to create a "dough".
If You Used a Stand Mixer...
This is by far the easiest and least messy method if you own one! You create the crumbs in the bowl and plop the frosting right in there.
If You Used a Food Processor...
Transfer the blended crumbs into a large bowl and use a hand mixer to blend in the frosting.
If You Used a Hand, Mixer...
Continue using the hand mixer to blend in the frosting
Now Back to Making the Cakesicle Dough
No matter which method of crumbing you choose, remove about ¼ to ½ cup of crumbs and set to the side.
Add in ¼ cup (60g) of frosting and blend with the crumbs on medium-high.
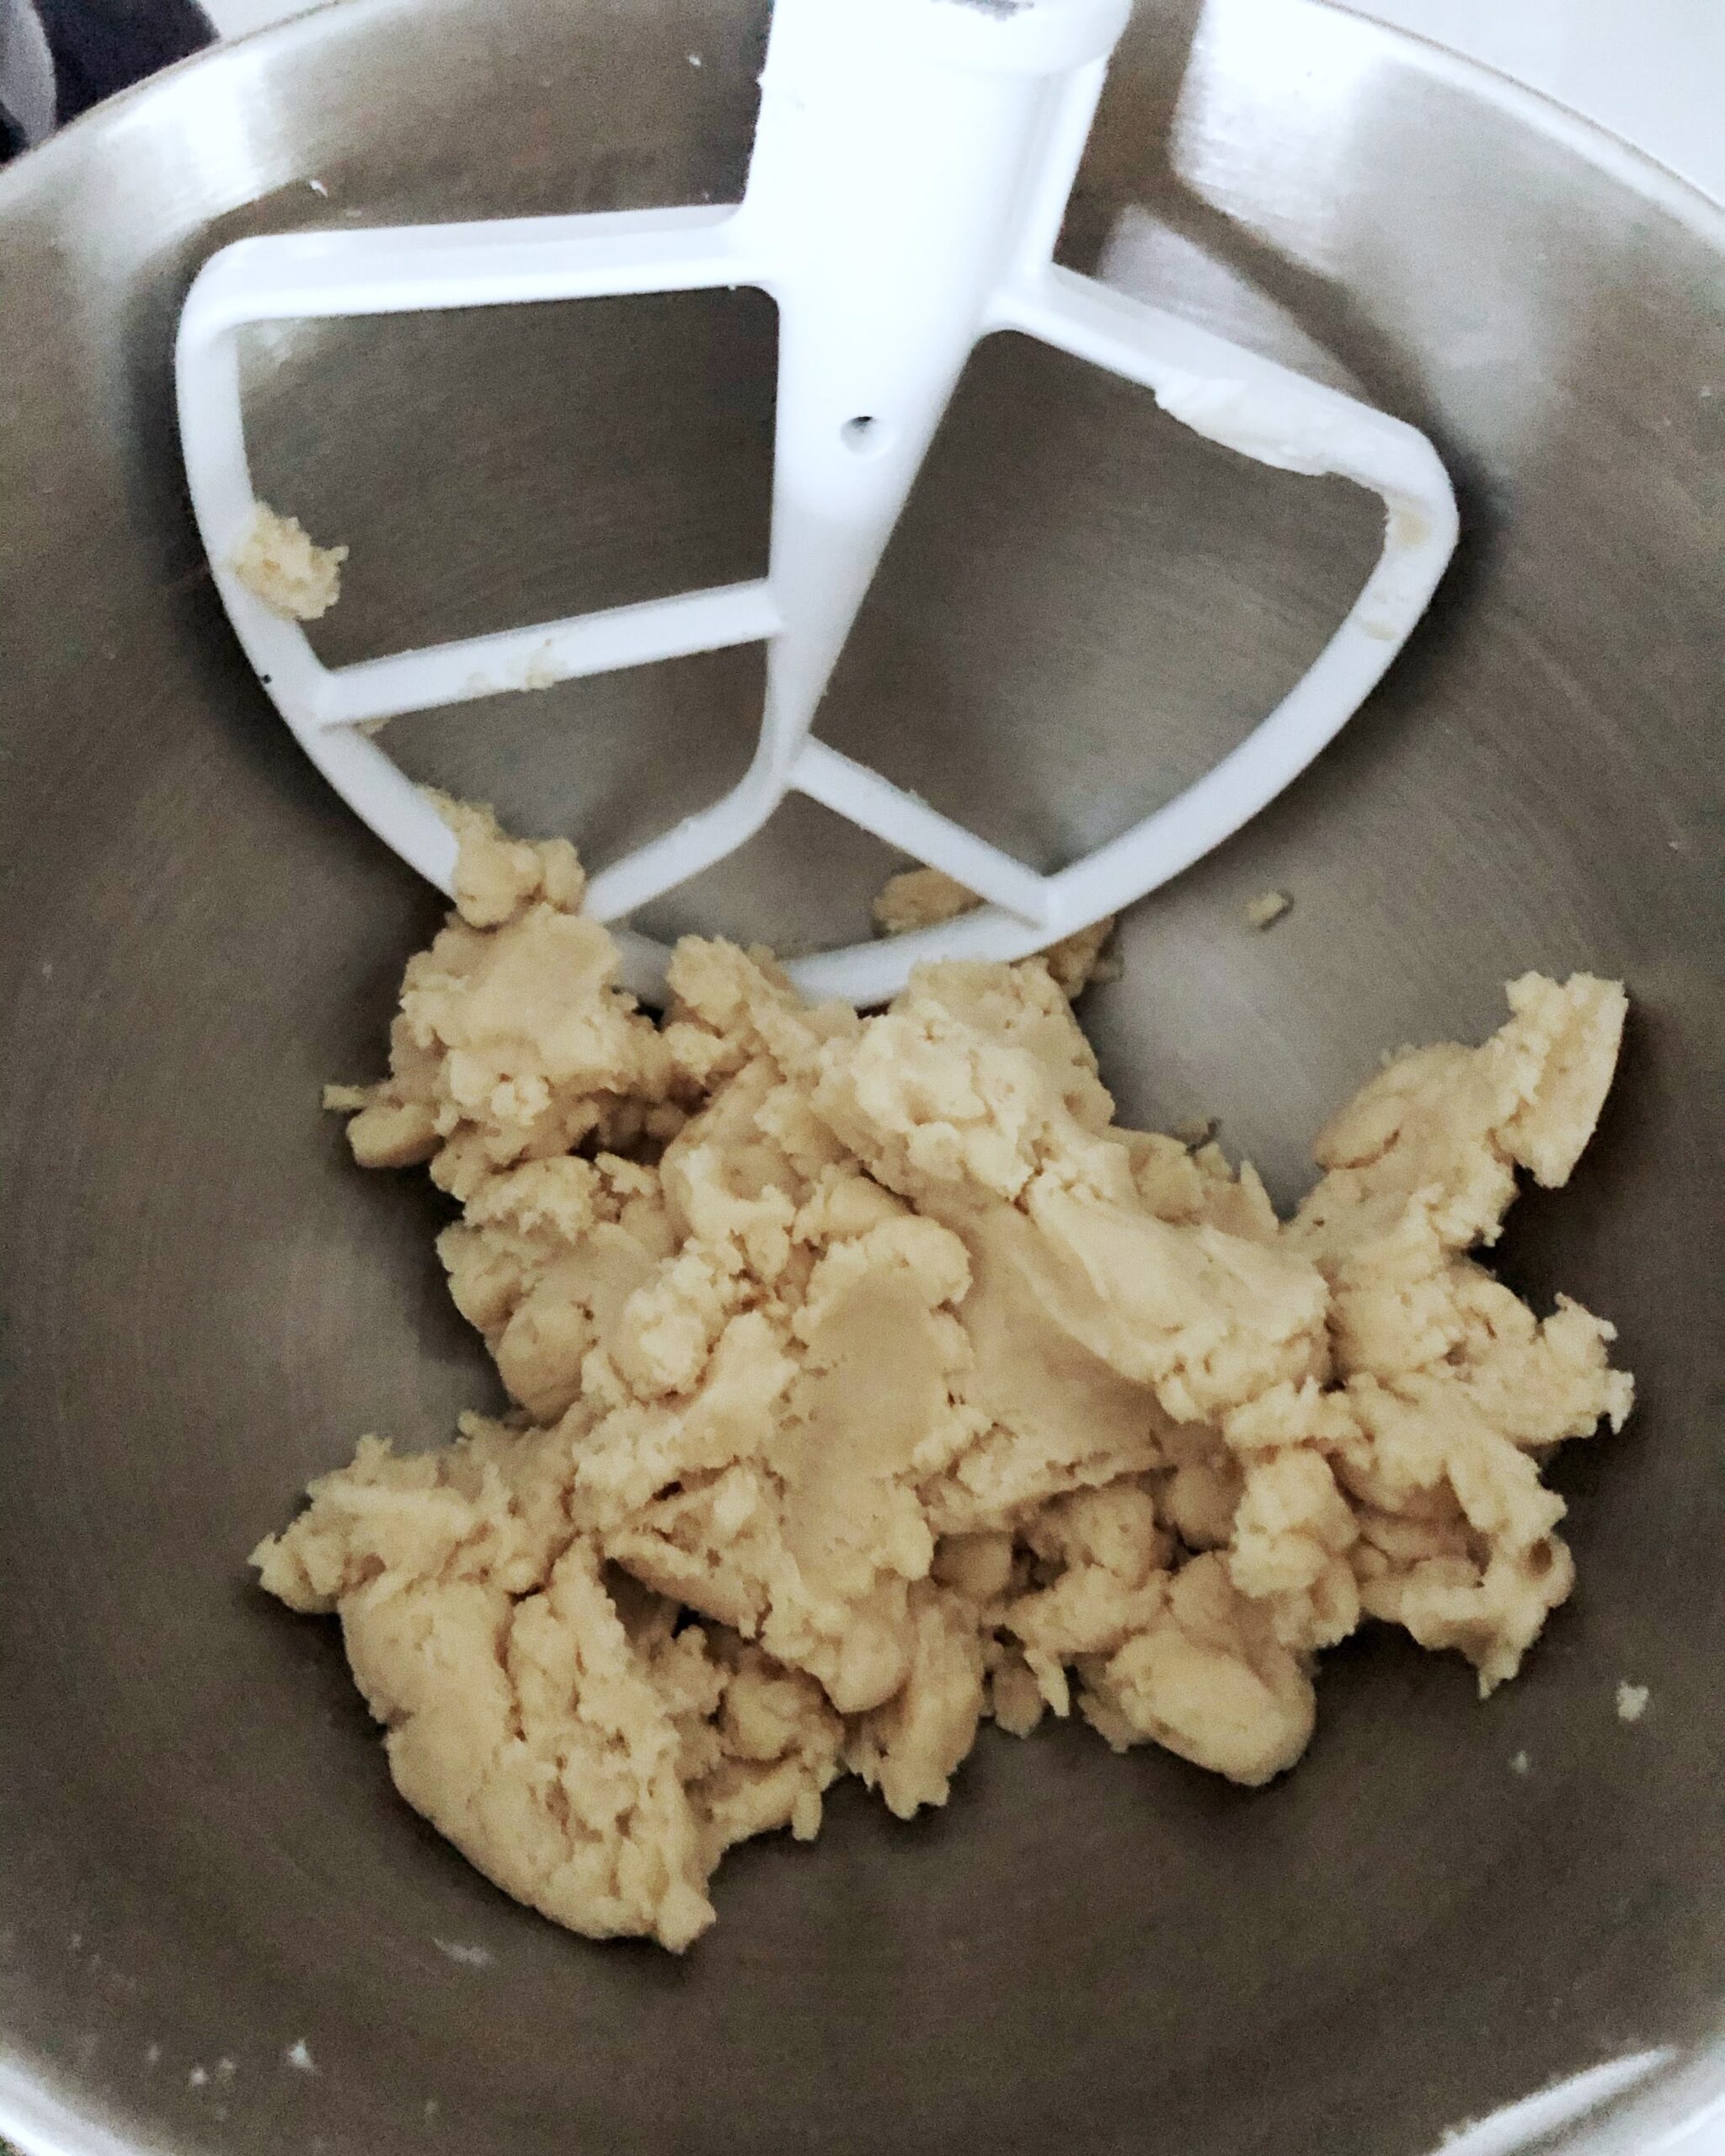
This is the part that gets a bit tricky... not because it's difficult, but because it's not an exact science. You will now have to use your best judgment to get the dough to a good consistency.
After you have mixed in the first ¼ cup of frosting, take a small amount of the dough and roll a ball with your hands. If it cracks and doesn't easily roll into a smooth ball, then you will need more frosting. Add in 1-2 teaspoons at a time until you reach the proper consistency.
Just remember - you can ALWAYS add more frosting, but you can't remove it if you add too much. If you do add too much frosting and your dough is too oily or heavy, that is where your extra crumbs come in! Add to the mixture to even out the dough.
If you plan on decorating the cakesicles later, you can refrigerate the dough. Remember to bring back to room temperature before dipping in the chocolate.
Measuring the Dough
Measure your dough into balls about 22-25 grams each.

Melting the Candy Melts
Find a microwave-safe bowl (I use silicone bowls because they don't get too hot in the microwave and they are much easier to clean). Add about 1 cup of melts to the bowl and microwave on 50% power for 30 seconds - stir well. Add back into the microwave for another 30 seconds at 50% and stir well. Continue this process until the candy is fully melted and smooth. Seriously, stir WELL between each microwaving. The fewer times you have to put in the microwave, the better!

I microwaved them for about 2 minutes and 30 seconds in total. This could vary depending on exactly how many candy melts you are melting and how strong your microwave is.
Let the chocolate get close to room temperature.
If at any point the chocolate begins to stiffen up too much, you can microwave again for 15 seconds on 50% power and stir.
Filling the Cakesicle Mold
Fill each cavity of the Cakesicle Mold with approximately ½ tablespoon of the melted chocolate. Spread around the base of the mold with a popsicle stick. Shake the mold to even out the chocolate, spread around again, and shake again. Insert the popsicle stick into the opening to make sure the chocolate doesn't harden in this area. Place mold in the refrigerator for about 5 minutes or until solid.
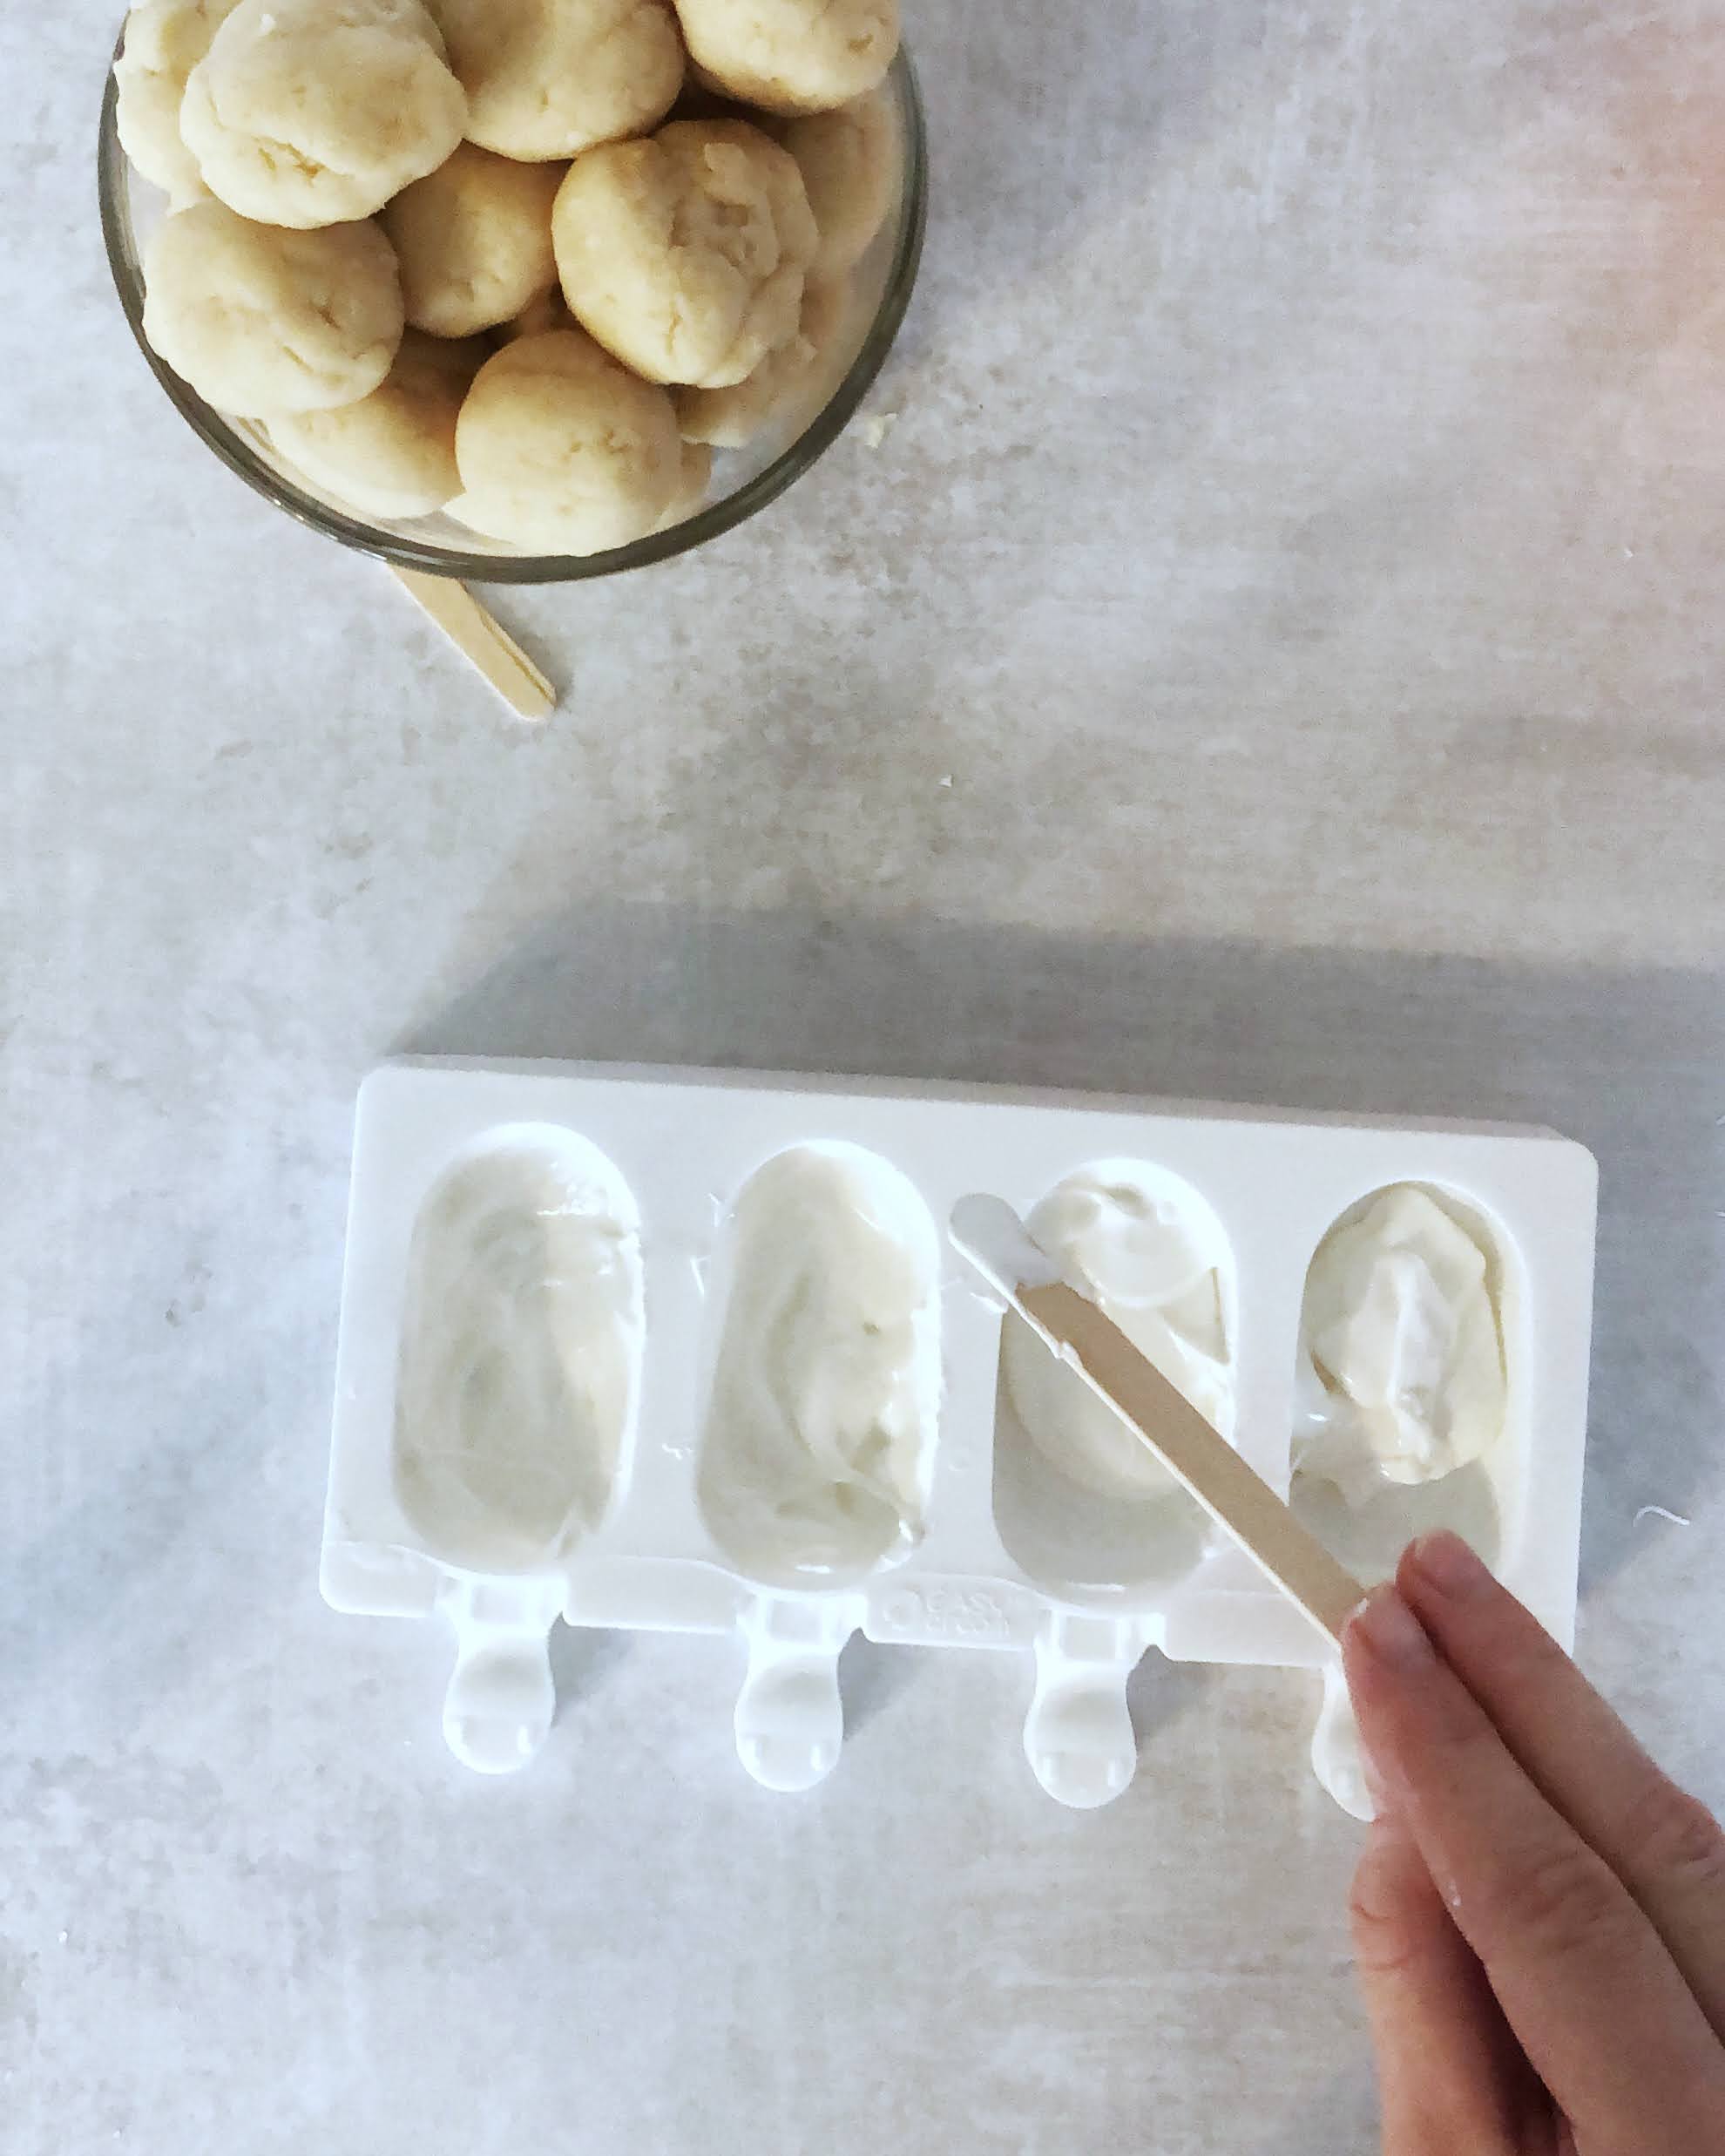
Place the ball of dough in the mold and spread evenly around. Try to leave a small gap between the dough and the edge of the mold to allow the melted chocolate to completely close in the gap.
Add another ½ tablespoon of melted chocolate to the top of the cake dough and spread out with a popsicle. Take a cake scraper, knife, or something else with a level edge and smooth out the chocolate to be even with the mold.
Place in the refrigerator for another 5 minutes or until fully hardened. Carefully remove from the mold. Once you turn the cake pop face up, if there are a few uneven edges, carefully trim with a pairing knife.
You will get approximately 8-10 cakesicles per 12 oz bag of candy melts. Make sure you reserve extra melted chocolate for the mummy decorations!

Making the Mummy
Now for the best part, decorating the mummy! Place the cakesicle on a drying rack with a piece of wax paper or parchment underneath. Place the remaining melted chocolate into a piping bag fitted over a pint glass. Cut a small hole at the edge of the piping bag.
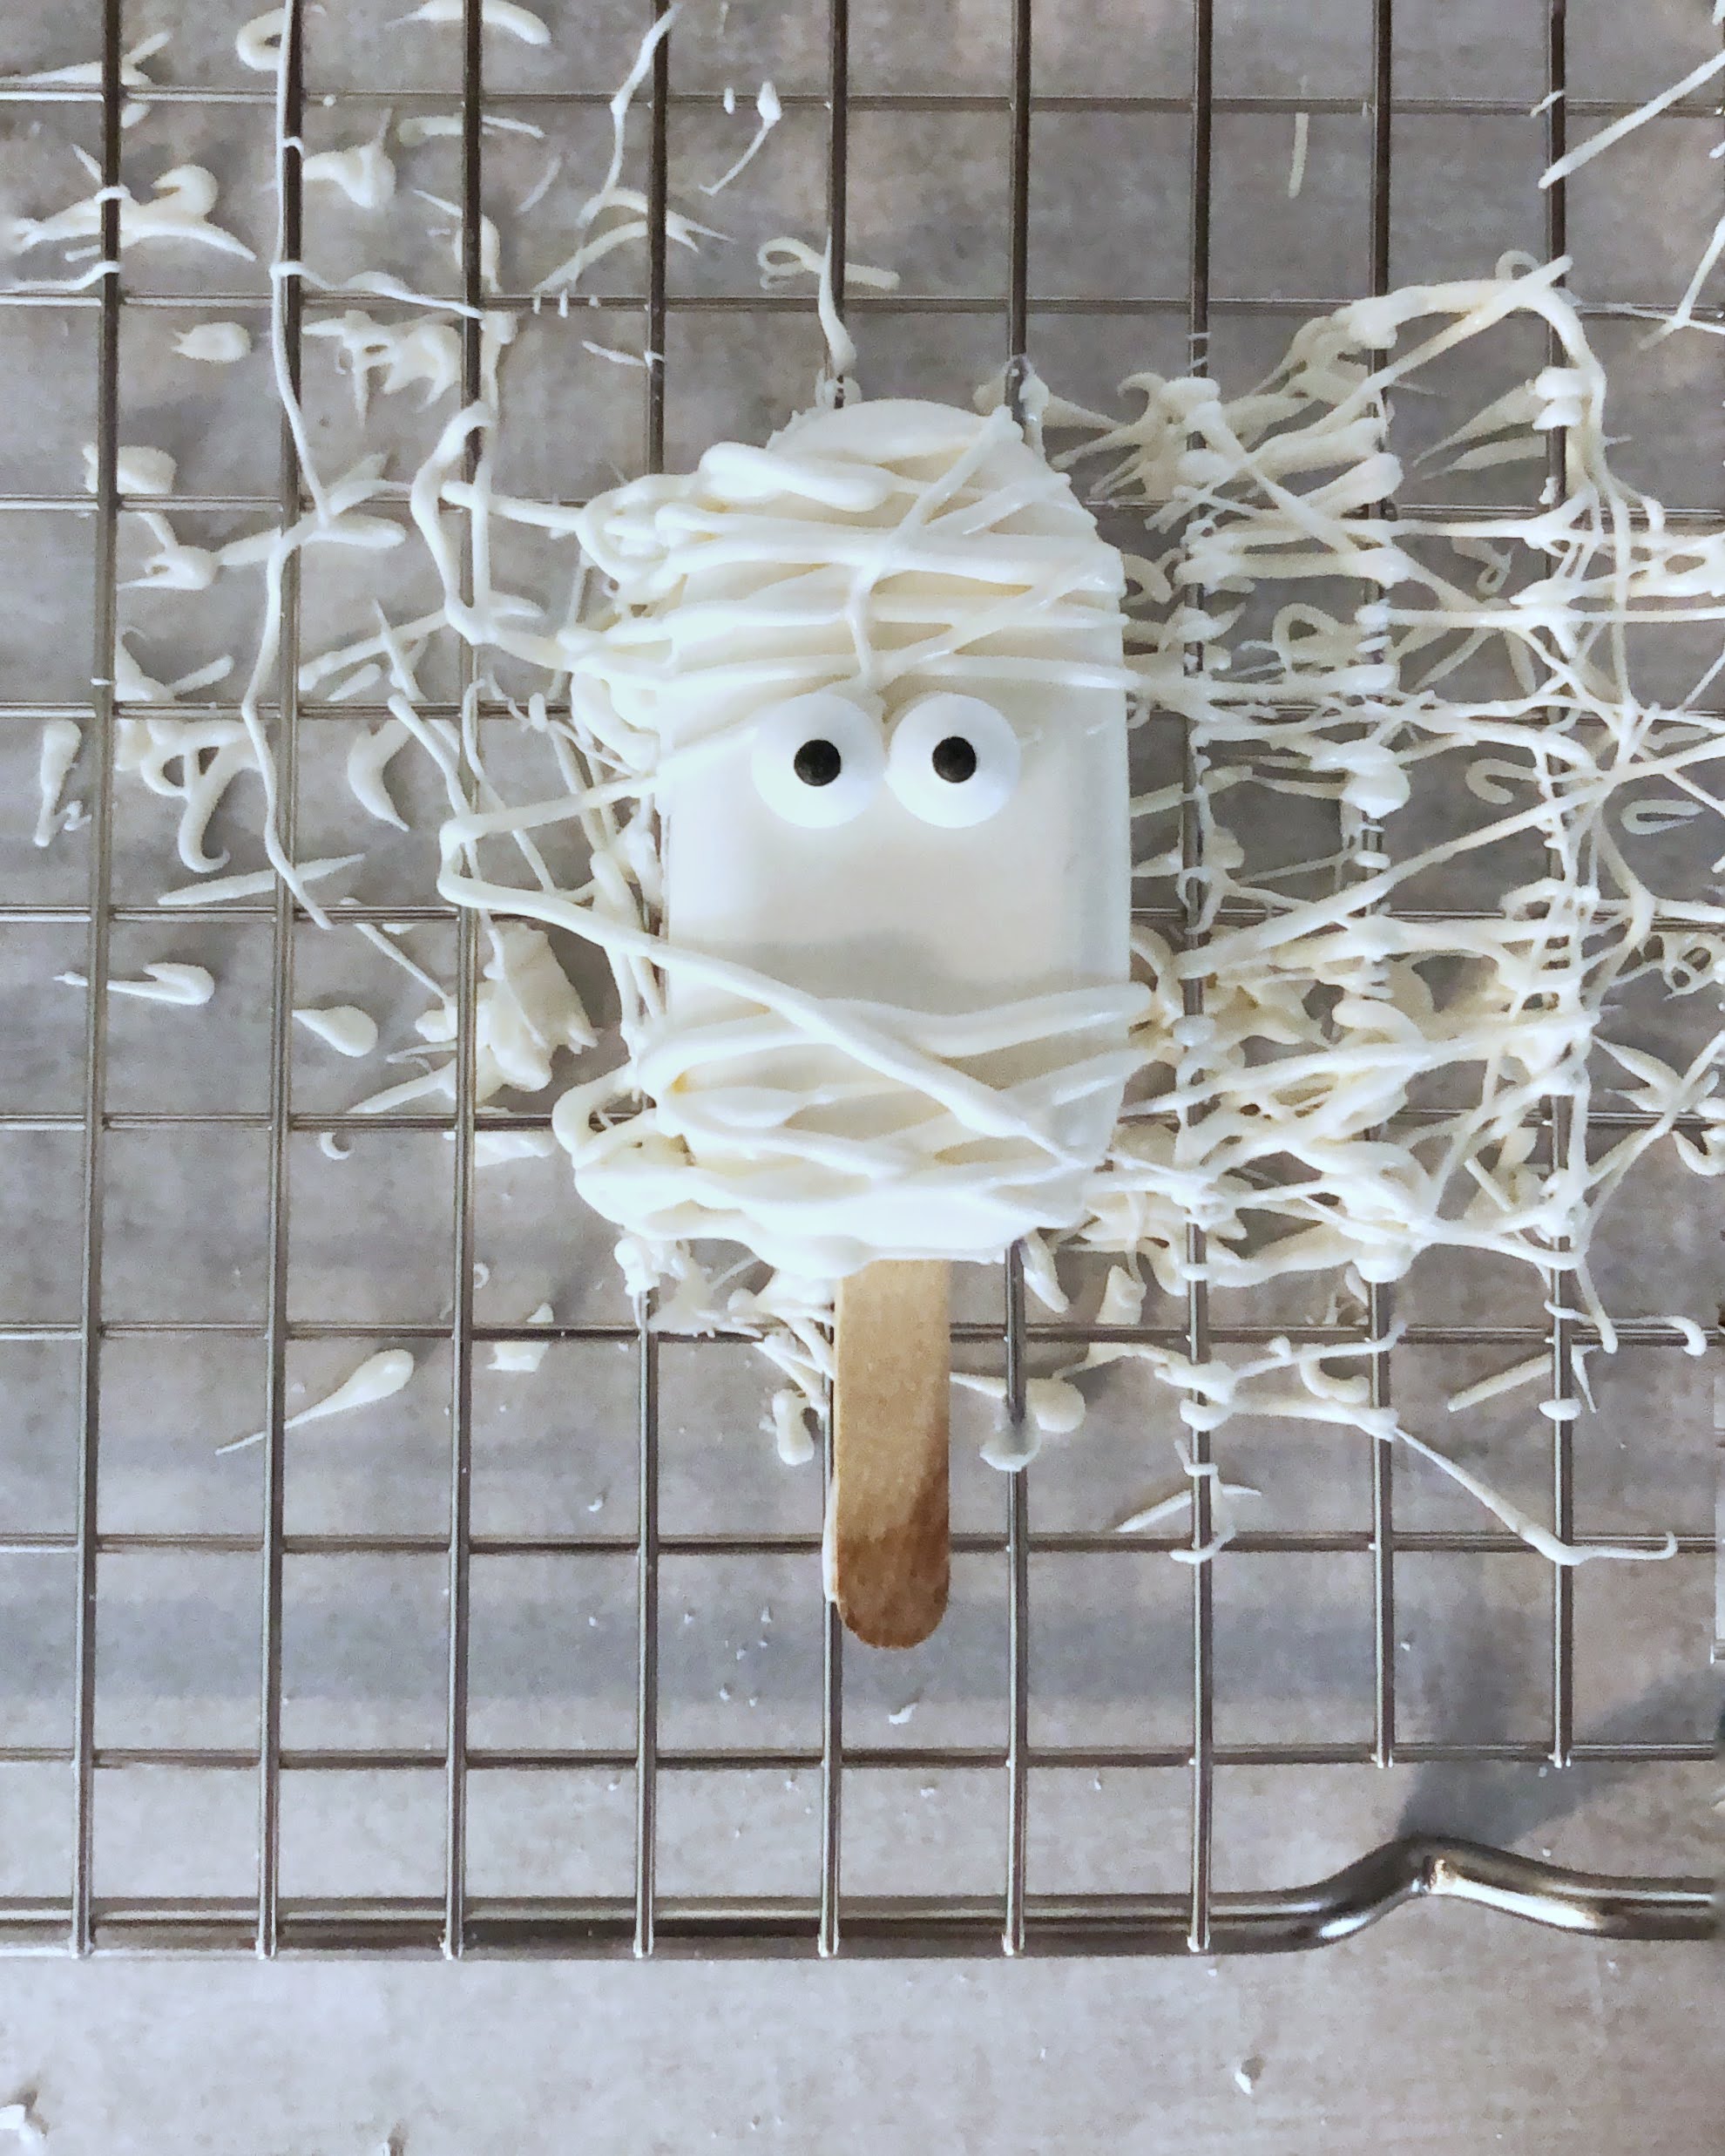
Pipe horizontally over the cakesicle, but make sure to stagger and vary the slant of your lines. Complete a few lines at the top and then add a small dot of chocolate in the upper middle section - attach the eyes.
Continue to drizzle the chocolate until you have a completed mummy!
Storage Tips
Store the mummy cakesicles in an airtight container in the refrigerator for 1-2 weeks. You can freeze for 4-6 weeks. When removing from the freezer, let the cakesicles come to room temperature before removing from the airtight container.
Wrap up individually in clear bags with a ribbon for a cute favor or gift!

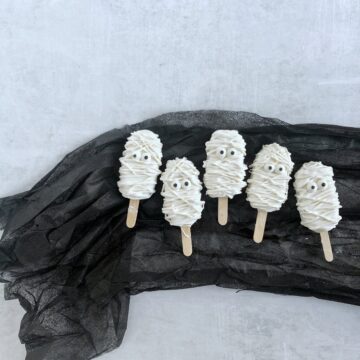
White Chocolate Mummy Cakesicles
Equipment
- Stand Mixer or Food Processor
- Cakesicle Mold
- Popsicle Sticks
- Piping Bags
Ingredients
- 1 Box White Cake Mix
- ¼ Cup White/Vanilla Canned Frosting (plus 1-4 Tsp)
- 24 Oz Bright White Candy Melts
- 40 Candy Eyes
Instructions
- Bake the cake in a 9x13 pan as instructed on the box. Cool Completely.
- Cut cake into 8 pieces and turn into crumbs using your stand mixer, food processor, or hand mixer*. Reserve ¼-½ cup of crumbs to the side.
- Add ¼ Cup of frosting to the crumbs and combine using a stand mixer or beaters until completely mixed together. Continue adding frosting 1 teaspoon at a time until the dough reaches a consistency that when you roll with your hands, it easily rolls into a smooth ball. If you accidentally add too much frosting and the dough is too oily and heavy, you can add the extra crumbs to balance the dough back out.
- Measure dough into 22-25g balls. Make sure they are at room temperature to bake.
- Microwave the candy melts 30 seconds at a time at 50% power. Do this 3-5 times until the mixture is smooth. Stir very well between each 30-second interval. The fewer times you have to microwave, the better. Let the melted chocolate cool to almost room temperature.
- Add ½ tablespoon of melted chocolate to each cavity. Spread around the base of the mold with a popsicle stick. Shake the mold to even out the chocolate, spread around again, and shake again. Insert the popsicle stick into the opening to make sure the chocolate doesn't harden in this area. Place mold in the refrigerator for about 5 minutes or until solid.
- Add 1 ball of dough to each cavity and evenly spread. Be sure to leave a small gap between the edge of the cakesicle and dough - this will allow the chocolate to properly fill in the gaps. cake
- Add another ½ tablespoon of melted chocolate to the top of the cake dough and spread out with a popsicle. Take a cake scraper, knife, or something else with a level edge and smooth out the chocolate to be even with the mold.
- Place in the refrigerator for another 5 minutes or until fully hardened. Carefully remove from the mold. Once you turn the cake pop face up, if there are a few uneven edges, carefully trim with a paring knife.
- Place the cakesicle on a cooling rack with a piece of parchment paper underneath. Fill up the piping bag with the excess white chocolate. Drizzle across the cakesicle in varying distances and slants.
- In the upper-middle section of the cakesicle, add the eyes with a small dollop of chocolate. Continue to drizzle the lines back and until you achieve the mummy you like!
Notes
- If you use a stand mixer to crumb the cake, you will continue to use the stand mixer bowl to combine the frosting. If you use a food processor, move crumbs to a bowl and beat with a hand mixer.


