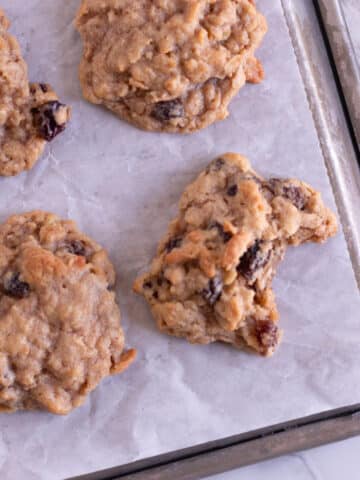
Decorating Christmas cookies is one of my favorite things to do during the holidays. Though I love all of the classic shapes, there is something about snowflake cut-out cookies that I am particularly drawn to. Even with the simplest of designs, snowflake cookies are one of the most classic and elegant shapes. Here are a few easy ideas for snowflake Christmas cookies for you to re-create.

If you are in need of other Christmas cookie designs, you can try my Christmas stocking monogram tutorial! If you are new to royal icing, you can learn everything you need to know on my Ultimate Guide to Royal Icing Cookie Decorating for Beginners.
Just getting started with royal icing? Here are my favorite tools and supplies!
Recipes You Will Need
Cookie Recipe
You will need a sugar cookie recipe that creates a cookie with a flat top and sharp edges. I have several recipes on my site that will work great:
- Classic Sugar Cookie Cut-Outs
- Brown Sugar Cut-Out Recipe
- Almond Cut-Out Recipes
- Red Velvet Cut-Out Cookies
- Chocolate Chip Cookie Cut-Outs
- Cookies and Cream Cut-Out Cookies
Royal Icing Recipe
You will need royal icing for these designs. You can try my easy 3 ingredient royal icing recipe which is very easy to make. Any royal icing recipe you love will work well.
Instructions
Now I am going to take you step by step on decorating 3 types of snowflake cookies!
The Classic Snowflake
There is nothing prettier than a white snowflake with a touch of sparkle. If you don’t like white, you could make these in a pretty ivory color as well. A classic snowflake is the perfect addition to your Chrstimas cookie cut-outs.
You Will Need:
- White Sanding Sugar
- White Detail Consistency Icing
- White Flood Consistency Icing
Learn more about icing consistencies in my Ultimate Guide to Royal Icing.

- Outline the snowflake with detail consistency icing.

- Fill in the outline with flood consistency icing, let dry. Time to dry will vary on climate, but ensure the flood icing is fully dry to the touch.

- Create snowflake design with the detail consistency icing.

- Immediately cover in sandaing sugar and shake off excess. Allow to dry!
Color-Pop Snowflake
As much as I LOVE the classic snowflake, sometimes it feels right to add a different color. For the holiday season, adding some green or red snowflakes may be a fun addition to your Christmas cookies. Even a black snowflake might add a modern touch to your cookie platter as well.
I particularly love monochrome snowflake cookies, meaning the same background color as the detail color. However, you can easily choose to use one color for the flood/background color and another for the detail. The instructions below are based on a monochrome design. If you opt for a different background color, you will need to also make a detail icing in a different color to contrast.
You Will Need:
- Detail Consistency Icing in color of your choosing
- Flood Detail Consistency Icing in color of your choosing

- Outline the snowflake in your detail icing.

2. Fill in the detail icing with flood icing of the same color. Allow to dry for at least 15-30 minutes (or until a crust forms on the top).

3. Create the snowflake design with the detail icing.

4. Allow to fully dry and enjoy!
Swirly Snowflake
The wet-on-wet royal icing technique is very easy but creates a show-stopping effect.
What You Will Need:
- Detail and Flood Icing in the color of your choice
- Flood Icing in a different color
- Cookie Scribe or Toothpick
- White nonpareils sprinkles (optional)
- Outline the snowflake cookie with the detail consistency icing and fill it in with the same color of flood icing.

2. With the second flood icing color, while the original flood icing is still wet, add a few lines of color around the snowflake.

3. Using a toothpick or cookie scribe, make swirling designs around the snowflake.

4. Add nonpareils if using and let dry completely.
I hope these snowflake cookie ideas give you some inspiration for your snowflake Christmas cookies for the holiday season.
Related
Looking for other decorating Christmas recipes like this? Try these: