
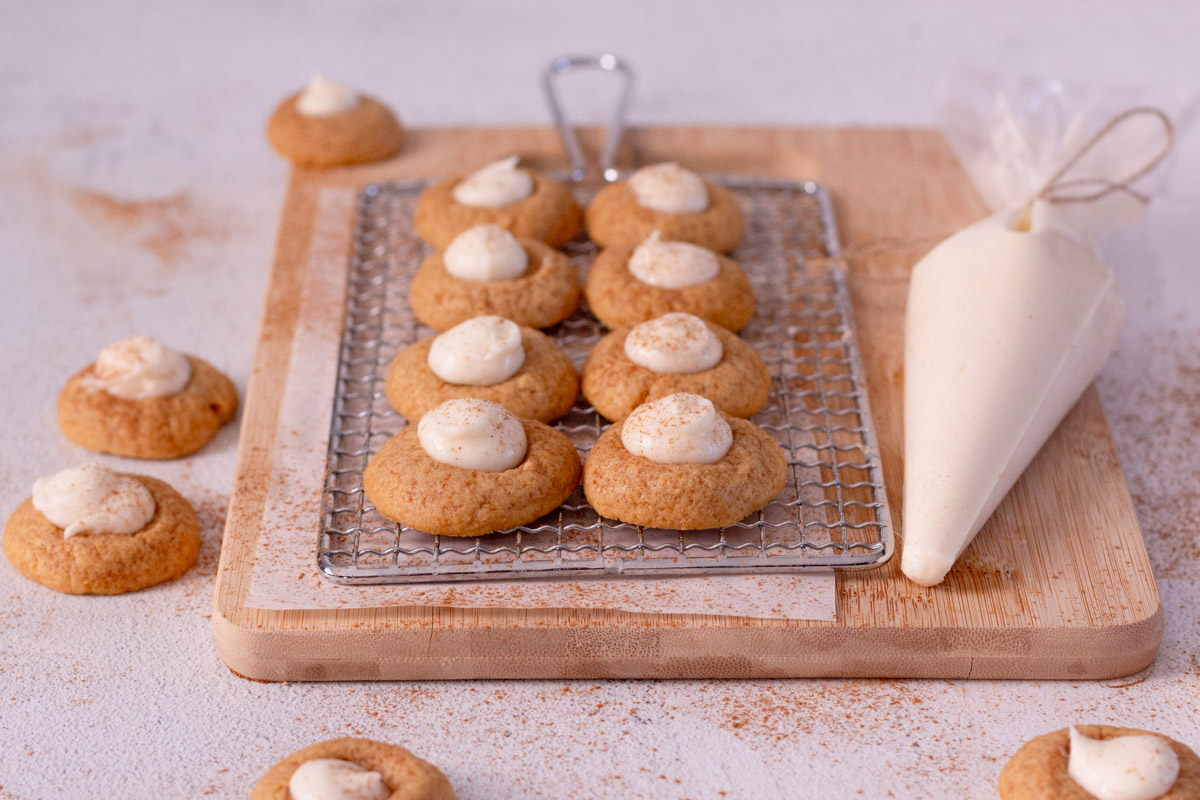
These pumpkin cookies encapsulate the classic fall flavor with hints of pumpkin spice. The thumbprint indent is filled with cream cheese icing, which nicely balances with that pumpkin flavor. If you love pumpkin but are not a fan of the texture of pumpkin pie, these pumpkin thumbprint cookies with cream cheese icing may be the perfect substitute dessert for Thanksgiving.
With the prominent pumpkin flavor, these cookies are ideal for the fall season and a great cookie for Halloween or Thanksgiving baking.
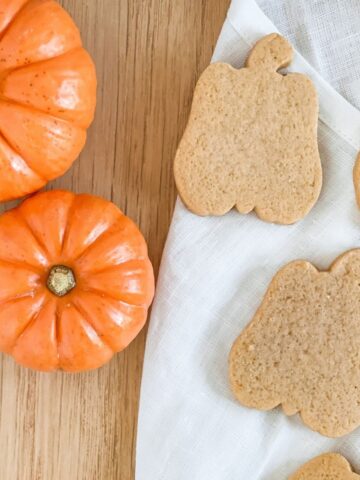
I was inspired to create another pumpkin cookie recipe after making my favorite Pumpkin Chocolate Chip Cookie Bar recipe. If you are a cookie decorating fan, you can also try these Pumpkin Cut-Out cookies that are great for royal icing decorating.
Jump to:
Ingredients

For Cookies:
- All Purpose Flour
- Pumpkin Pie Spice
- Pure Pumpkin (Libby’s Pure Pumpkin Preffered)
- Unsalted Butter (room temperature)
- Sugar
- Brown Sugar
- Egg yolk
For Icing:
- Cream Cheese
- Unsalted Butter
- Vanilla Extract
- Confectioners Sugar
See recipe card for quantities.
Instructions
Prepare Ingredients and Blot your Pumpkin
Preheat the oven to 350 degrees and line cookie sheets with silicone mats or parchment paper. I love using these silicone mats because cookies bake very consistently on them and easy to pop in the dishwasher when you’re done!
In a medium mixing bowl, combine flour and pumpkin pie spice and whisk together until fully mixed. Set aside.
Blot the pumpkin to remove excess water. I do this by placing a layer of 2-3 paper towels down flat. Use a spatula and spread out the pumpkin in a thin layer across the paper towels. Take another 2-3 paper towel layers and blot out the water from the pumpkin. You may need to use a few pieces of paper towel on top as you continue blotting the pumpkin.
Once water is not as prominent when you press down with the paper towel and the pumpkin appears less shiny and more matted, you should be good!

Making the Cookie Dough
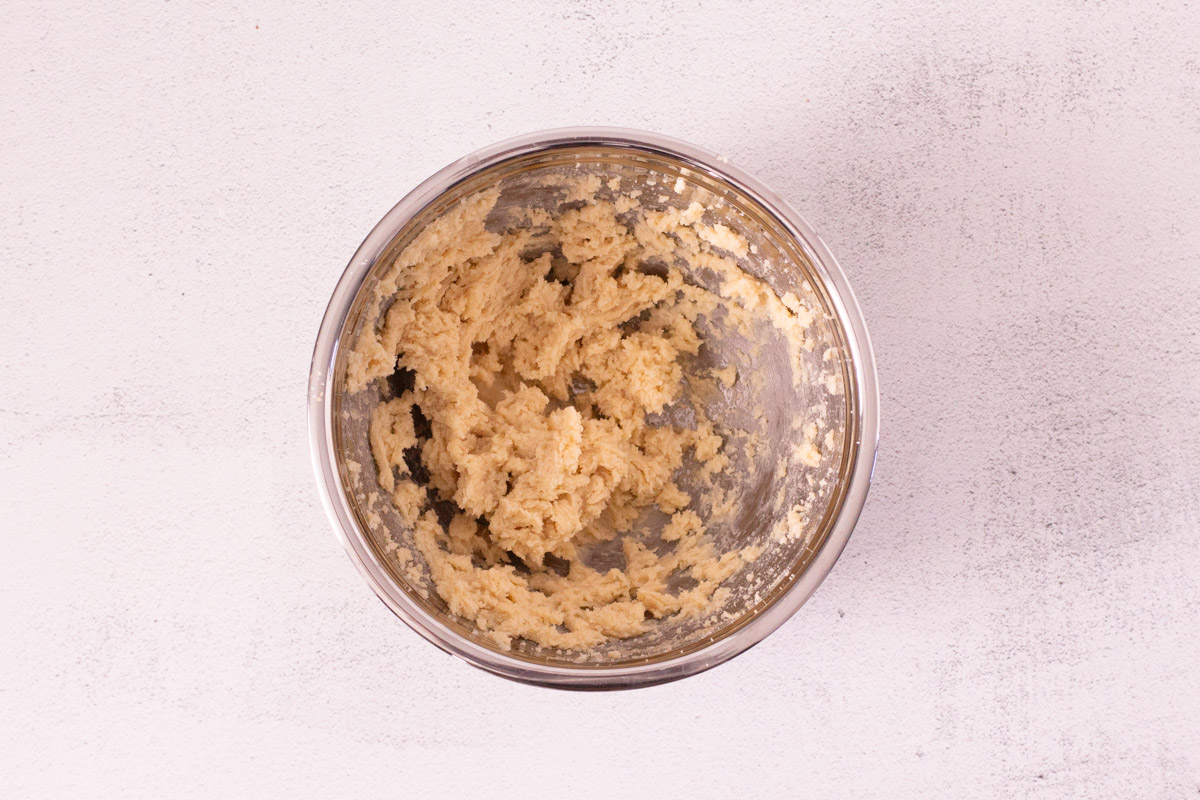
In a large mixing bowl beat the butter, brown sugar, and granulated sugar with an electric mixer on high speed until fully combined.
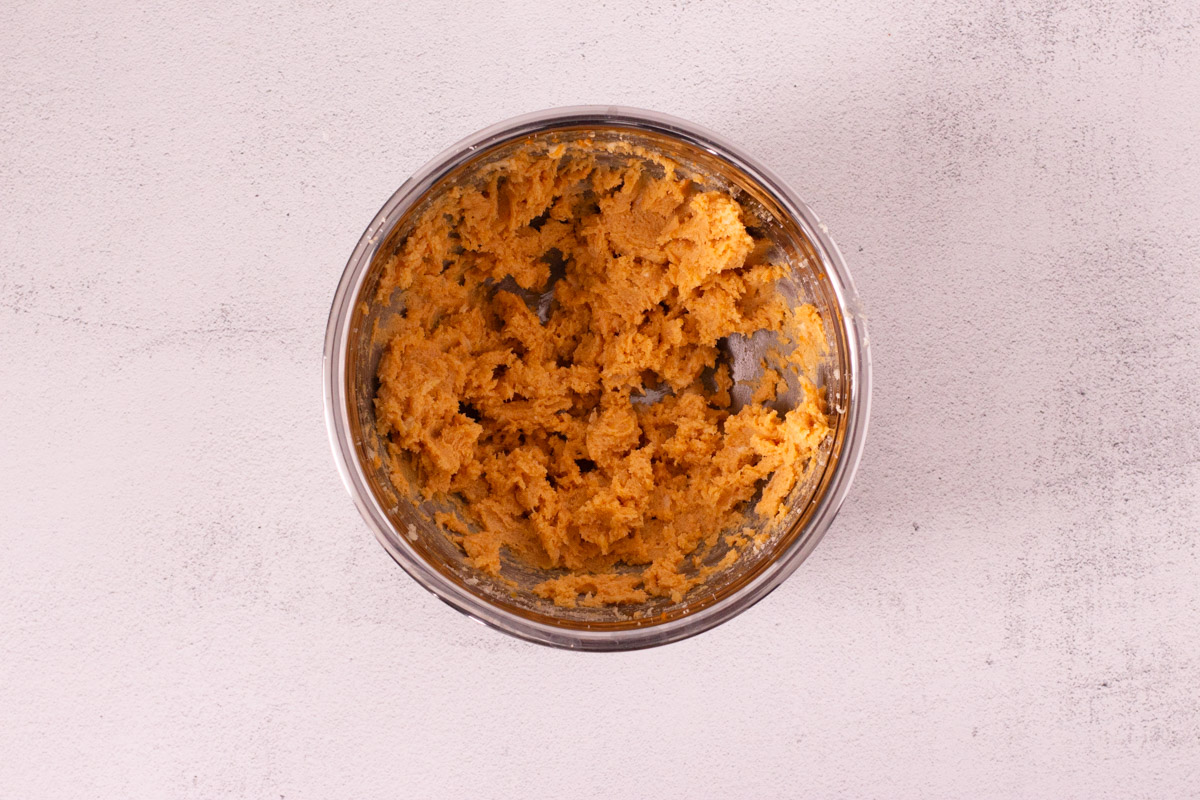
Add the pumpkin by scraping it from the paper towel with a spatula and into the mixing bowl. Also, add the egg yolk and beat into dough on medium speed. Continue beating until the color is a consistently light orange throughout.
Slowly add the flour mixture into the wet ingredients in three sections. Between each addition with an electric mixer, beat on low speed. After all of the dry ingredients have been added, use a spatula to scrape the sides of the bowl.
Baking the M&M Cookies
Grab your prepared baking sheet and with a cookie scoop, make 30g cookie dough balls (about 1 heaping tablespoon). Make sure to leave 2-3 inches between each dough ball to make sure they don’t spread into one another.
Bake the cookies in your preheated oven for 10-12 minutes. The cookies won’t brown much due to the lack of brown sugar. But you will start to see the bottom edges start to barely darken in color. At this point, remove the cookies from the oven and allow them to sit on the cookie sheet for 5 minutes before transferring to a wire rack to cool.
Tips for Making the Perfect Cookie
- Add Extra M&Ms: Add a few extra M&Ms to the top of the cookies either before baking or right when they come out of the oven. This trick will make the cookies look prettier and also… more chocolate!
- Measure your Flour Properly: If you have a kitchen scale, that is ideal. If not, use the scoop and level method. Essentially, scoop the flour into your measuring cup until it is overflowing. Then, take the straight edge of a knife or spatula and scrape off the excess flour back into the container. Too much flour in cookies will lead to a dryer final product.
- Don’t Overmix: A common mistake in cookie baking is overmixing your cookie dough. The more you mix, the more the gluten develops, which then leads to a tougher, less soft cookie. Stop mixing as soon as you see the flour has been incorporated.
- Make Sure Your Oven Temperature is Correct: Using an oven thermometer can be super helpful for both cooking and baking. Your oven may be running hot or cool and you would really never know without a thermometer. They are pretty reasonable and you can just let one hang on your oven rack and be assured your cookies are baking at the right temperature.

Storage
Store the cookies in an airtight container for 3-5 days. Brown sugar adds more moisture to cookies, so the lack of that ingredient may make your cookies dry out a bit sooner than usual. You can always throw a piece of bread into the container to keep them soft longer!
Freeze cookies in an airtight container for up to about 3 months as well.
Flash-freeze balls of cookie dough for fresh cookies at a moment's notice! Simply freeze the balls of cookie dough on a tray spread out. Once they are completely frozen, add to a freezer bag or container and freeze. Simply remove from the freezer and bake (though you will need to add a few extra minutes of bake time from frozen).
Did you make this recipe? If you could leave a review I would really appreciate it as it will help me continue to improve my recipes and help more people to find them!

Baking the Cookies
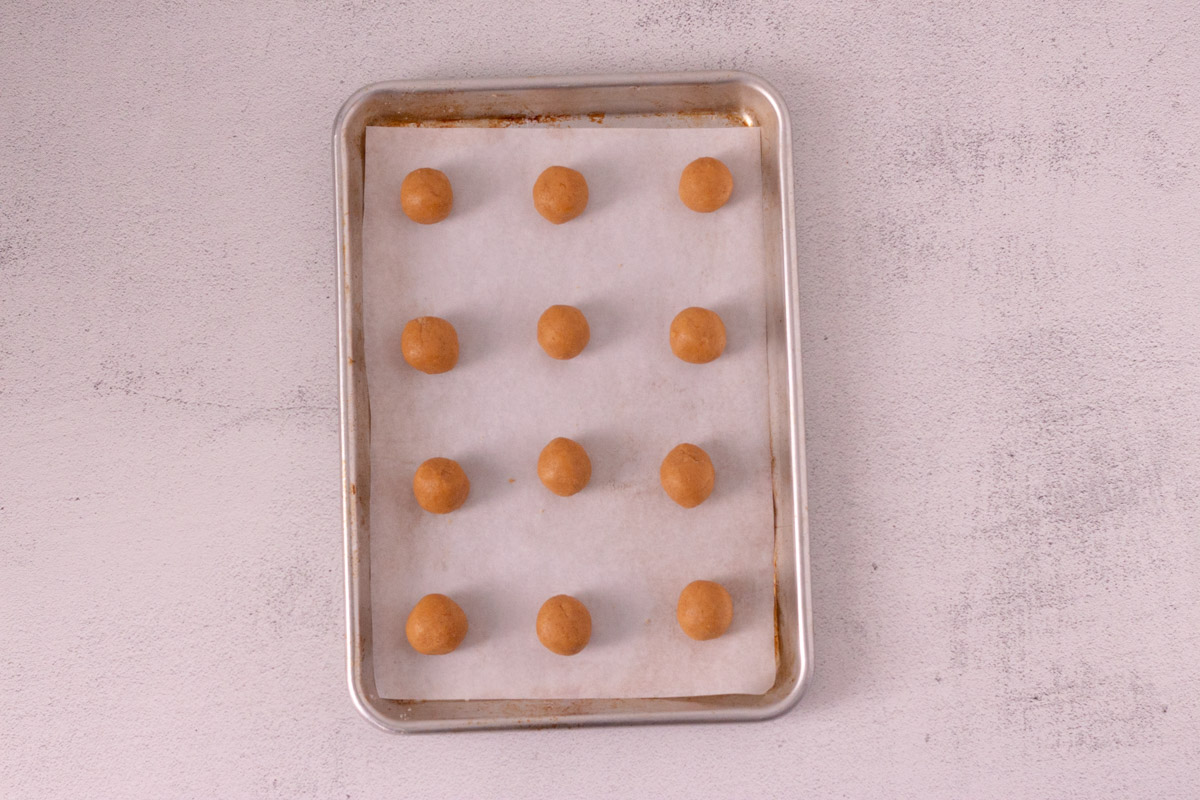
Using a medium-sized cookie scoop, get a level scoop of dough, and roll between your palms to make the ball smooth. I have a 1.5 tablespoon scoop for reference. If you have a food scale, measure cookie dough balls to around 15-17 grams.
Place the cookie dough balls at least 2” inches apart on the prepared baking sheet. Using your thumb or any small rounded object (potentially the base of a spoon such as a teaspoon) press down to create a small indent in the dough.
Bake for 10 minutes at 350 degrees or until the bottom edges are very slightly golden brown.
Remove the cookies from the oven and re-make the imprint as the oven most likely caused them to slightly rise and make the thumbprint less prominent. Since the cookies are hot, use an object to do this, such as the base of a teaspoon.
After 10 minutes on the baking tray, move the cookies to a wire rack to completely cool.
Make the Cream Cheese Frosting
In a mixing bowl, add the softened cream cheese and unsalted butter. Beat with an electric mixer on high speed until fully combined and smooth.
Add in the vanilla extract and beat until that is mixed in thoroughly.
Slowly add the powdered sugar, one cup at a time, and beat on low to medium speed with an electric mixer.
Pro Tip: Sift the powdered sugar before adding to the icing to ensure the smoothest possible icing. Do this especially if you plan on using a small piping tip so as to not get hard pieces of powdered sugar stuck in the tip.
Assembling the Cookies
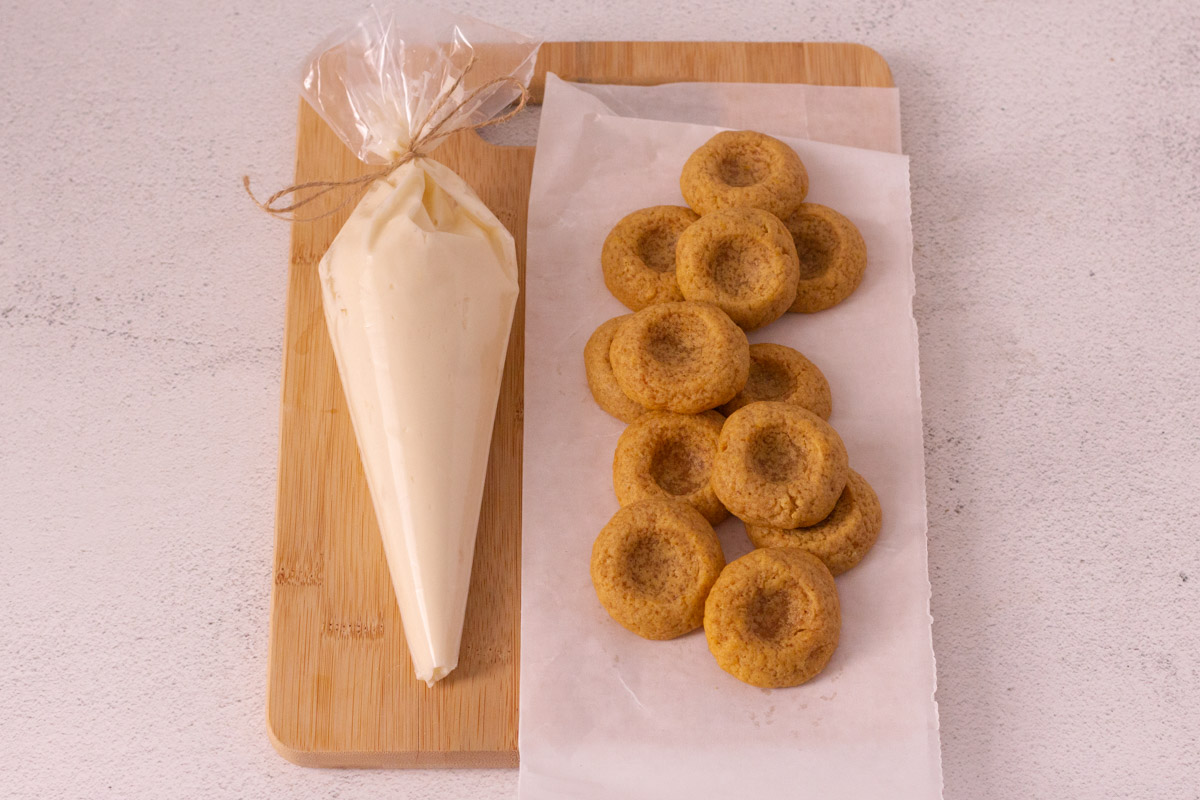
Add the cream cheese icing to a piping bag and tie a knot to seal. Cut a small hole at the tip of the piping bag about ¼ “ to ½” inch in diameter.
If you do not have a piping bag you can use a zip-loc bag as an alternative. Ideally use a freezer bag as they are a bit thicker. It is also possible to use a spoon and scoop the cream cheese into the cookies, but this will be far messier and more time-consuming.
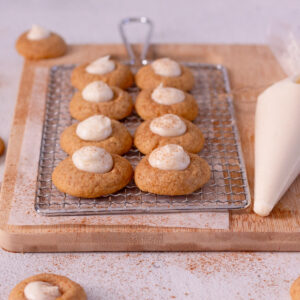
Fill each cookie thumbprint with a dollop of cream cheese icing.
Optionally, sprinkle a very light amount of ground cinnamon on top of the cookies.
Substitutions
I have not personally experimented with making this recipe gluten-free. But you can try and substitute gluten-free flour for the all-purpose flour to make this recipe gluten-free.
Equipment
- Electric Mixer (hand mixer or stand mixer)
- Silicone Mats or Parchment Paper
- Mixing Bowls
- Measuring Cups and Spoons
- Cookie Scoop
- Piping Bag
Storage
Due to the cream cheese frosting, these cookies need to be stored in the refrigerator and will remain safe for up to one week. However, as you get closer to the end of the week, they won’t stay as fresh. For freshness purposes, I would finish them within 3-4 days.
Store them in an airtight container. These Rubbermaid containers are my favorite. They are large, but they have a lot of surface area so you don't have to stack cookies too high on each other.
I would not suggest freezing these cookies after frosting them as the cream cheese icing may not defrost quite right.
However, if you want to make them ahead, you can freeze unfrosted cookies for up to 3 months in an airtight container and defrost them before adding cream cheese and serving.
The closer you can add the cream cheese frosting to the cookies before serving the better!
FAQ
Thumbprint cookies have a fingertip-sized, round depression that is filled, most often with jam. They are also known as Hallongrotta in Sweden which translates to "raspberry caves".
If the cookie dough starts to dry out, the cookies may start to crack when putting in a thumbprint. To avoid this, cover the cookie dough bowl with plastic wrap between batches. Also, be sure to roll a round, smooth ball with your palms when making the dough balls and press the indent in slowly.
There is a high water content in pumpkin purees and blotting removes some of that excess water. When there is more water in a cookie, the end result will be more cakey and lack the chewy texture of a typical cookie.
Related
Looking for other recipes like this? Try these:


Pumpkin Thumbprint Cookies
Ingredients
Pumpkin Thumbprint Cookies
- 2 Cups All-Purpose Flour
- 1 Teaspoon Pumpkin Pie Spice
- ½ Cup Pumpkin Puree (blotted to remove excess water)
- ¾ Cup Unsalted Butter (softened)
- ⅓ Cup Sugar
- ⅓ Cup Brown Sugar (packed)
- 1 Egg Yolk
Cream Cheese Frosting
- 4 Ounces Cream Cheese (softened)
- 2 Tablespoons Unsalted Butter (softened)
- ½ Teaspoon Vanilla Extract
- 2 Cups Powdered Sugar
Instructions
Making the Cookies
- Preheat oven to 350 degrees. Line cookie sheets with parchment paper or silicone mats.
- Add flour and pumpkin pie spice to a medium bowl and whisk until well combined, set aside.
- Blot the water out of the pumpkin. Do this by laying 2-3 layers of paper towels down, spread the pumpkin thinly on the paper towel, and press down with another paper towel to absorb water. Continue this process until the pumpkin is less shiny and more of a matte texture (see post above for more details on this process).
- In a large bowl, beat the butter, granulated sugar, and brown sugar with an electric mixer until well combined and one solid color.
- Add the egg yolk and scrape the blotted pumpkin from the paper towel with a spatula into the mixing bowl. Beat on medium speed until combined. The dough will start to look more orange.
- Add the dry ingredients in three sections, beating with the electric mixer on low-medium speed until combined between each addition. Scrape the bowl with a spatula to make sure all of the dry ingredients have been mixed in.
- Using a medium cookie scoop, form balls and roll them between your palms to make a smooth cookie dough ball. The ideal size is 15-17g if you have a food scale.
- Using your thumb or the round base of a teaspoon, press down on each ball to make a hole in the center.
- Bake at 350 degrees for 10 minutes or until the bottom edge of the cookie is slightly brown. After baking, the cookie will slightly rise and make the hole less visible. Use a base of a teaspoon or something with a round shape and repress each hole. Let the cookies cool for 5-10 minutes on the cookie sheet before removing them and let completely cool on a wire cooling rack.
Making the Cream Cheese Icing
- While the cookies are cooling, make your cream cheese frosting. Beat the butter and cream cheese on high speed until they are fully combined.
- Add the vanilla extract and beat in until it’s completely mixed in.
- Add 1 cup of confectioners sugar and beat on low-medium speed. Add the second cup of sugar and beat until smooth.
- Put the cream cheese icing into a piping bag and cut a small hole (about “¼-½ inch diameter) off the tip of the bag.
- Once the cookies are cool, fill each thumbprint with cream cheese icing.
- Optional: Sprinkle with a touch of ground cinnamon.


