When Fancy Sprinkles announced their Groovy Bakeoff, I knew I had to get creative with my classic Sugar cookie recipe. When I think groovy, my mind goes straight to the 70's, tie dye, and flowers. The rules for the competition were simple - use one of the Fancy Sprinkles spring blends to create a 'psychedelic tie dye masterpiece'.
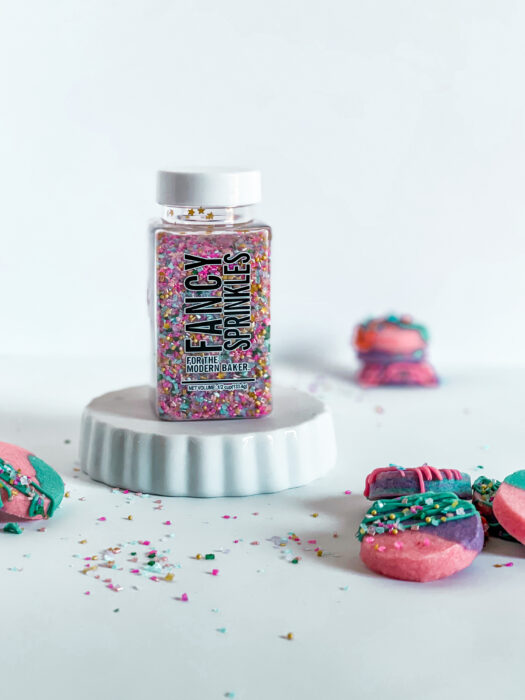
I chose the Penny Lane Sprinkle Blend which consists of pink, blue, green, and gold sugar sprinkles. It is the cutest blend and even has little gold stars in it! This mix is so versatile and can be used for decorating baked goods or even lining the rim of a glass for a fun beverage!
Disclaimer: This post may contain affiliate links, meaning I may get a small commission if you decide to make a purchase through my links at no cost to you.
Anyways, I digress. After selecting my sprinkle blend, I decided I needed to make a colorful sugar cookie. My classic sugar cookie cutout recipe was perfect for this so I could make some fun "groovy" shapes. But to really kick it up a notch, I added a stained-glass effect to the center of the cookie dough. I think it adds a fun touch and it is an easy technique to do!
Supplies for Colorful Sugar COokies
- Sugar Cookie Cutout Recipe
- Food Coloring
- Cookie Cutters
- Dough sticks and Rolling Pin (or Rolling Pin with measuring rings)
- Jolly Ranchers
- Silicone mats or parchment paper
- Royal Icing
- Sprinkles
Find a No Spread Cut out Cookie Recipe
The first thing you need is to make a sugar cookie dough that is good for rollout cookies. My recipe doesn't spread and will not rise either, so it will work well for this cookie design. But if you have another recipe you prefer, that will work too. Just keep in mind if the cookie spreads too much it may alter the shape in the center of your cookie. Sharp edges will be best!
How to Color Sugar Cookies with Food Coloring?
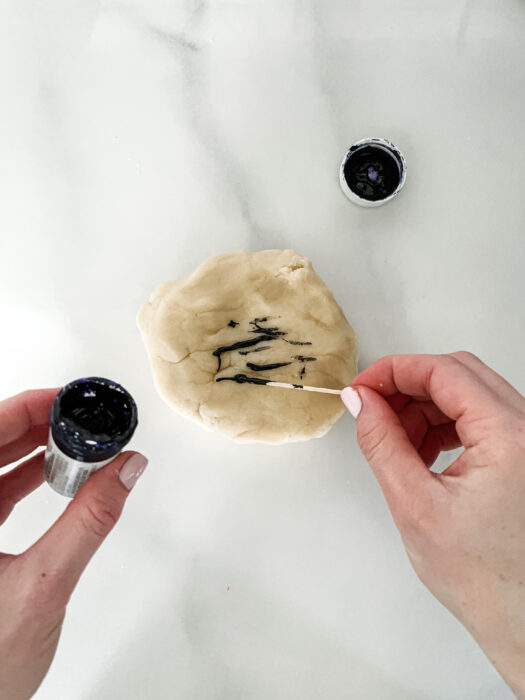
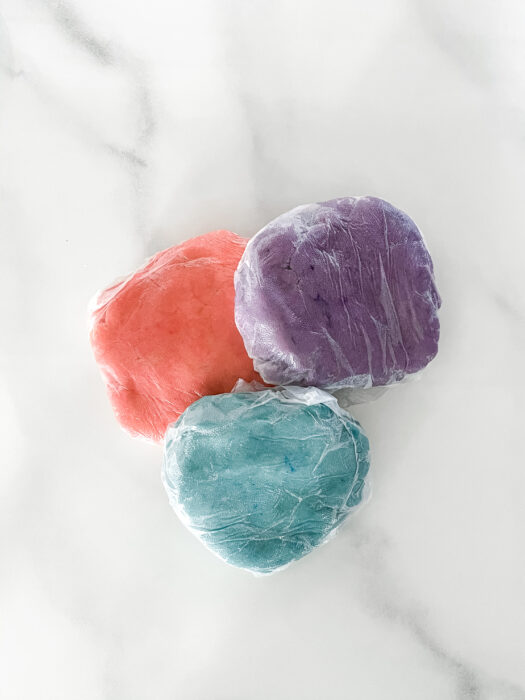
Coloring cookie dough is very easy to do! First, separate the dough into 3 parts and select 3 colors to dye your dough. I used Wilton gel colors in Pink, Purple, and Teal. You can mix the colors by hand in small bowls, but for ease, I used my stand mixer. Using a toothpick, add few swipes of color to the first piece of dough. I started with the lightest color, pink, so I did not have to wash my mixing bowl between colors. Turn the mixer on medium-high and blend for about 20 seconds until the food dye is fully incorporated. When you start to beat, if the color is not as rich as you would like, stop the mixer and add a bit more color. Once you reach the desired shade, remove from the dough from the mixing bowl, make it into a disc shape, and wrap it in plastic wrap while you complete the process with the other two pieces of dough.
Roll Cookie Dough into Logs
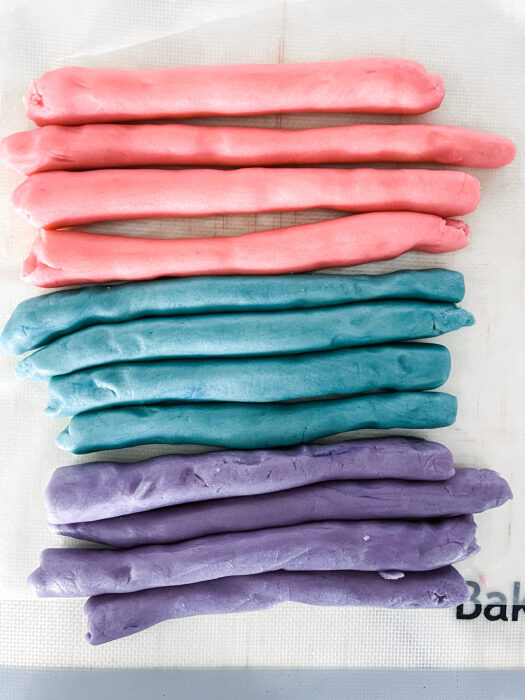
Start by taking your pink dough disc, divide in half, and then divide each of those pieces in half again. You should now have 4 pieces of pink dough. Using your hands, roll each piece into a log, that is at least around ½" thick. Complete this process with your purple and teal dough. In the end, you should have 12 total dough logs.
Making your Rainbow Swirl Cookie Dough
If you like making cut out cookies and do not own dough sticks, they will change your life! They are just long pieces of plastic that are made at specific heights. You simply place them on both sides of your cookie dough so when you roll the dough, it will stay at one consistent height! You can also use a rolling pin that has measuring rings!
I use wax paper to roll out my sugar cookies, I find it helps when transporting dough into the freezer, there is little to no dough sticking, and it makes clean up easy! If you use this method, lay out a piece of wax paper and place ¼" dough sticks on either side of the paper. Now, you will take half of your dough logs and one at a time and start spiraling them together, starting in the center and working your way out. Try and stager the colors so there are not too many instances where one color is lined up next to the same color.
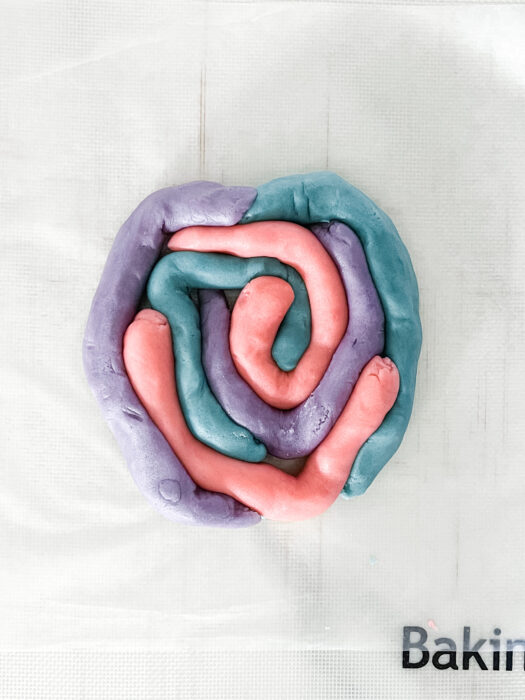
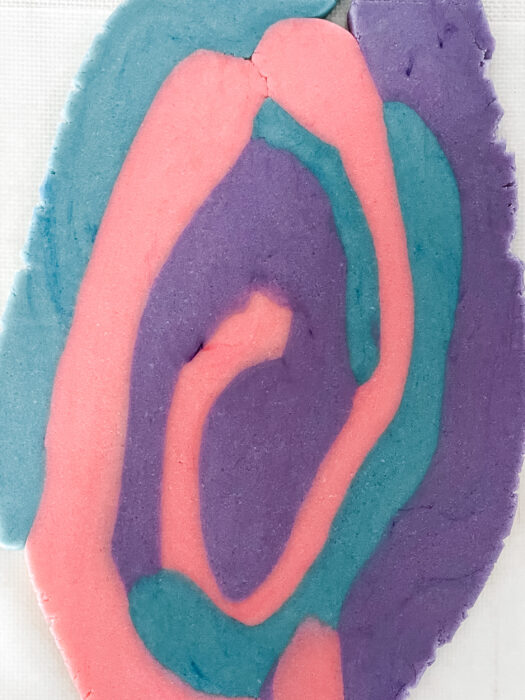
Once you get the dough in a spiral design, cover the top of the dough with another sheet of wax paper, and using a rolling pin, roll out the dough! You will get a pretty rainbow spiral look. Place the rolled dough in the freezer for 10-15 minutes to allow it to get stiff, but not completely frozen. Repeat the process with the second half of the dough.
Crush your Candy
While the dough is chilling, it is time to crush your candy! I used jolly ranchers because I loved the bright colors. I also tried some with Lifesavers which worked well. I would assume most hard candies would be fine, though I haven't experimented with anything else. If you try other candies, please let me know!
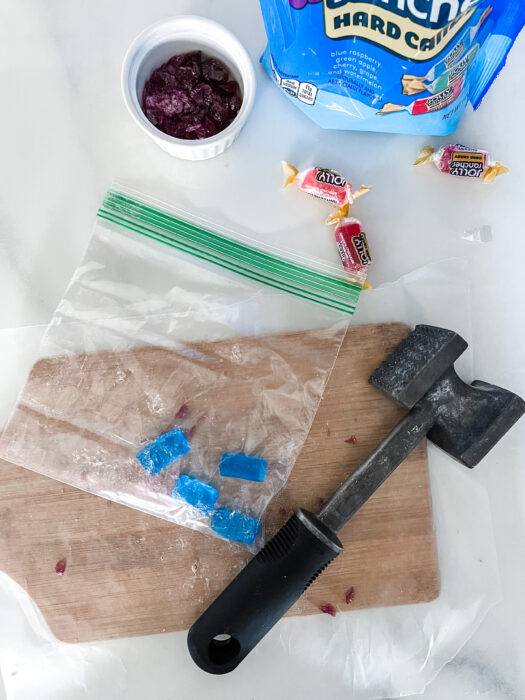
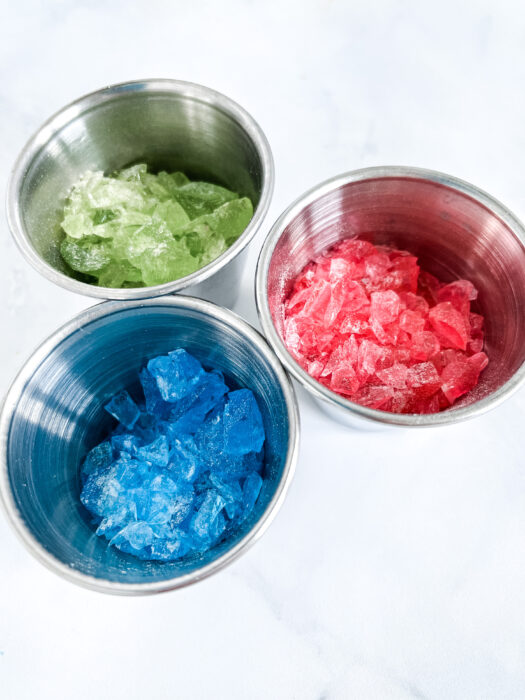
Separate out some candy pieces in the colors you want to use. I chose to use purple, green, pink, and blue. In a small Ziploc bag, place a few candy pieces inside (I used about 4 of each color) and seal the bag. On a cutting board (or whatever will protect your countertop) crush the candy using a meat tenderizer tool or any sort of object that will smash up the candies well.
You do not need to get the candy pieces super fine, but they do need to be small enough to fit into the cookie dough holes.
Cut Out your Colorful Sugar Cookies
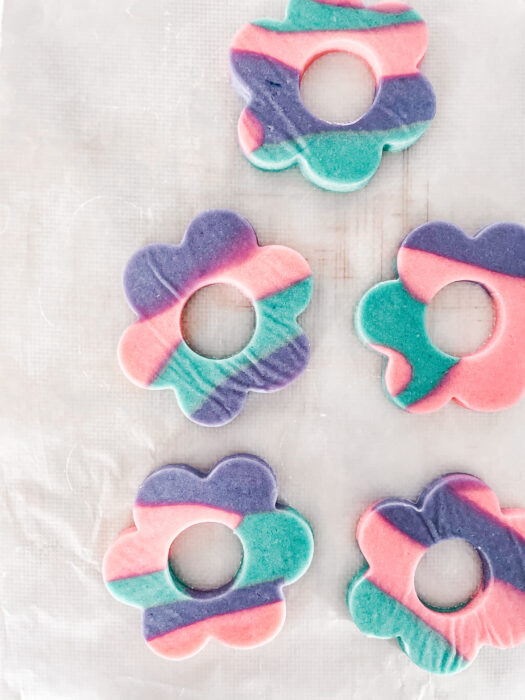
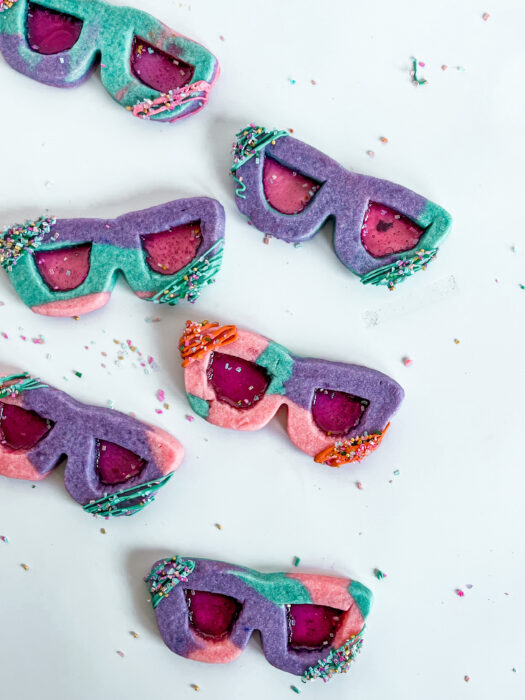
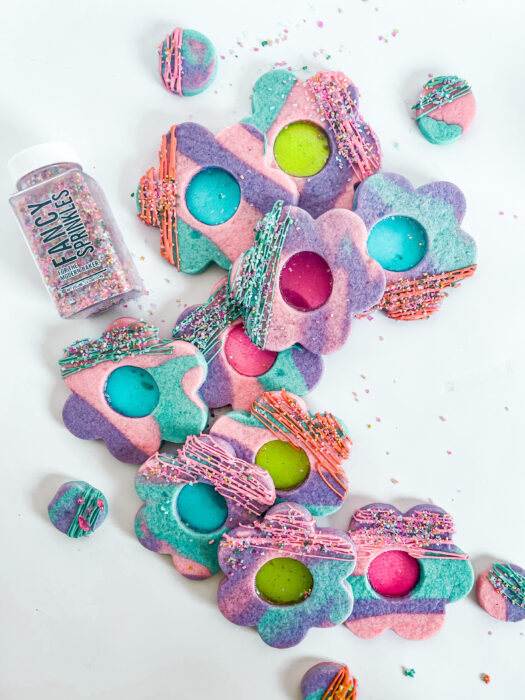
Prep your cookie sheet with a silicone mat or parchment paper. Now start cutting out your cookies! I used a large flower and a small circle for the flower cookies. For the sunglasses, I used a sunglass cookie cutter and a knife to cut out the center of the glasses. Whatever shapes you decide to use, just make sure you create a hole in the center of the cookie where your candy pieces will melt!
When you are cutting out the dough, cut the shapes as close together as possible, to get as many cut outs as you can. You can re-roll the dough once, but after that the colors will start to blend too much. Also, the more you roll the dough, the tougher the cookie will be when baked.
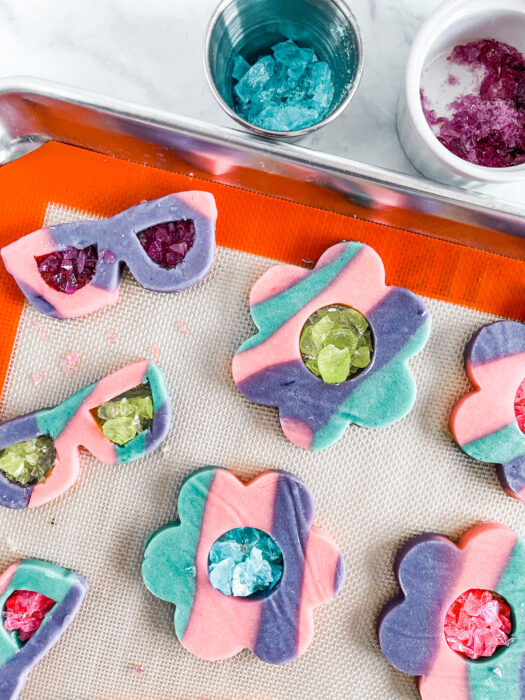
Lay your cookies out on the baking sheet and fill each hole in with crushed candy. Make sure the hole is filled well, but that none of the candies are spilling over the edge onto the cookie. Bake in the oven for 10-12 minutes at 350 degrees. Turn on your oven light if you want to see the candies melt down!
It is a bit harder with colored dough to see when the cookies are ready. The dough will look shiny in the oven when they are baking, when they are ready they will have more of a matte look. Use your best judgment, but keep in mind they will be sitting on the cookie sheet for a while once you remove them from the oven, so they may bake a bit more as they are cooling.
Make sure your Stained-Glass Candy is Set
When the cookies are fully baked, remove them from the oven, and let them cool completely on the baking sheet. The candy needs to re-harden and cool, so it is imperative you do not move them off the sheet until the candies are set. I let mine cool for about 30 minutes on the cookie sheet.
Royal Icing & Sprinkles
Now it's time for the final touches (and the most fun part in my opinion)! You will need a very small batch of royal icing. Here is my simple 3 Ingredient Royal Icing Recipe. If you use my recipe, I would quarter it. If you do not have the ingredients for Royal icing, you could also make a simple glaze using powdered sugar and milk (whisk 1 cup of powdered sugar with 1-2 tablespoons of milk). Just keep in mind glazes do not dry as hard as royal icing - so account for this when stacking or storing cookies.
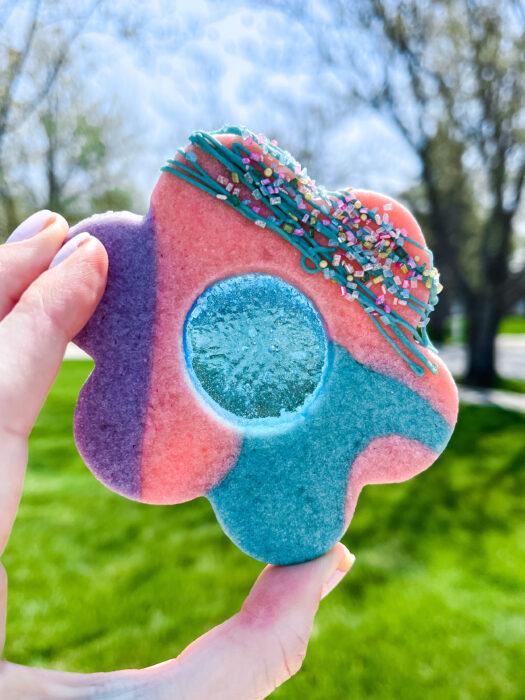
Using food coloring, dye your royal icing into desired colors. I chose orange, teal, and pink. With a piping bag, drizzle the side of each cookie and coat with some sprinkles! I ended up with about 20 cookies, but this may vary depending on what size cookie cutters you use.
Cookie Storage
Let the royal icing harden completely - this should take a few hours. Then you can store in an airtight container for up to 5 days.

Enjoy your Groovy Tie Dye Sugar Cookies
Now it is time to enjoy! These groovy, rainbow swirl, cut out cookies will be perfect for a 70's themed party, a tie dye theme, or even spring cookies. You can really get creative based on what colors and sprinkles you use. As always, please tag me in your creations at @the_frosted_kitchen. I cannot wait to see what cookies you design!

Groovy Colorful Sugar Cookies
Ingredients
- 1 No Spread Sugar Cooke Cut Out Recipe
- 16 Jolly Ranchers
- ¼ Royal Icing Recipe
- ¼ cup Sprinkles
Instructions
- Preheat oven to 350°.
- Follow instructions of your Cut Out Cookie Recipe up until you finish the dough.
- Break the dough into 3 equal pieces. Using a stand mixer (or by hand) mix food dye with each piece of dough. When completed you will have 3 different colors of dough.
- Take one of the colored dough sections, break in half, and then break each piece in half again leaving you with four dough pieces. Roll out each piece into a long log that is at least ½" thick. Repeat with the remaining colors leaving you 12 dough logs in total.
- Lay down a piece of wax paper. Take two log dough pieces from each color and start to spiral them together on the wax paper. Start in the center and work your way out rotating colors so that the same colors do not overlap.
- Place ¼" dough sticks on each side of the dough. Cover in wax paper and roll out with a rolling pin. Freeze for 10-15 minutes to get the dough stiff, but not frozen.
- While the dough is in the freezer, it is time to crush your Jolly Ranchers. You will use about 16 pieces of candy so decide which colors you want the stained glass to be and separate by color. Crush like colors together in a Ziploc bag using a meat tenderizer or whatever object you have that will crush the candy. Make sure your Ziploc is on a cutting board or whatever will best protect your countertop.
- Line cookie sheets with parchment paper or silicone mats. Remove cookie dough from the freezer and cut out your shapes. Use a smaller cookie cutter or a knife to cut out a hole in the middle of the larger cookie. Do not re-roll the cookie dough more than once. The colors will start to blend too much at this point. Place cookies on the baking sheet.
- Add the crushed candy to the center of each cut out cookie. Make sure to fill the hole completely, but do not let any candy overlap onto the edge of the cookie.
- Bake cookies for 10-12 minutes. Remove from the oven and let cool completely on the cookie sheet. Do not move until the candy is fully hardened.
- While the cookies are cooling, make your royal icing and color it to your desired shades.
- When the cookies are fully cool and the candy has hardened, drizzle the edges with royal icing, and top with sprinkles!
