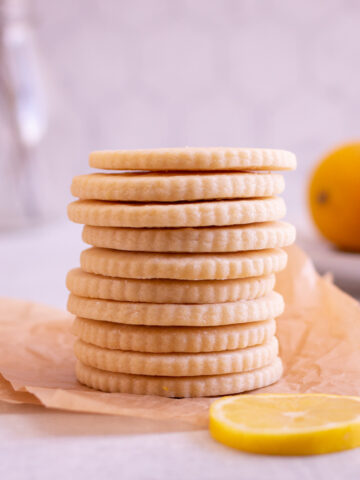
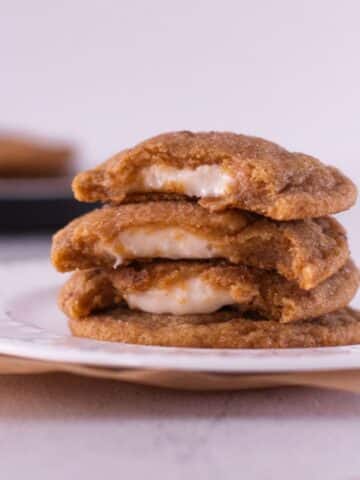
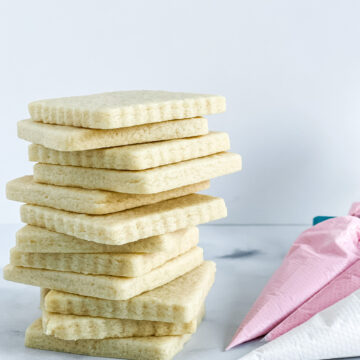
One of the keys to decorating cookies with royal icing is having a perfect sugar cookie recipe that does not spread, with no rise, but still tastes delicious. This is my tried and true easy sugar cookie recipe that I have used for years. You can use the recipe for Christmas cookies or, really, any occasion. It is easy to make and it is tasty! Though this is a great cut out recipe for decorating with royal icing you can use buttercream frosting or even eat them plain!
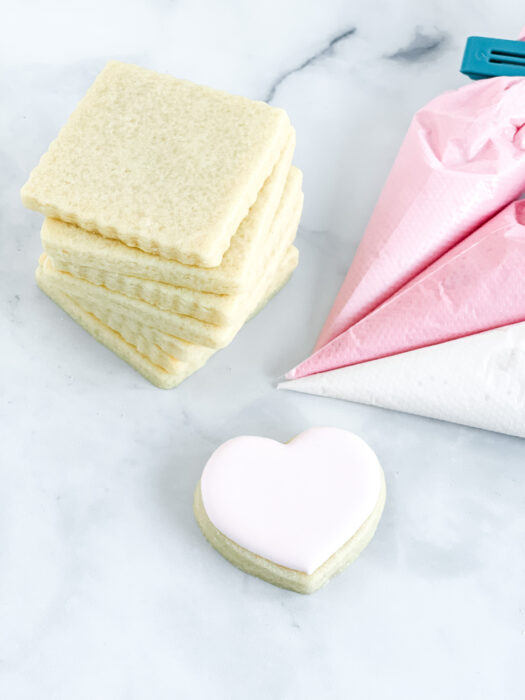
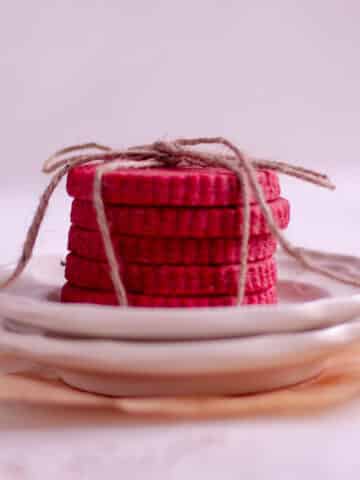
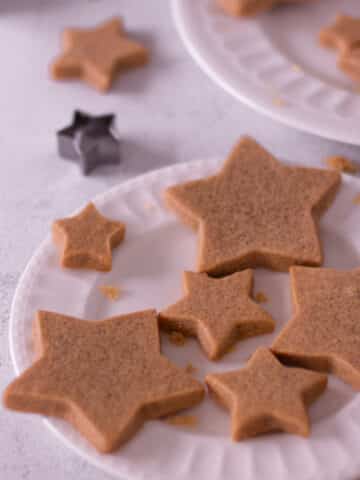
If you are new to royal icing, check out my Ultimate Guide to Royal Icing! I also have many other cookie recipes created just for royal icing decorating including Brown Sugar Cut-Out cookies, No Spread Chocolate Chip Cut-Out Cookies, and Red Velvet Cut-outs.
Disclaimer: This post may contain affiliate links, meaning I may get a small commission if you decide to make a purchase through my links at no cost to you.
Jump to:
- Ingredients You Will Need for Cut Out Sugar Cookies
- Supplies You Will Need for Cut Out Sugar Cookies
- How to Make Sugar Cookie Cut-Out Dough
- Rolling your Cut Out Sugar Cookie Dough
- Add Cut Out Sugar Cookies to Your Baking Sheet
- Decorating your Cut Out Cookies
- How to Store Cut Out Sugar Cookies
- Related
- Royal Icing
- Vanilla Cut Out Sugar Cookies
Ingredients You Will Need for Cut Out Sugar Cookies
- Unsalted Butter
- Granulated Sugar
- Eggs
- Vanilla Extract
- Baking Powder
- Salt
- All Purpose Flour
- Heavy Cream
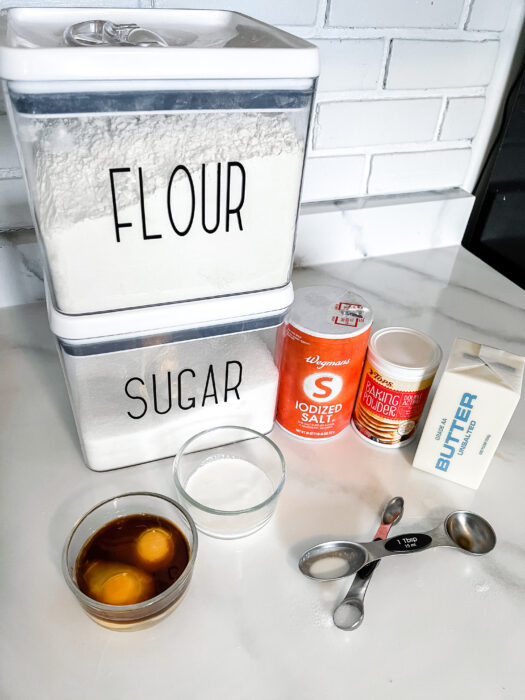
Supplies You Will Need for Cut Out Sugar Cookies
Stand Mixer or Hand Mixer
To make this no spread sugar cookie recipe you can use either a stand mixer or hand beaters. If you have a stand mixer available, this is definitely the easiest way to go. However, if you only have a hand mixer that works too!
Rolling Pin and Dough Sticks
When making any sort of cutout sugar cookie, keeping the dough at a consistent height is key for decorating as well as making sure the cookie bakes evenly in the oven. Using dough sticks or a rolling pin with thickness rings will make this very easy to do.
Silicone Mats or Parchment Paper
When baking your dough in the oven, lining the cookie sheets with either silicone mats or parchment paper will make sure your cookie doesn't stick to the baking sheet. I used parchment paper for years (check your local Dollar Tree for cheap parchment paper!), but recently I have been using silicone mats to bake my sugar cookies. While both work well for keeping the cookie from sticking, I find the cookie bakes more evenly throughout with the silicone mat. If you look at the bottom of the cookie after baking with parchment paper, the outsides brown much more heavily than the center. At the end of the day, either option will work great!
Cookie Cutters
Now for the most fun part of baking cutout cookies - the cookie cutters! You can get cookie cutters at most grocery stores, craft stores, Amazon, etc. If you are looking for a really specific shape, check out Etsy. There are TONS of great cookie cutter designers that have adorable and creative cutters!
When baking your cut out cookies, if possible, I try to keep similar-sized cookies on the same pan. If you are baking a really large cut out with some very small ones, you might find they do not bake consistently.
How to Make Sugar Cookie Cut-Out Dough
Cream your Butter and Sugar
Make sure you use room temperature butter. It should not feel cold, but also shouldn't be too soft where if you poked the butter with your finger, it would easily make a dent. If you have time to leave it out on the counter for a few hours, that works. But if you are like me and always forget to set out your ingredients ahead of time, microwave the butter for 15 seconds at 50% power, and then 5-second increments at 50% until you get it to the right temperature.
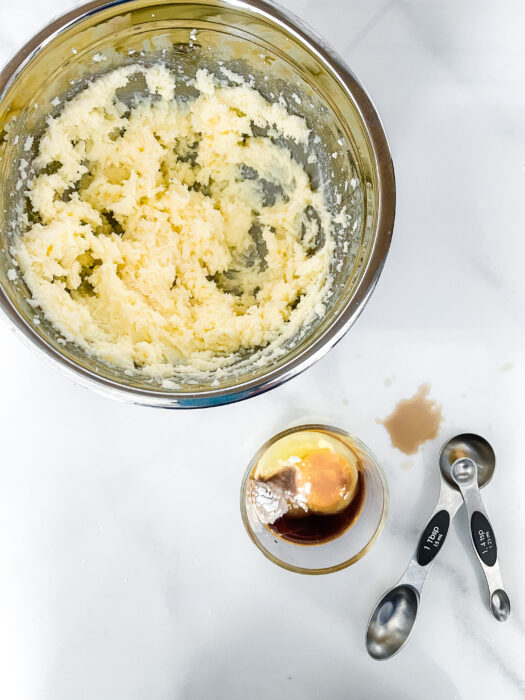
In a large mixing bowl with a stand mixer and paddle attachment or hand mixer beat your butter and sugar for about 2 minutes on high. The mixture will slightly lighten in color and appear fluffy.
Adding your Eggs
In a small bowl, combine your egg (cold or room temperature), vanilla extract, baking powder, and salt. Add this mixture to your large bowl with the creamed butter and sugar. Beat on medium for about one minute or until the eggs are fully incorporated into the butter. As soon as you achieve this stop beating! Scrape down the sides of the mixing bowl.
Combining the Flour into your Dough
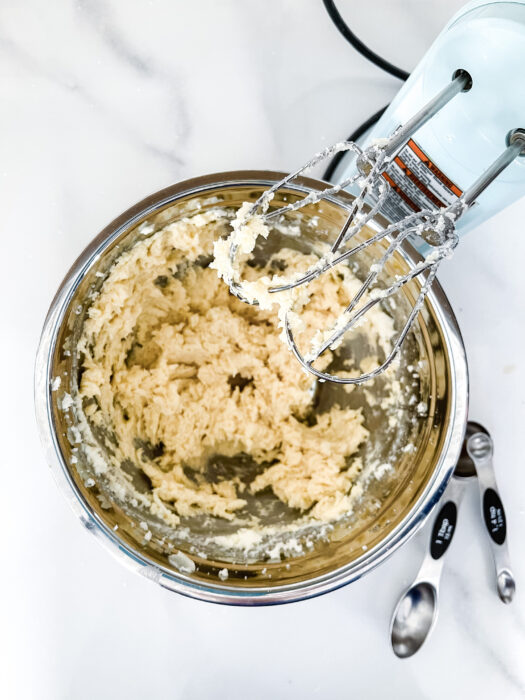
In a separate bowl, measure out your flour. If you have a food scale, I would highly recommend using it! Slowly add a little flour at a time (¼-1/2 cup) to the large bowl and beat on low speed (if you are using a hand mixer you may need to go up to medium speed).

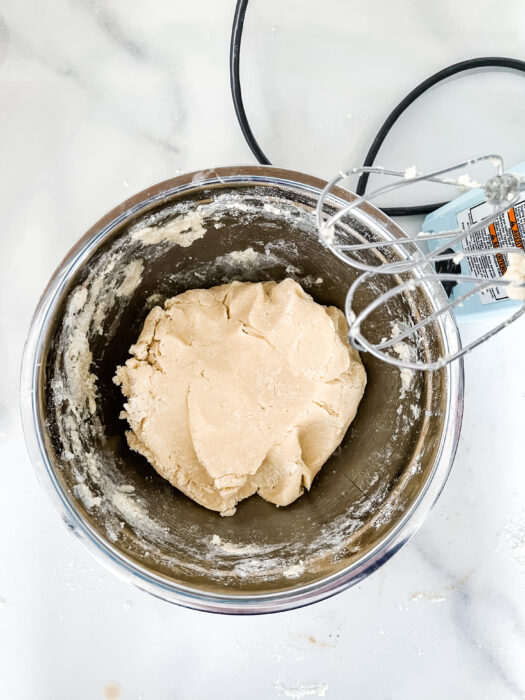
Once all of your flour has been added and mixed, the dough will be very chunky and look dry. Add the heavy cream and beat on high for just a few seconds until the dough is more cohesive. With a stand mixer, 10 seconds should do the trick - with a hand mixer you may need about 20 seconds or so! At this point, you should be able to work with the dough and create a ball with your hands. It will be sticky but should not stick to your hand too much.
If you are baking the dough right away, move on to the next step! If you plan on saving this dough to make later, wrap the dough in plastic wrap in a flat disc, and freeze it in a ziplock bag or airtight container.
Rolling your Cut Out Sugar Cookie Dough
First, get two sheets of wax paper ready, placing one on a flat surface Take about half of your no-spread sugar cookie dough and form it into a long, horizontal log shape, and set it in the middle of your wax paper. If you are using dough sticks, place them on either side of your dough - cover with the other sheet of wax paper. Roll the dough to the desired thickness. I typically do ¼" to ⅜" thick dough. If you like a thicker cookie, you may need to adjust the baking time slightly higher.
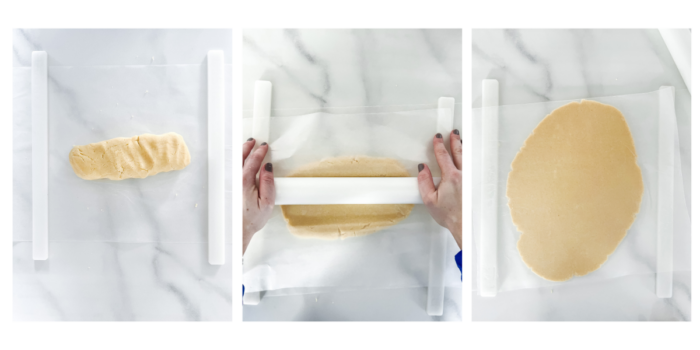
Roll out your other half of the dough in the same way as the first. I stack the rolled dough sheets on a tray and place them in the freezer for about 10-15 minutes. You don't want the dough too frozen that it is really difficult to get the cookie-cutter through. However, the dough should hold its shape (and not be floppy) when you move it.
You do not necessarily have to freeze this dough recipe if the dough is cold. However, freezing it will make for an easier time cutting shapes and transferring to the baking sheet (especially if your shapes are intricate).
This recipe is a good cookie recipe that is perfect for different shapes of cookie cutters Since makes no spread sugar cookies you can even make complex shapes.
Add Cut Out Sugar Cookies to Your Baking Sheet
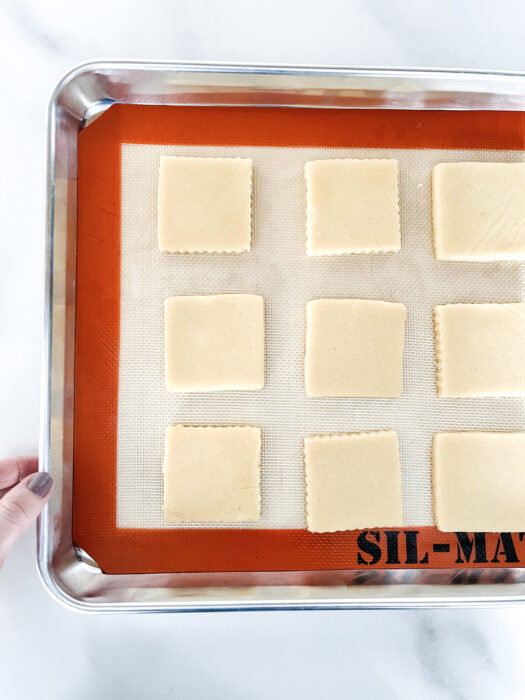
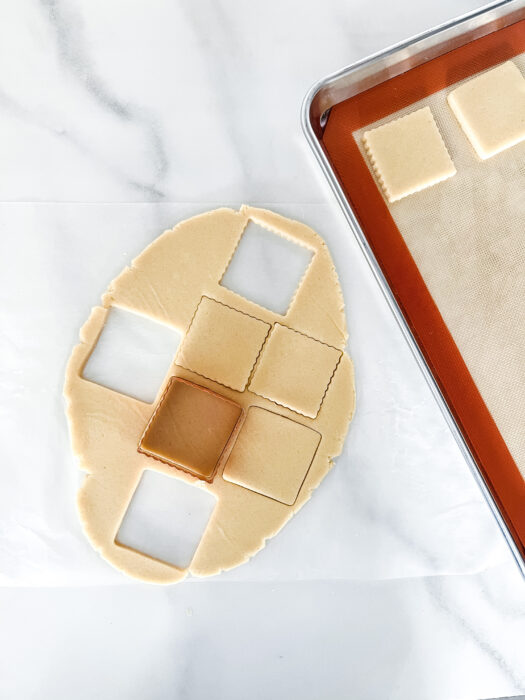
Line a baking sheet (not the one that was in the freezer!) with parchment paper or a silicone mat and start cookie-cutting away! Try to cut as many cookies as you can from the dough. The more cookies you can get out of the first two times you roll out the dough, the better! If you roll the dough too many times, the cookies will start to get tough and they won't be as soft when baked.
When I make cookies to sell, I never use dough that has been rolled out more than twice (I also don't waste it - I'll freeze it and use it for sample cookies or tutorials!). However, when I am making them for my family, I use it all!
Bake your Cookies!
Once you have the first cookie sheet filled, bake cookies at 350 degrees for 11-14 minutes. Depending on how your specific oven bakes, you may want to flip the sheet around about halfway through. If you notice the cookies at the back of the tray in the oven brown faster, you should definitely flip them around!
The sugar cookies will be done when they no longer look really shiny and if you touch the center of a cookie, it won't make an indent. The bottom corner of the cookies will be very SLIGHTLY brown. However, if you like a more crunchy cookie, bake until you start to see them brown all around the bottom edge.
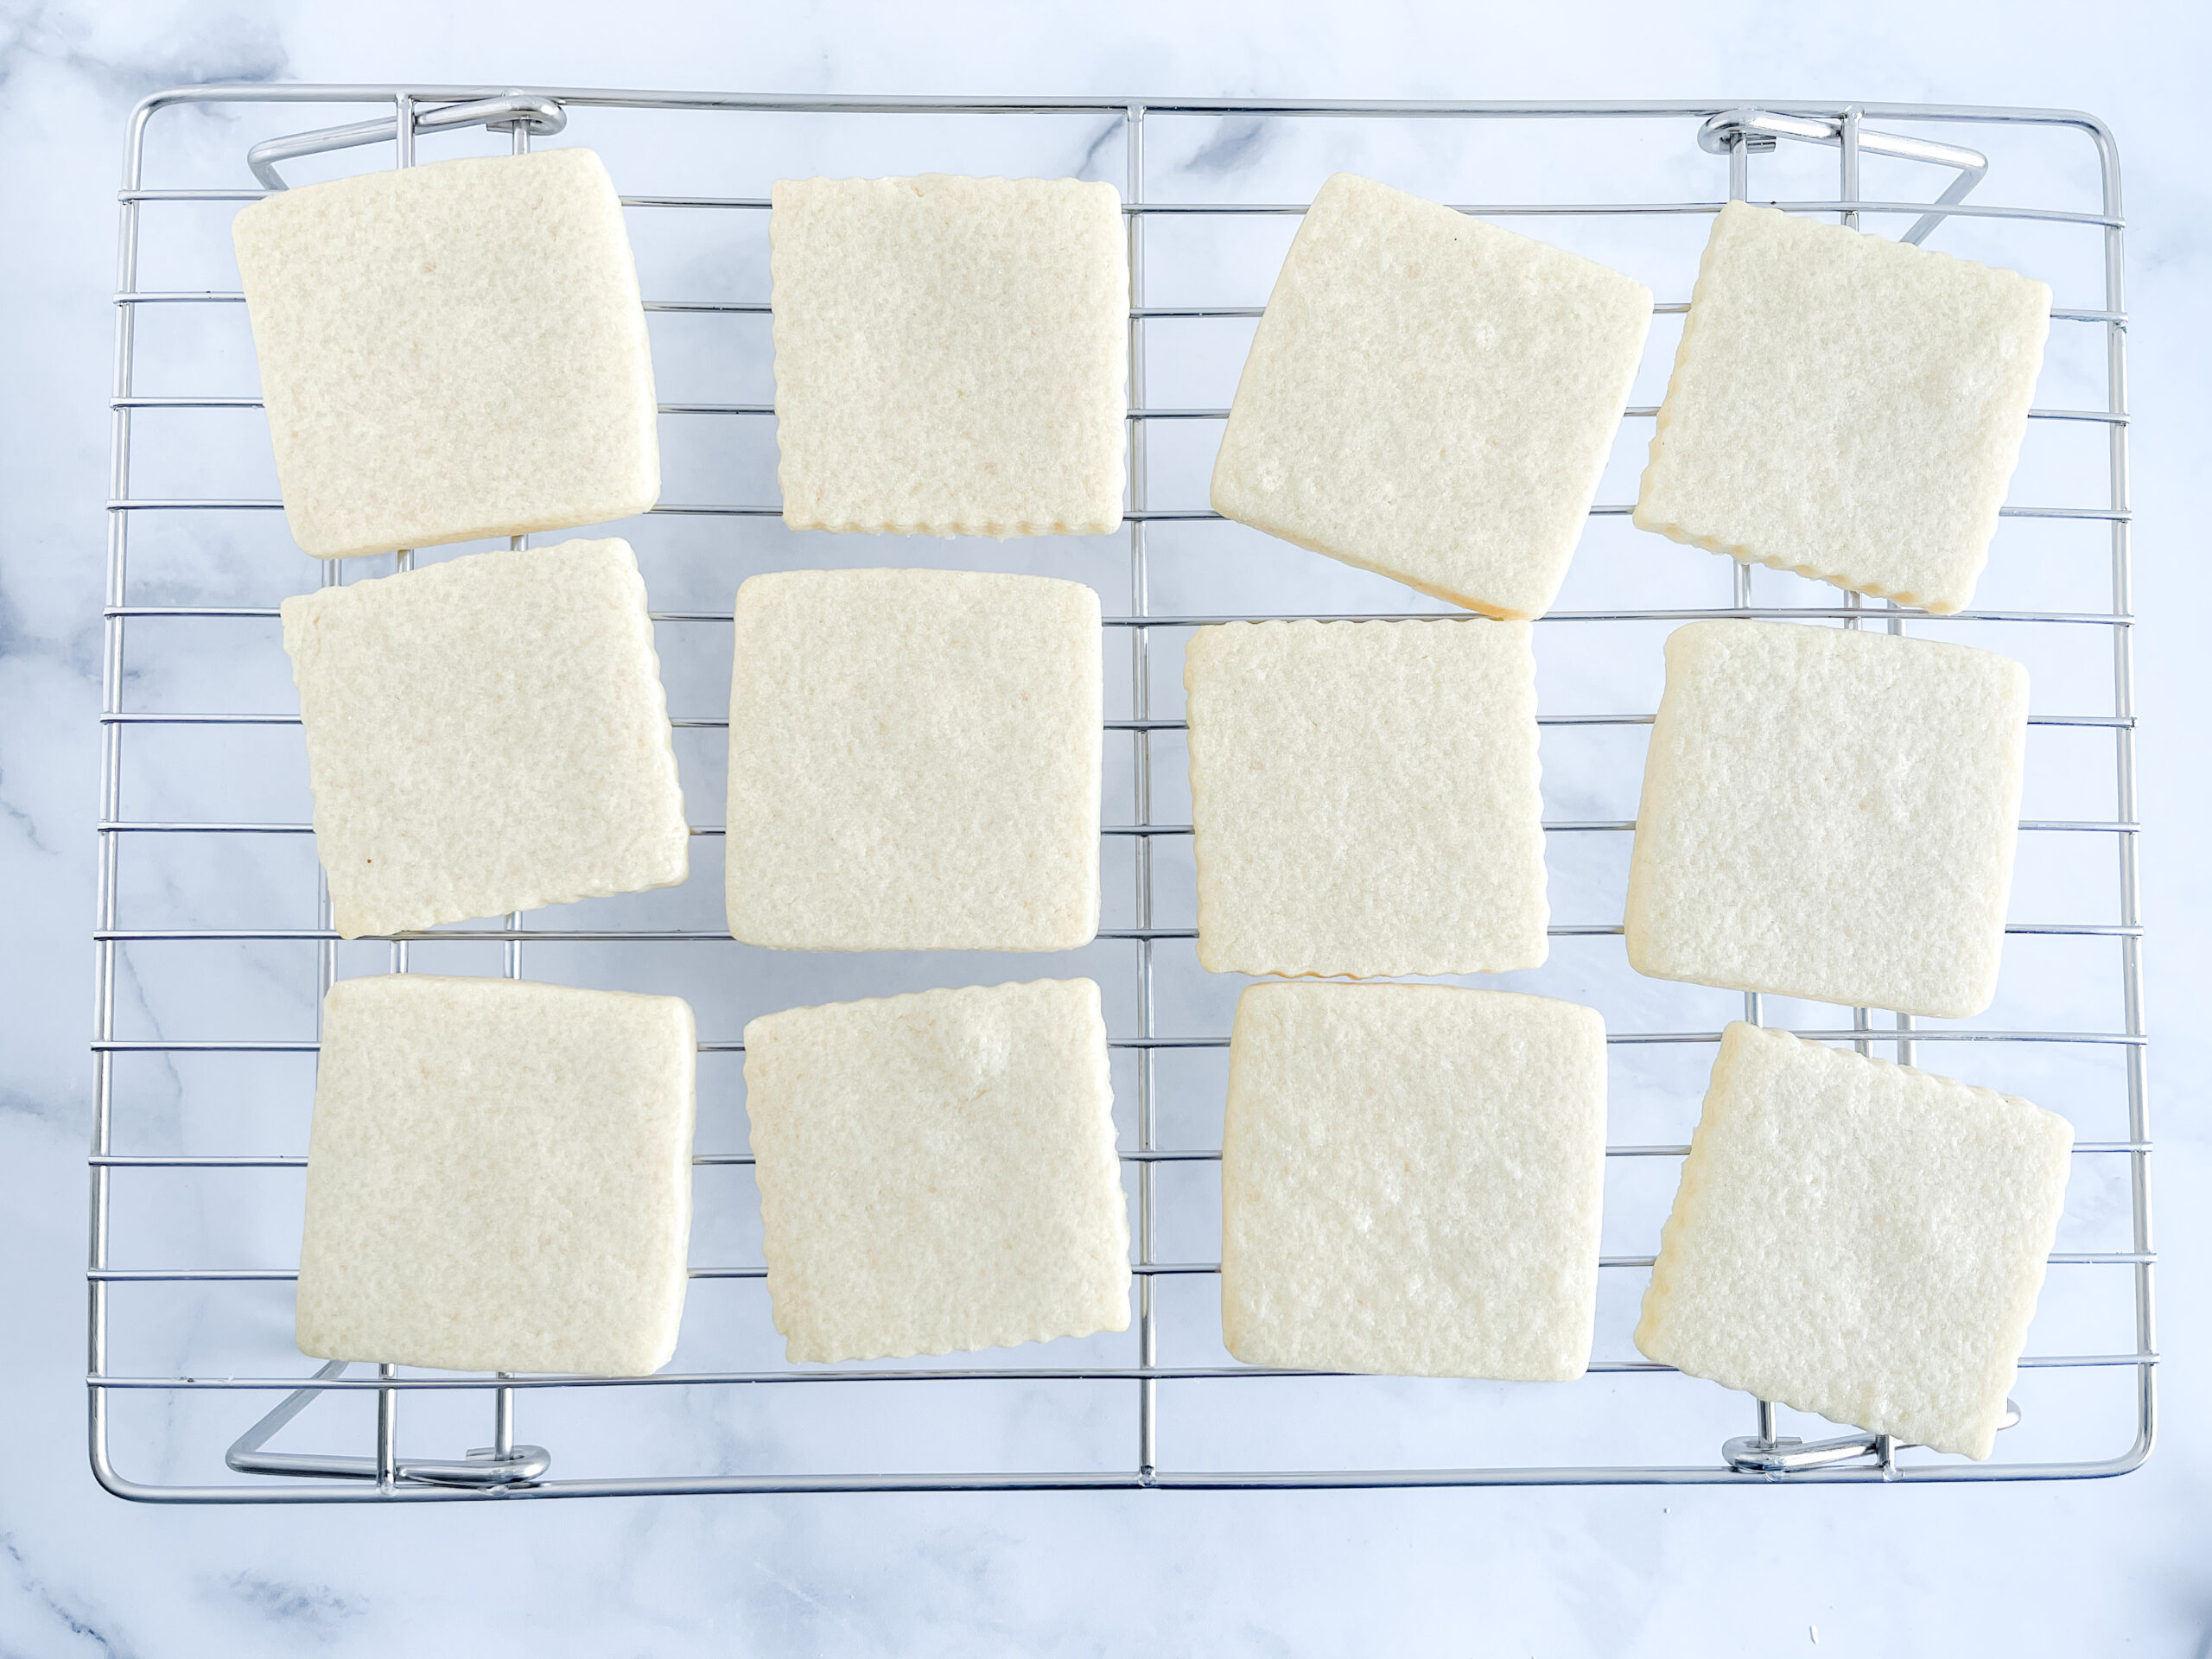
Once they are done baking, remove them from the oven and let them sit on the tray for at least 5 minutes to settle. Transfer to a wire rack and let them completely cool!
Decorating your Cut Out Cookies
If you are decorating these cut out sugar cookies with buttercream icing, you can go ahead and do so as soon as the cookies are completely cool.
However, if you are choosing to decorate these with royal icing my preference is to wait until the next day. If there is no time to wait, I recommend placing the completely cool sugar cookies into an air-tight container and freezing for at least an hour.
If you are ready to make your Royal Icing to decorate these cut out cookies, check out my 3-Ingredient Royal Icing Recipe!
How to Store Cut Out Sugar Cookies
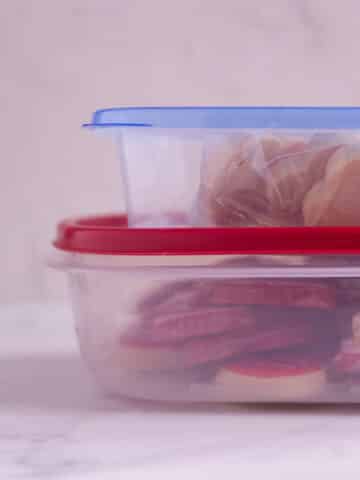
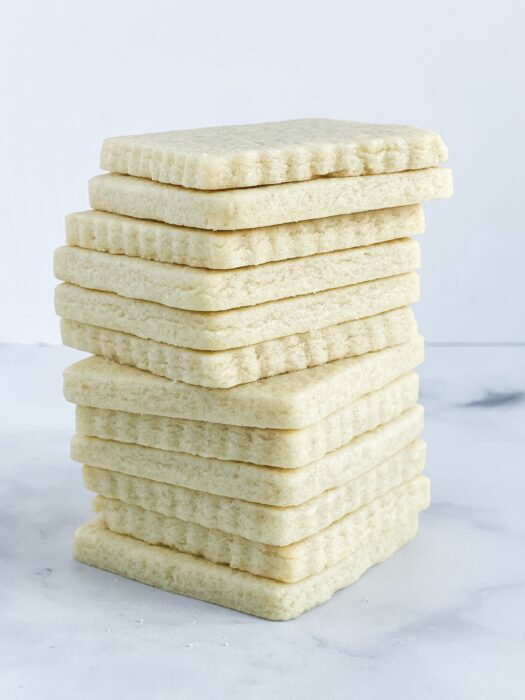
Once the cookies are completely cool, store them in an airtight container (I like these containers) for up to 5 days. You can freeze them for up to several months. When you take them out of the freezer, let them come to room temperature in the container without opening it (this is especially important if you have already decorated them with royal icing).
You can also freeze the dough for several months. Make sure it is tightly wrapped in plastic wrap and then sealed in a Ziplock or airtight container.
If you tried and loved this recipe, please take a moment and rate the recipe on the recipe card below. It would help me out so much!
Related
More cookie recipes that have been created for royal icing cookie decorating:
Royal Icing
More tips and tricks for royal icing cookie decorating:
Vanilla Cut Out Sugar Cookies
Ingredients
- 1 cup Unsalted Butter softened to room temperature
- 1 ¼ cup Granulated Sugar 250g
- 1 Egg
- 2 teaspoon Vanilla Extract
- ⅛ teaspoon Salt
- ⅛ teaspoon Baking Powder
- 3½ cups All-purpose Flour 450g
- 2 tablespoon Heavy Cream
Instructions
- Preheat oven to 350 degrees. Using a stand mixer or a hand mixer, cream the butter and sugar on high for about 2 minutes. The mixture should get fluffy and slightly lighten in color.
- In a small bowl, combine egg, vanilla, baking powder, and salt. Add to the butter and sugar mixture and beat on medium until the egg is fully combined. As soon as it is combined, stop beating.
- Measure the flour in a separate bowl and add about ½ cup at a time to the dough - beat on low. Continue adding in ½ cup increments until all the flour is incorporated. The dough will look a bit dry and be crumbly.
- Add the heavy cream and beat on high for 10-20 seconds - stop as soon as the mixture is all incorporated and the dough is cohesive. If you are using a stand mixer this will happen on its own. If you are using a hand mixer, you may need to knead the dough just a few times to get it to become cohesive.
- Tear two sheets of wax paper, laying one on the counter. Take half of the cookie dough and form a long log horizontally on the wax paper. Lay your ¼" or ⅜" dough sticks on either side of the dough and set the second piece of wax paper on top. Using your rolling pin, roll the dough out flat. Repeat this step with the second half of the dough.
- Place the sheets of dough flat in the freezer for 10-15 minutes until the dough is firm.
- Prep baking sheets with parchment paper or silicone mats.
- Once the dough is firm, remove it from the freezer and make your cut outs. Line them up on baking sheets. Keep cookies at least ½-1" apart.
- Re-roll excess dough (freeze again if necessary) and continue making cut out cookies. Try and get as many possible cookies out of the first two times you roll the dough. After it is rolled more than twice, cookies will become a bit tough (they will still taste good, just not as soft).
- Bake cookies for 11-14 minutes at 350 degrees. Rotate baking sheets halfway to help cookies bake evenly. Remove from the oven when you start to barely see the bottom corners of the dough darken.
- Let the cookies set on the baking sheet for at least 5 minutes. Transfer to a cooling rack until completely cool.


