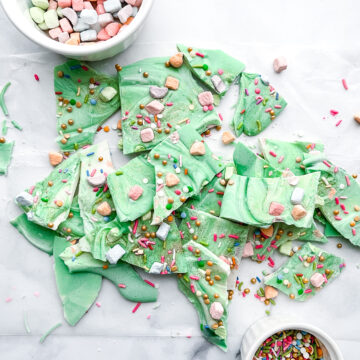
Although St. Patrick's Day is not the biggest holiday out there, I never miss an opportunity to make a fun dessert for a random holiday! This white chocolate St. Patrick's Day bark recipe is so fun and easy to make to celebrate the occasion.
Why you will Love this St. Patrick's Day White Chocolate Bark Recipe
- This is the easiest recipe - no seriously, there is just one main ingredient: white chocolate.
- You can get creative! Though I used green, rainbow colors, and gold in honor of St. Patrick's day, you can decorate this white chocolate bark with any colors and sprinkles you see fit (or whatever you happen to have in your pantry!)
- This is the perfect recipe to make with little kids! All you really have to do is melt the white chocolate and let them spread it and add sprinkles to their little hearts' desire.
Ingredients You Need for this St. Patrick's Day White Chocolate Bark
White Chocolate
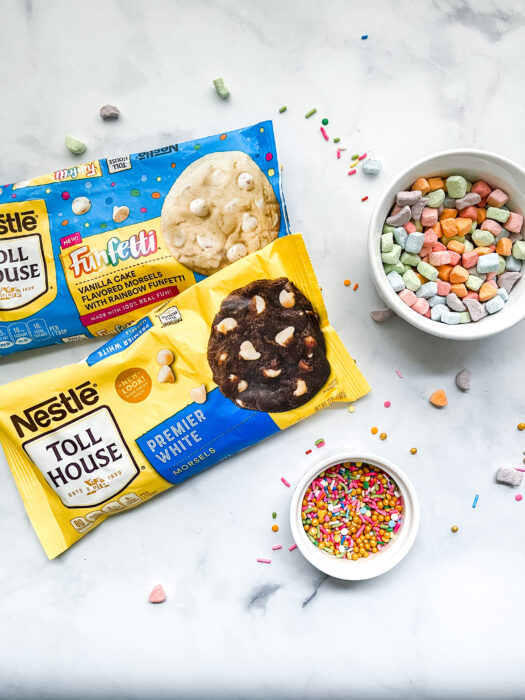
For this bark recipe, I used Nestle white chocolate chips and Nestle Funfetti chips. Both are delicious and super sweet. If you like a [less] sweet white chocolate, I would go with Ghirardelli white chocolate.
Sprinkles
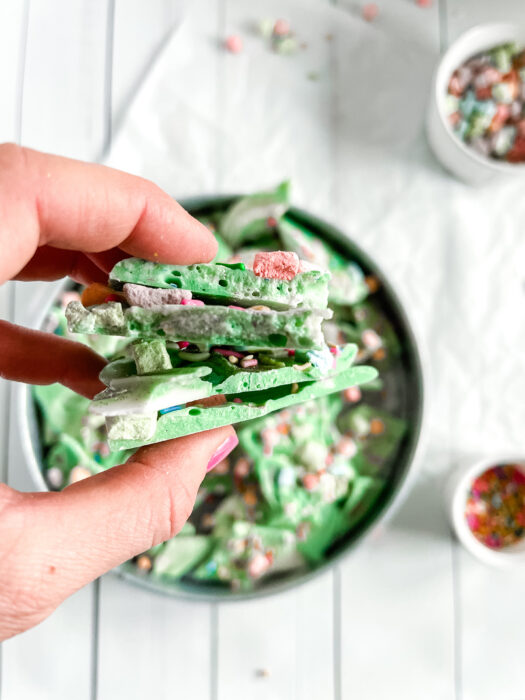
Because I may be a bit of a psycho when it comes to sprinkles, I have about 30 different colors and styles in my pantry. For this white chocolate bark recipe, I combined a mix of bright and fun rainbow colors along with some gold sprinkles. Rainbow jimmies would be perfect for this as well.
Marshmallows
If it were up to me, Lucky Charms would only contain those little dried out, yet oddly delicious marshmallows. Well wouldn't you know, you can order those online! I happened to find some at Big Lots, but I checked and Amazon has them in no short supply. These little Lucky Charms Marshmallows are the perfect touch to make this bark recipe even more festive. If this is a last-minute project, you could simply buy Lucky Charms cereal from your local grocery store. Adding the cereal pieces would add a nice crunch to the bark as well!
Edible Glitter
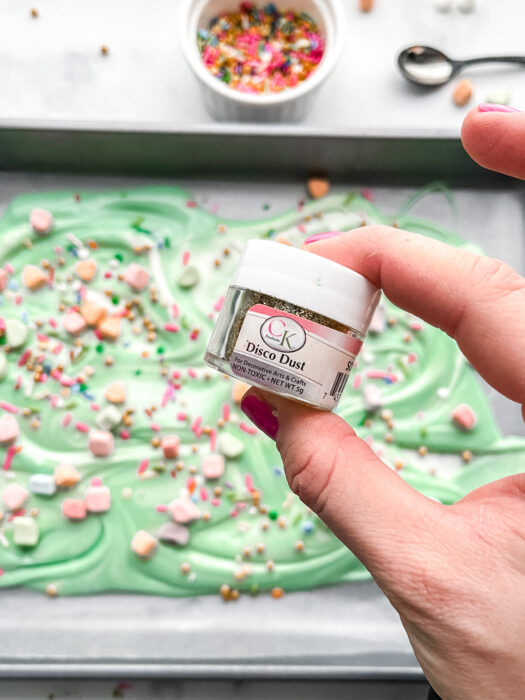
Edible (non-toxic) Glitter can add a perfect touch of glam to your desserts. The brand I use is Techno Glitter from CK Products.
*Make sure to read the labels on what edible glitter you purchase to make sure they are food safe and either FDA approved or non-toxic depending on what you feel comfortable with for your own dietary preferences and requirements.
White Chocolate Bark Supplies
Microwaveable Bowls
I prefer to use silicone bowls when melting chocolate because they don't get too hot in the microwave (i.e. they won't burn your hands when taking them out of the microwave), but they also reduce the likelihood of overheating your chocolate. I love the bowls I have, but I cannot find them on Amazon anymore! These bowls are somewhat similar.
Baking Sheet and Wax Paper
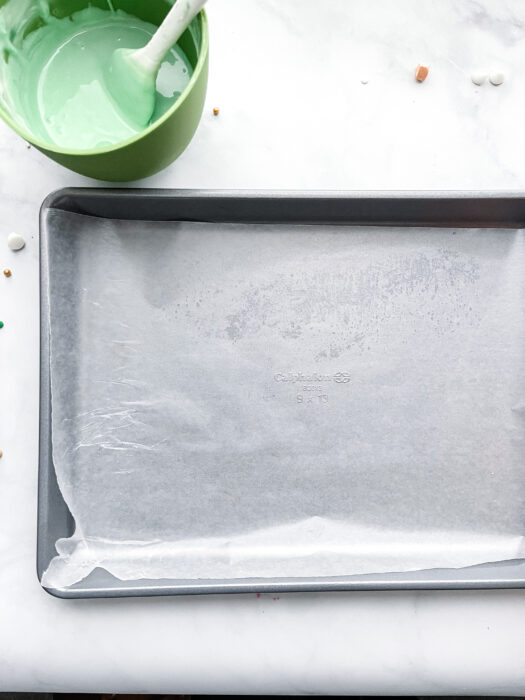
Lining your baking sheet with wax paper will make it infinitely easier to remove your hardened chocolate and clean your pan!
How to Microwave White Chocolate Chips
Microwaving chocolate chips for any recipe can be a bit of a pain, but the main trick to remember is patience. I never turn my microwave over 50% power and rarely microwave the chocolate for more than 30 seconds at a time. Each time you remove the chocolate chips from the microwave, stir very well. In total time, I usually microwave 1-2 cups of chocolate chips for a total of 2-3 minutes (all at 50% power).
Here are the melting times I personally used for these Nestle White Chocolate Chips
- 60 seconds at 50% power
- 30 seconds at 50% power
- 30 seconds at 50% power
- 30 seconds at 50% power
However, keep in mind every microwave is different. If yours is more powerful, it may take less time. When in doubt, less is more. Once you burn the chocolate (it will become very thick and clumpy and begin to smell burnt), there is no reviving it.
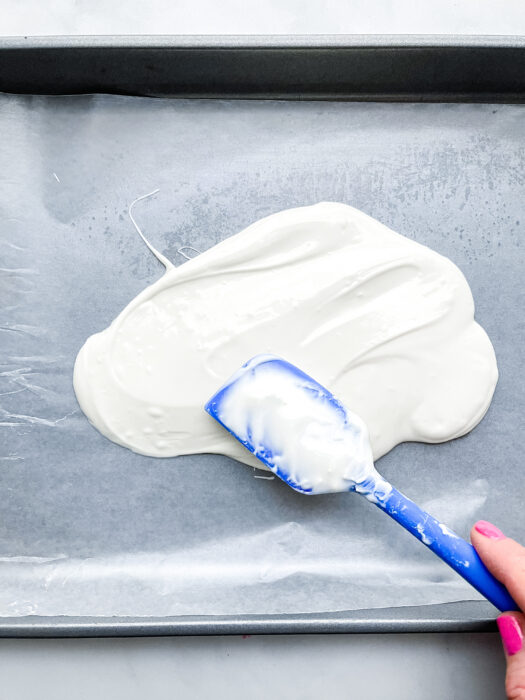
How to Dye your White Chocolate Chips
There are three ways to die your chocolate to make this white chocolate bark recipe.
Buy Pre-Colored Melting Wafers
This is by far the easiest, though not my favorite because melting wafers tend to be too sweet for my taste. But nonetheless, this is an easy and perfectly good road to take. You can buy these melting wafers at craft stores and many grocery stores.
Use Pre-Colored Melting Wafers to Color White Chocolate
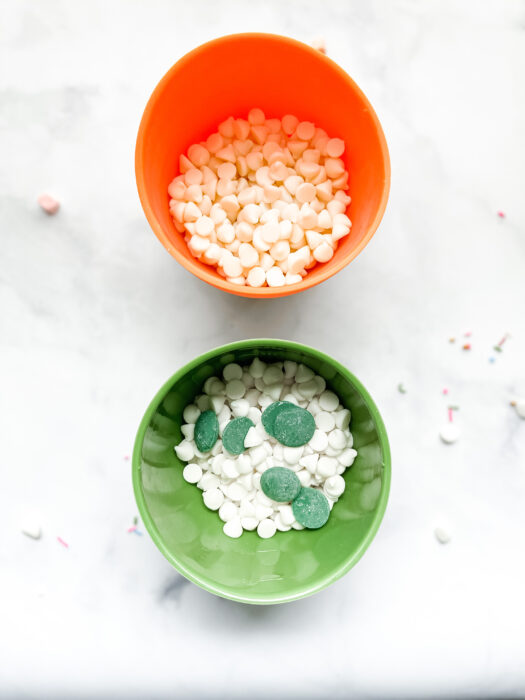
My favorite way to die chocolate uses melting wafers, but not a lot of them. I will use better quality chocolate such as Ghiradelli or Nestle and add just a few of the colored melting wafers in alongside the other chocolate. This works best when you are going for lighter/pastel colors. As the chocolate melts, your color will start to develop.
Use Oil-Based Food Coloring
You can use food dye, however, you MUST make sure you get an oil-based die. They make food coloring specifically for chocolate, make sure you purchase the right kind. If you use water-based coloring, it will ruin the consistency of the white chocolate as you melt.
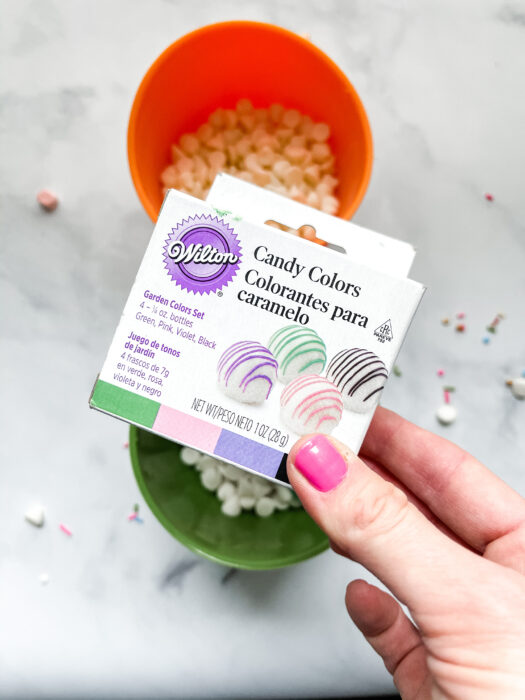
Adding your Toppings to the White Chocolate Bark
Now for the fun part of the St. Patrick's Day-themed white chocolate bark - the sprinkles and toppings! Once the chocolate is melted and swirled around the wax paper, you can start adding toppings. I started with the marshmallows because they are larger. Spread over the still melty white chocolate. Make sure to push the marshmallows down with the back of a spoon to make sure they dry into the hardened chocolate. Then fill in the spaces with the rainbow sprinkles. Lastly, using a food-safe paintbrush, fan some gold glitter around the bark. Place in the refrigerator and let cool for at least 30 minutes. Once the bark is hardened, rip up the bark into bite-sized pieces and enjoy!
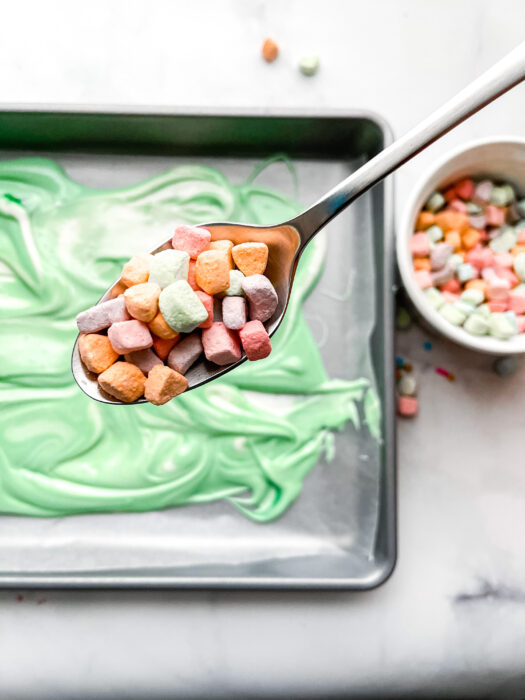
Storing White Chocolate Bark
You can store the bark in an airtight container in the refrigerator for up to 2 weeks. Now go and enjoy making this super easy and fun St. Patty's Day White Chocolate Bark. If you want to add more colors and different types of sprinkles, go crazy!
Looking for a St. Patrick's Day Cookie instead? Check out this Sugar Cookie Recipe and just use green sprinkles!
Remember to share all of your fun baking creations with me on Instagram at the_frosted_kitchen!
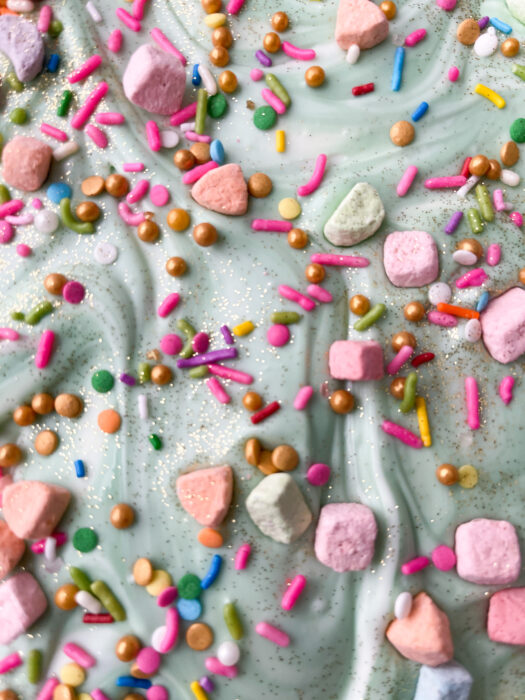
White Chocolate Bark Recipe [St. Patrick’s Day Style]
Ingredients
- 12 Oz White Chocolate Chips
- ½ Cup Dehydrated Marshmallows
- ⅛ Cup Sprinkles
Instructions
- Line a 9x13 baking sheet with wax paper, set aside.
- Divide your white chocolate chips in half and place them in microwave-safe bowls. Using oil-based food coloring (food coloring designated for chocolate), or pre-colored chocolate melts, add to one of the white chocolate chip bowls.
- One at a time, melt your chocolate chips in the microwave. Start with 1 minute at 50% power - stir well. Continue microwaving in 30-second increments at 50% power, stirring well each time. Repeat the process with the second bowl of chocolate chips.
- Spoon out about half of the green chocolate onto the lined baking sheet. Spoon out the white chocolate, pouring in a swirling motion over the green base. Add the remainder of the green chocolate. Using a knife, swirl the chocolate around to get a pretty swirl of color between the green and white chocolate.
- Immediately add the toppings. Start with the marshmallows and sprinkle across the chocolate. Press down with the back of a spoon to make sure they will harden into the chocolate. Add sprinkles and edible glitter if you choose to do so.
- Place the baking sheet in the refrigerator for a minimum of 30 minutes to fully harden. Remove and break into pieces.
