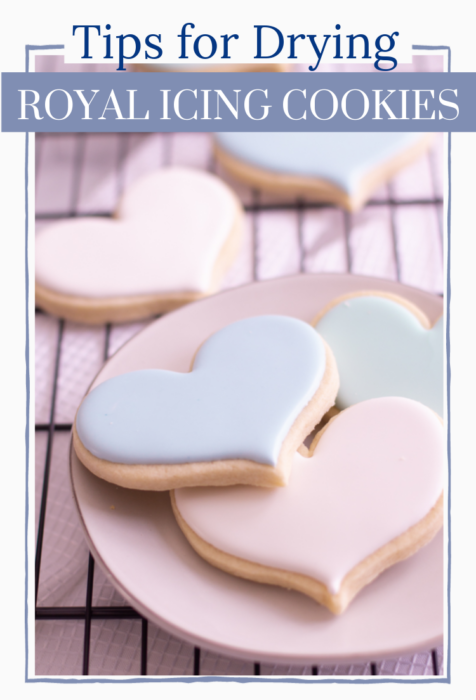
The only surefire way to dry royal icing is simply time - letting royal icing cookies sit out at room temperature to fully harden. This typically takes a minimum of 6-8 hours. Though there is no substitute for time, there are a few tips and tricks to help speed up the process.
- Dry Royal Icing Cookies in Front of a Fan
- Use a Food Dehydrator to Dry Royal Icing
- Make a Thicker Consistency Icing for Quicker Drying Time
Disclaimer: This post may contain affiliate links, meaning I may get a small commission if you decide to make a purchase through my links at no cost to you.

What is Royal Icing?
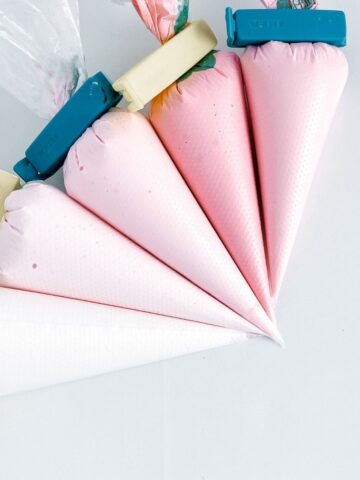
Royal Icing is different from many other buttercream frostings or icings in that it dries hard with a smooth finish. This makes it ideal for making intricate and fun cookie designs. It is made up of simple ingredients, most of which can be purchased at a grocery store. However, you may need to visit your local craft store or Amazon for a few items.
If you are looking for a recipe, here is my easy royal icing recipe!
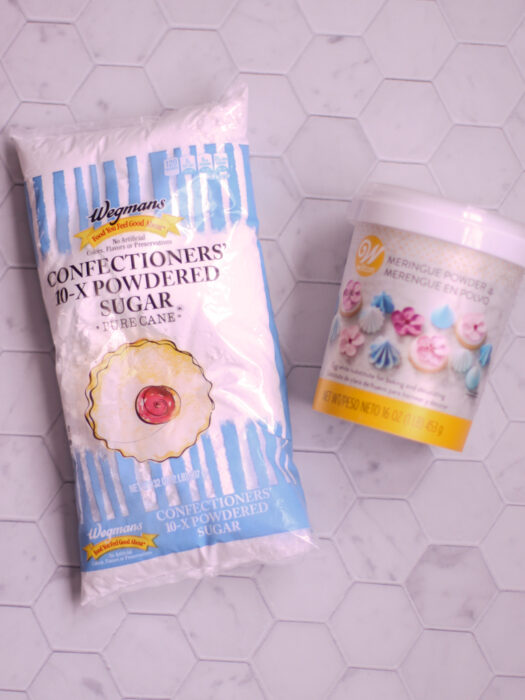
Powdered Sugar
Powdered sugar (aka confectioner sugar or icing sugar) is the main ingredient in royal icing. Make sure it is well sifted and there are no clumps when mixing the icing.
Egg Whites
Some form of egg whites is an essential ingredient in royal icing as this is what allows the icing to harden. Meringue powder, fresh egg whites, or egg white powder can be used. In place of raw egg whites, my preference is to use meringue powder. With meringue powder, you do not need to worry about potential food-borne illnesses that could be a risk with raw egg whites.
Many traditional royal icing recipes use egg whites very safely with great results. This is something I would love to learn more about in the future, but in the meantime, I love my meringue powder.
Water
Lastly, you need water! Water is the ingredient that will allow you to create different consistencies with your icing. Adding more water will create a thinner icing (or flood icing) that is used to cover the base of your cookies. Less water will yield a thicker piping consistency that is better for details. Always add just a few drops of water at a time, it’s always easier to add more water to thin the icing than it is to thicken the icing.
Pro Tip: Use a spray bottle to add water so you don't accidentally add too much water at a time.
Clear Extract (Optional)
You can use a clear extract to add a nice flavor to your royal icing. Vanilla extract is the most common flavor to add to royal icing, but you could experiment with other flavors too!
Corn Syrup (Optional)
Adding a little bit of corn syrup to your royal icing will help it to dry with a nice shiny finish. For more tips on this, I have a whole post on tips to get that shiny look!
Royal Icing Uses
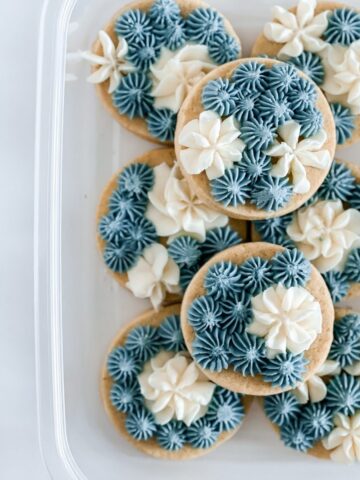
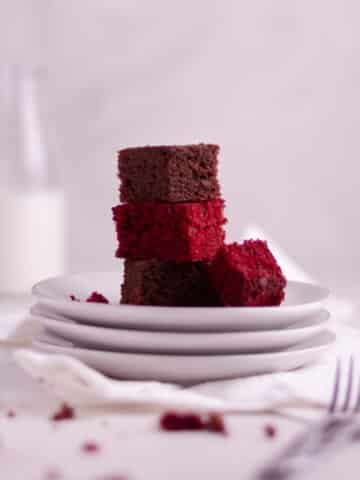
Royal icing has SO many uses. Since it dries hard you can use it to decorate cookies, gingerbread houses, royal icing transfers, and button candy, and it can even be used to make your own sprinkles! With the right consistency, you can create intricate designs on your sugar cookies, which is my favorite use for Royal Icing.
Methods to Dry Royal Icing
Allowing royal icing decorations to sit at room temperature to dry is the best way to harden the icing. The minimum amount of drying time required is typically 6-8 hours. However, this time can be changed depending on several variables including the consistency of the icing, humidity, design, etc. The best way to get your royal icing to harden is to let it sit on parchment paper or wax paper for many hours, place it in front of a fan to increase air flow, or put it into a food dehydrator.
Room Temperature Drying
Royal Icing needs at least 6-8 hours of drying time to thoroughly harden so that it can be touched or moved without creating imperfections. After about 30 minutes to an hour, a thin crust will begin to form on the top of the royal icing. When this happens, it will begin to look like it is dry, but the icing underneath the top layer will not yet have hardened.
Once your cookies are decorated, place them on a cookie sheet lined with parchment paper or straight onto a wire rack or cookie sheet to dry.
Though the standard drying time for most people is about 6-8 hours, there are a few things that could alter that time. The icing consistency will be a large factor in this. The thicker the icing, the quicker it will dry. For flood consistency icing (thinner icing), you will need much more drying time.
Humidity will also have a huge impact on the perfect royal icing drying time. I’ll go more into depth on that later, but essentially, in higher humidity, you will need more drying time.

Using a Fan
Using a fan to assist in drying royal icing is my favorite method. I use a small table fan to help circulate the air around the cookies. This will not only cut down on drying time but will also help the royal icing to dry with a bit of a sheen. The quicker that thin crust forms, the shinier the icing will be, and the better chance you will have to avoid craters.
Simply, allow the fan to blow cool air over the cookies on a baking sheet or drying rack. Just don’t use too powerful of a fan… you don’t want it to blow the wet icing around and mess up your designs or blow the cookies off of your drying surface!
If you have a ceiling fan in the drying room, it won't have a direct impact but any further air circulation in the room will be beneficial.

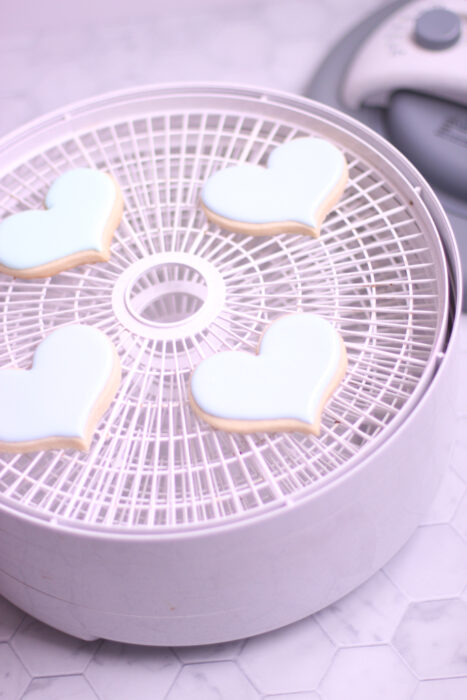
Food Dehydrator
Food dehydrators are an excellent way to speed up the drying process. As in the name, they will ‘dehydrate’ the frosting by removing the moisture. There is also airflow in the dehydrator helping the royal icing to dry puffier and shinier.
Dehydrators are also great for getting the surface of the icing cookie to dry quickly, so there is less waiting time between your first and second layers of icing.
Don’t worry though, cookies have to be in the dehydrator for a LONG time to dry out the cookie itself. I have used my dehydrator occasionally for royal icing drying, but I am by no means an expert (nor do I have one of the best food dehydrators for this). However, I would highly recommend this post by Borderlands Bakery where she outlines the best dehydrators and more thorough information on using them for your cookies!
Making Your Icing Thicker
Your flood icing (the icing consistency used to decorate larger surface areas of cookies) has to be fairly thin to spread nicely and smoothly across the cookie. Typically, somewhere in the 5-15 second icing range (you can read more about icing consistencies here). The closer you can get this to 15 seconds the quicker it will dry. You will also find that detail consistency icing will dry VERY fast.
Essentially, the thicker you can make your flood icing, the smoother, puffier, and quicker it will dry. Practice Practice Practice is the name of the game when it comes to finding the right consistency for you and for your climate!
Thin Royal Icing = More Drying Time
Thick Royal Icing = Less Drying Time
Humidity and Royal Icing
A humid environment is straight-up the devil when it comes to drying royal icing. As moisture from the icing needs to be drawn out for it to harden, having excess moisture in the air is just about the worst thing. I learned this the hard way after letting some cookies sit out overnight in a humid Buffalo summer (and also, I did not have air conditioning). I came to get them the next morning and they were STILL tacky. It was the worst feeling!
Though I’m sure dehydrators would work just fine for humid climates, the trick that works best for me is a window air conditioner. I often let royal icing cookies dry right in front of that AC and it helps them dry super smooth and shiny.
I will admit to having ZERO experience with this, but if you are in a very humid climate, I have heard using a dehumidifier in the room can be very helpful.
If you live in a dry climate, you should have an easier time drying royal icing cookies. Though using some of these tricks will be sure to speed up the process even more.
Total Royal Icing Drying Time
The amount of time it will take your royal icing to dry will depend on a combination of the consistency of your icing, your climate, and whether you use a fan or a food dehydrator to speed up the process. As in almost every element of royal icing, this may be a trial and error process to find what works best for you!
For reference, I live in Buffalo, NY which according to Weather & Climate has an average humidity level of 72%, with a high of 77% in the winter. Dryer climates such as Las Vegas, NV (where I grew up) has an average of 30%. Without an air conditioned climate in Buffalo, royal icing will often not dry. (Yes, I found out the hard way on this fact!) Alternatively in Las Vegas, my cookies dried very quickly and easily. In Buffalo, in a cool and low humid environment, my cookies typically dry in 6-8 hours with the lower drying time occurring in the winter with low humidity and the higher in the summer with high humidity.
After experimenting with your dry times and climate, you should very quickly get a good estimate of dry time for your process.
Common Royal Icing Drying Problems
Air Bubbles
If you find that your cookies are drying with small air bubbles throughout, there are a few easy ways to fix it. Air bubbles are often formed in the icing when you mix the dough on a high speed, too much air is incorporated into the icing and can lead to air bubbles when decorating. To try and avoid them, mix your icing on a lower speed when making.
When you find yourself with air bubbles use a toothpick or cookie scribe to poke them out. Alternatively, you can gently pick up your cookie and drop it flat onto your decorating surface. I would not recommend this method if you have a delicate cookie shape that is prone to decorating. However it can be an effective method for hearty shapes to get out many air bubbles at once.
Color Bleed
Color bleed occurs when one color bleeds into the next as it dries. This typically happens with thin icing, when there is too much moisture in the icing, or if there is too much food coloring used.
One of the most common culprits is a darker or vibrant colors bleeding into a white (or light) base color. You can avoid this by actually dying your white icing white (while there are many brands, I often use Hobby Lobby brand with great results).
When using dark colors, allow the color to develop for at least 30 minutes (the color will continue to darken over the next 12 hours or so). Essentially if you achieve your target color as you are mixing, you've probably added too much food coloring. Also, don't make your icing too thin and placing your cookies with multiple colors directly in front of a fan will help lessen the chance for color bleed.
Lastly, make sure the base coat of your royal icing is dry to the touch before moving onto the next layer. I like to dry the first layer of icing completely before moving on to the details which helps me to avoid bleed. However, many cookie decorators operate with shorter time periods between layers with positive results.
Matte Finish on Cookies
If you are trying to achieve that beautiful glossy finish on your royal icing cookies, there is a simple way to achieve this. The best way to get shiny cookies is to add corn syrup to your royal icing recipe. My go to easy royal icing recipe outlines how you can add corn syrup. Second, I immediately put my cookies in front of a fan (while ensuring I am in low humid environment). The quicker you can get your cookies to dry, the shinier they will be.
Royal Icing and Cookie Storage
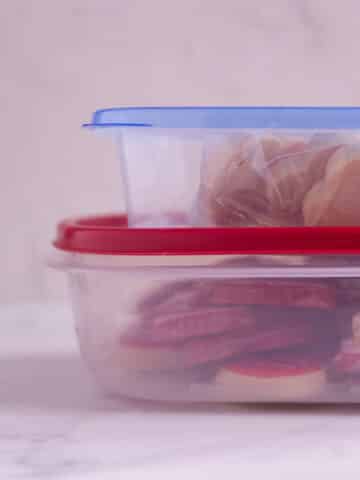
Once your royal icing cookies are fully dried and hardened, it is now safe to store them in an airtight container. This is my favorite container for decorated cookies as it has a large surface area so you don't have to stack too many cookies on top of each other. Check your recipe for details on how long the cookies will stay fresh. Check out my post on cookie and royal icing storage for more details on the best storage methods!