Kick off this football season with this ultimate guide to decorating football cut out cookies! As the NFL season approaches, what better way to gear up for game day than by whipping up a batch of adorable football cookies? Whether you're a die-hard fan preparing for game day parties or simply seeking a creative baking project, we've got you covered. In this blog post, we'll walk you through the step-by-step process of creating these cookies using royal icing. Show off your decorating skills and impress your fellow football fans with these irresistibly cute game day treats.
Disclaimer: This post may contain affiliate links, meaning I may get a small commission if you decide to make a purchase through my links at no cost to you.

While I'm making these for the NFL season kickoff and my favorite team (Go Bills!), these football cookies are also great for Super Bowl Sunday, college football parties, tailgate parties, or even a football themed birthday party.
In this post we'll go over how to make and decorate these cookies with royal icing. If you are new to royal icing start here with my Ultimate Guide to Royal Icing Cookie Decorating.
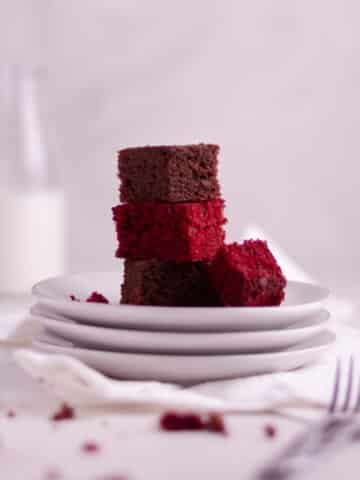
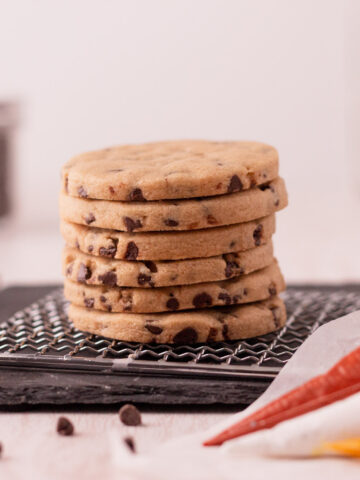
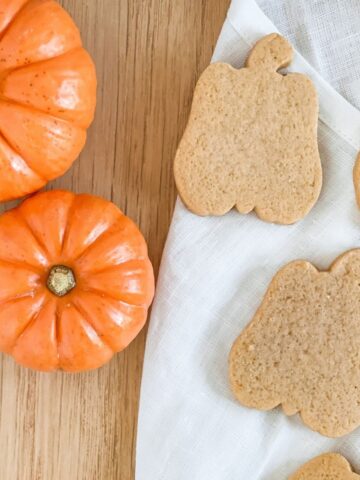
Though I will be using my Classic No Spread Sugar Cookie Recipe, I have many other cut out recipes you can use including these Chocolate Chip Cut Out Cookies, these Pumpkin Sugar Cookies, or even these No Spread Cookies and Cream Cut Out Cookies.
Jump to:
Ingredients & Supplies

- Sugar Cookie Recipe
- Football Cookie Cutter
- Royal Icing
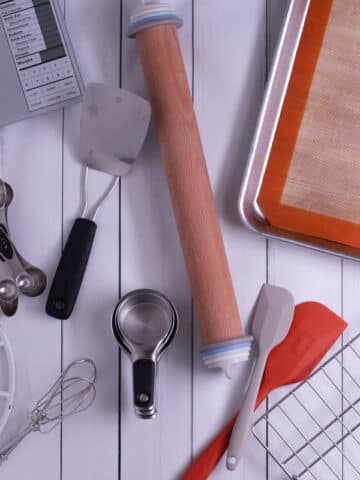
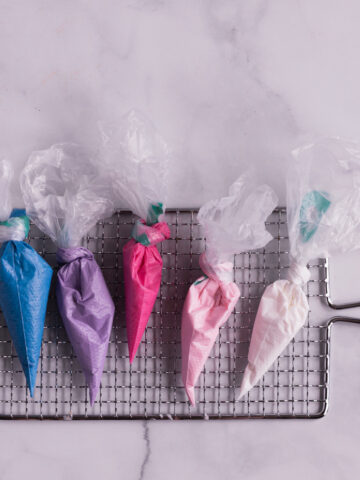
- Piping Bags
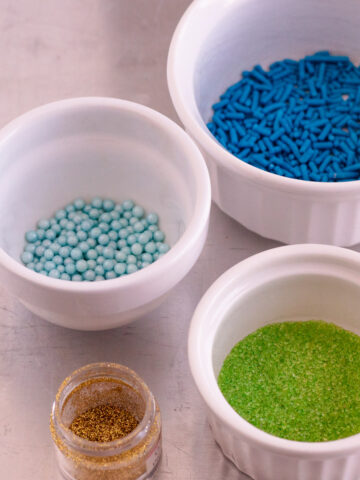
- Brown Gel Food Coloring
- Bright White Food Coloring (optional)
- Cookie Scribe or Toothpick
Instructions
Making the Sugar Cookies
Follow the recipe for your preferred cut out sugar cookies. If you are going to use the royal icing decorating method, make sure that you use a recipe where the cookie is flat after it is baked. If the center is higher and then slopes down towards the edges, your royal icing will do the same.
After baking, allow the cookies to rest until completely cool.
Decorating with Royal Icing
Following your favorite royal icing recipe (here is my royal icing recipe), make one batch of royal icing in a large bowl, keeping it at a very thick consistency, and cover it with a wet paper towel to keep the icing moist while you mix the colors. Here are the combinations you need to make:
- Brown Detail Consistency
- Brown Flood Consistency
- White Detail Consistency
Detail consistency can sometimes be referred to as outline consistency.
You can easily decorate the football in your team colors as well!

Making the White Icing
Take a few tablespoons of icing out of the bowl and place into a very small bowl. Add white coloring to make the icing very bright white (if you don't have bright white food coloring, you can leave as is). Make sure the consistency of this icing is thick, similar to toothpaste. If it's too thick, add a little bit of water at a time until you reach the right consistency. Add to a piping bag, sealing with a knot.
Making the Brown Icing
With the remaining portion of royal icing, add brown gel food coloring until you reach your desired shade of brown. Add water very slowly, no more than approximately ¼ teaspoon at a time and stir with a small spatula between additions. Continue adding water until the icing reaches detail consistency, like toothpaste. Once you reach detail consistency, add a few tablespoons of icing to a piping bag and tie a knot to seal.
Now you will continue to add more water, vey slowly, no more than ¼ teaspoon at a time. You can even use a spray bottle to add water to make sure you don't add too much too quickly! Continue to add water and stir with a spatula between additions until you reach flood consistency. It will have a similar thickness as honey. If you lift up some of the icing and drizzle it back into the bowl, it should take somewhere between 5-15 seconds to disappear back into itself. Once you've achieved a good flood consistency, add the rest of the brown icing into a large piping bag.
Pro Tip: Keep in mind the color in royal icing will deepen over the next hour, so be careful not to make the color too dark initially.
Decorating the Cookies
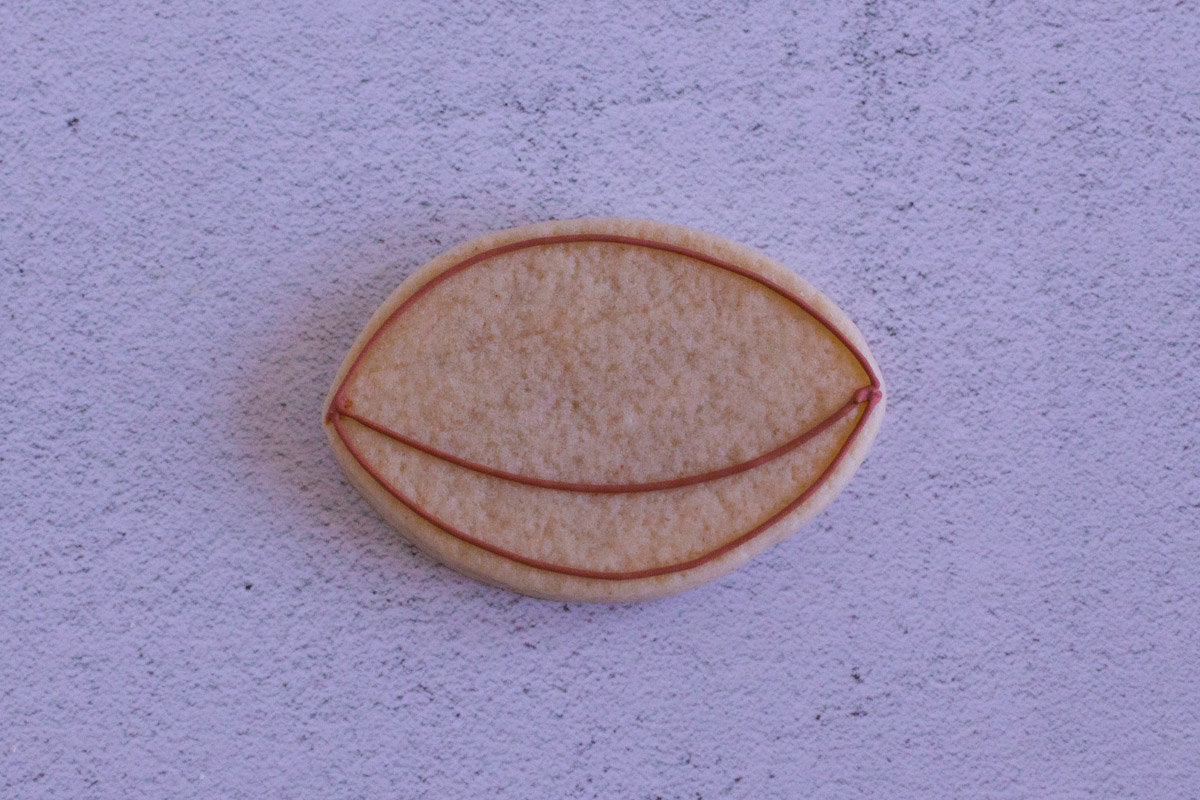
With the detail brown royal icing icing, outline along the edges of the football and draw a curved line through the cookie diving the top ⅔ and the bottom ⅓.

Fill the top of the football with brown flood icing and let it sit until it begins to form a crust (usually around 15 minutes). It's important that the crust is formed to allow for the look of where the leather of a football is sewn together.

Flood the bottom half of the football with brown icing and allow the entire cookie to set for another 15+ minutes until crust forms on the top.
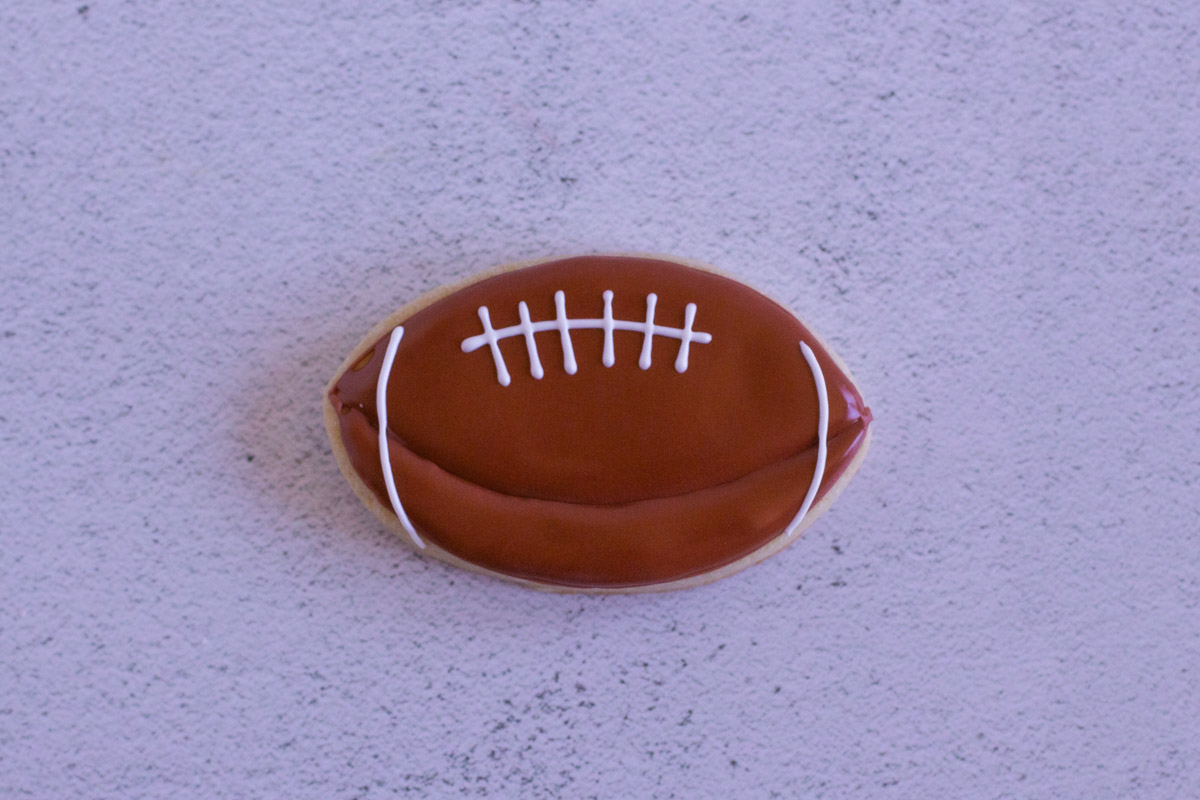
With the white royal icing, draw a thin curved line across the upper-middle portion of the cookie and add small white lines perpendicular to the line to create the laces of the football. Draw curved lines down each side of the football.
Once complete, place your decorated cookies on a wire rack or a baking sheet and allow them to sit for at least 8 hours or overnight to fully set and harden.
Pro Tip: Place a small fan next to your cookies between steps to help the cookies dry faster.
Variations
To make this design a bit easier, you can simply outline the football cookie and fill the entire center in with the brown flood icing. Once the top has crusted over, add the laces and the white stripes of the football.
Storage
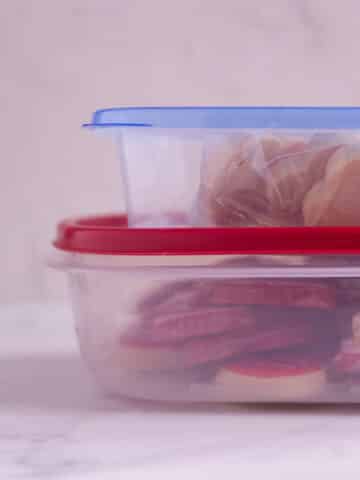
Store for up to 5 days in an airtight container. You can freeze for up to 3 months in an airtight container as well. When you remove the cookies from the freezer, allow them to defrost and come to room temperature before opening the top of the container. I love using these Rubbermaid Containers because they are wide and flat so you don't have to stack too many layers of cookies when storing.
Once the cookies are completely dry, you can package them or transport them.
For more information on storage, check out my full guide on storing decorated cookies and extra royal icing!
For other fun football related designs, try making football royal icing transfers!
Now that you are ready for the big game, get to baking and happy decorating! If you enjoyed this tutorial, rating it would help me tremendously. Thank you!
Video Tutorial
Related
Looking for other recipes like this? Try these:


Other Royal Icing Tutorials
More tips and tricks for decorating cookies with royal icing: