
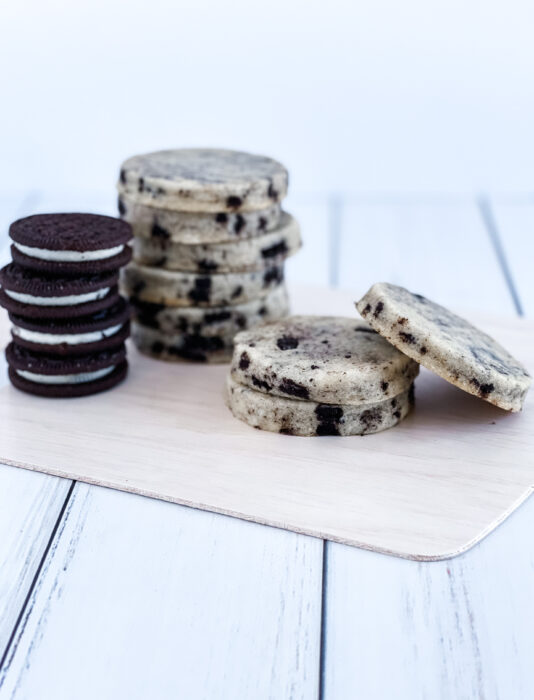
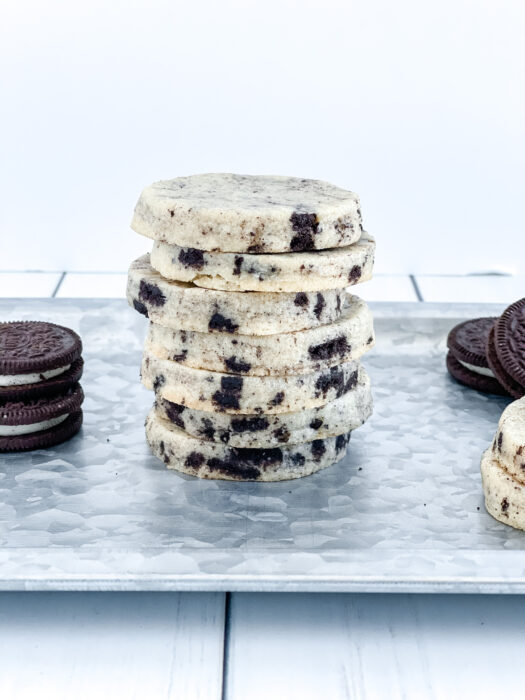
If you like Oreos and sugar cookies - this recipe is for you! My husband does not have a sweet tooth at all (ironic he married a baker), but if there is ever a Cookies and Cream flavor option, he's all in. This cookies and cream sugar cookie recipe combines the best of both worlds with a soft sugar cookie and the crunch of an Oreo within. If you are more of a plain sugar cookie kind of person, check out this classic sugar cookie recipe. But if you are a cookies and cream lover, let's continue!
Disclaimer: This post may contain affiliate links, meaning I may get a small commission if you decide to make a purchase through my links at no cost to you.
Jump to:
- Why you will Love these Cookies and Cream Sugar Cookies
- Ingredients You Will Need
- Supplies you will need for this Cookies and Cream Recipe
- Making your Sugar Cookie Dough
- Rolling Out and Baking your Cookie Dough
- Decorating Your Cookies and Cream Sugar Cookies
- Storing Cookies and Cream Cookies
- Related
- Cookies and Cream No Spread Sugar Cookie
Why you will Love these Cookies and Cream Sugar Cookies
- They have Oreos in them (I could probably end the list right here, am I right?)
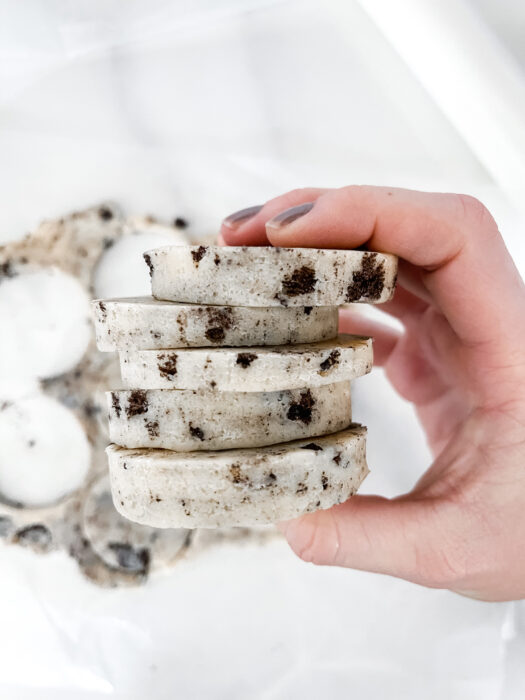
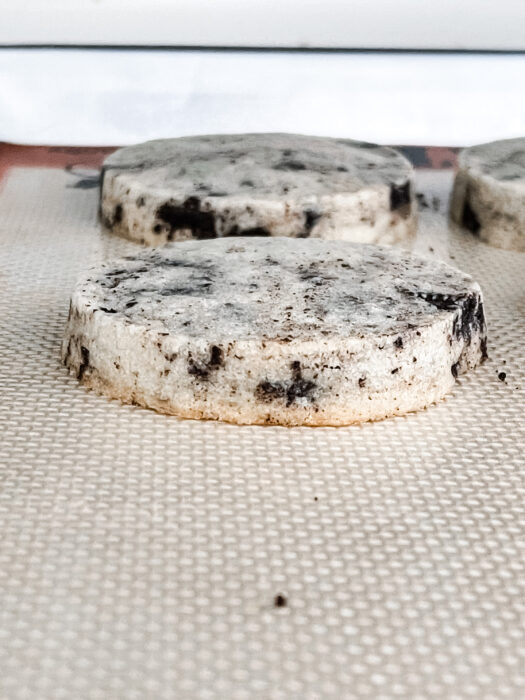
- These cookies are really thick and soft.
- This is a no spread cookie recipe - meaning it is perfect for decorating with Royal Icing!
- If you don't want to frost these sugar cookies you can eat them plain and they are still delish!
- Since this recipe is no spread, you can use cookie cutters to create your favorite shapes.
Ingredients You Will Need
- Unsalted Butter
- Granulated Sugar
- Brown Sugar
- Egg
- Vanilla Extract
- All-Purpose Flour
- Salt
- Baking Powder
- Heavy Cream
- Oreos
Supplies you will need for this Cookies and Cream Recipe
- Stand mixer or Hand Mixer
- Dough Sticks or Rolling Pin Thickness Rings
- Wax Paper
- Silicone Mat or Parchment Paper
- Cookie Cutters
- Fondant Smoother (optional)
Making your Sugar Cookie Dough
Mix Your Dry Ingredients and Crush Oreos
In a medium bowl, combine your dry ingredients: flour, baking powder, and salt. Whisk very well to fully incorporate.
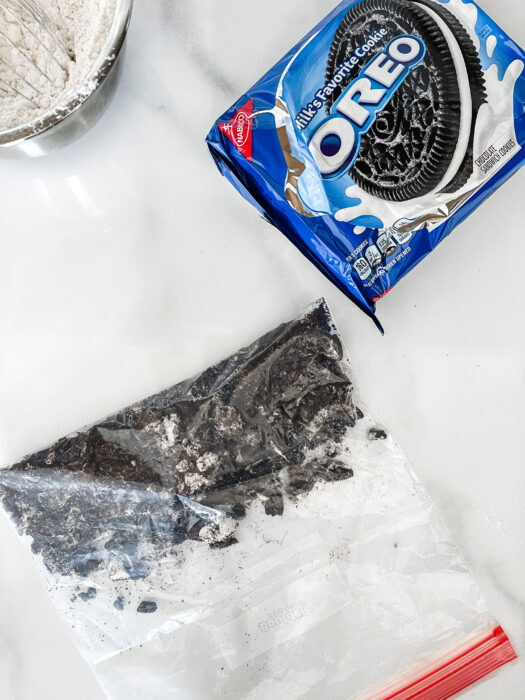
If you have a food processor, you can use it to crush your Oreos. However, if you are lazy when it comes to dishes (like I am), you can do the plastic bag method. I place all of the Oreos in a gallon-sized ziplock bag, and crush them with my rolling pin. The other benefit to this method is you'll get more variance of large and small Oreo pieces. I personally love when there is a big chunk of Oreo in my cookie!
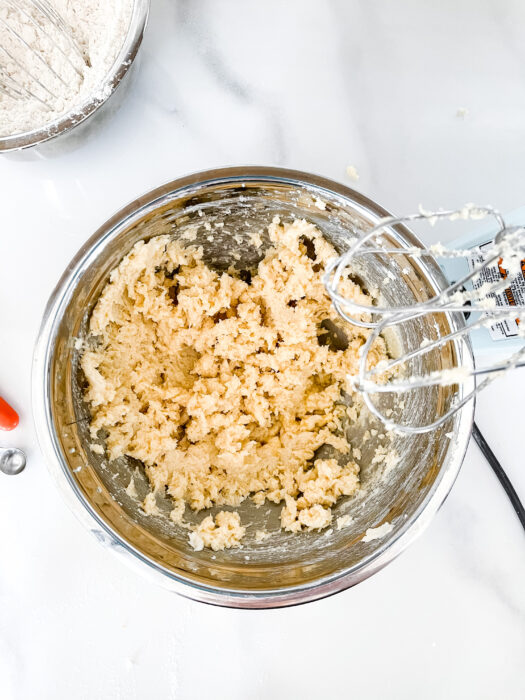
Mix Your Butter and Sugars
Combine your room temperature butter, granulated sugar, and brown sugar in a large bowl. If you have a stand mixer use the paddle attachment. However, if you only have a hand mixer that will do the trick as well. Once these ingredients are in the bowl, beat on high until fully incorporated - approximately 2 minutes (you can go a bit less time if you are using a stand mixer).
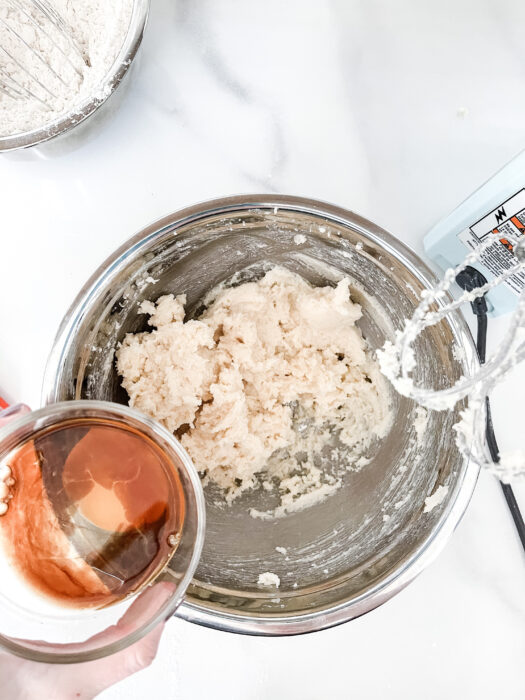
Add your egg and vanilla extract and beat on low until just incorporated.
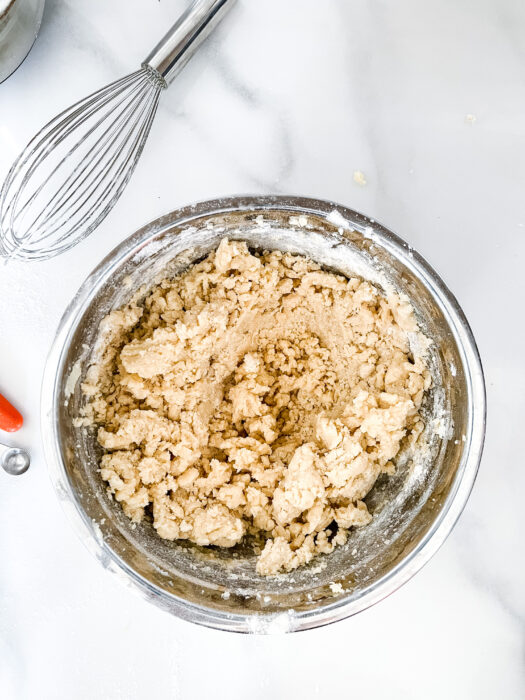
Add your Dry Ingredients
Slowly add your flour mixture to your wet ingredients a little bit at a time (about ½ cup each addition). Beat on low speed until just combined. At this point, the dough will be somewhat dry and not cohesive. Beat in the heavy cream on high until just incorporated (no more than 10-15 seconds on a stand mixer or 30 seconds with a hand mixer) to bring the mixture together.
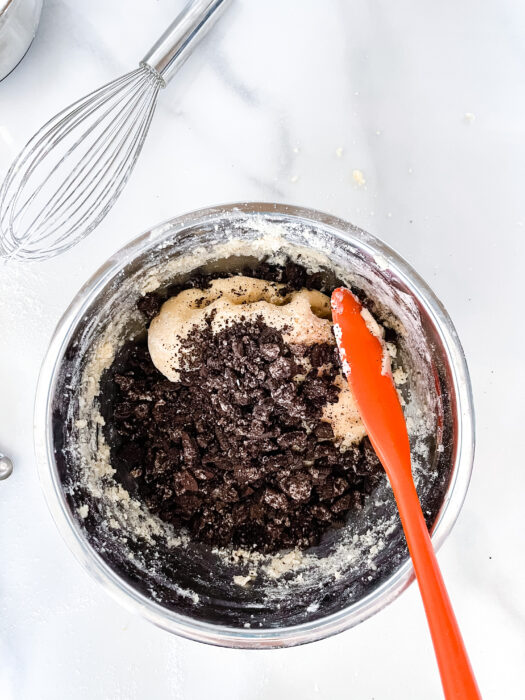
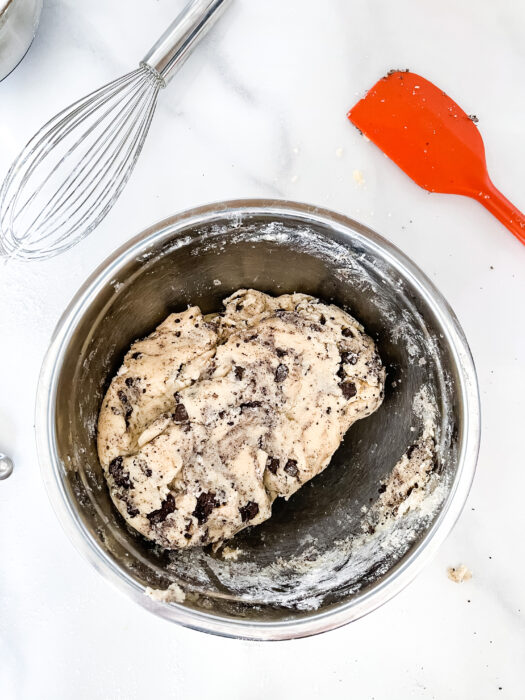
Add your Oreos and stir them in by hand. If you are using a Kitchenaid mixer, you can use the stir setting!
Storing Sugar Cookie Dough
If you plan to bake your cookies immediately, continue to the next step. If you plan to bake them at a later time, form a flat disc with your dough and cover in plastic wrap (to be safe I always put the wrapped dough in an airtight container or freezer ziplock bag). You can store the dough in the fridge for about 5-7 days or in the freezer for up to a few months. However, I typically do not like to freeze the dough for more than a few weeks, just a personal preference!
Rolling Out and Baking your Cookie Dough
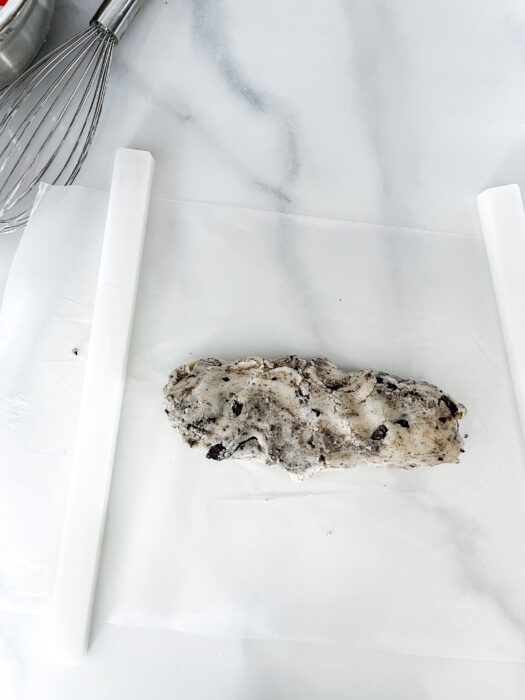
Cut two pieces of wax paper, place one on a flat surface. Take half of your cookie dough and form it into a long horizontal log shape. If you are using dough sticks, place the ½" thickness sticks on either side of the dough, and cover with the other piece of wax paper. Using your rolling pin, roll the dough flat. Place on a baking sheet (or on another flat surface) and place in the freezer for 10-15 minutes. Repeat this process with the other half of the cookie dough.
In the meantime, line your baking sheet with either parchment paper or a silicone mat.
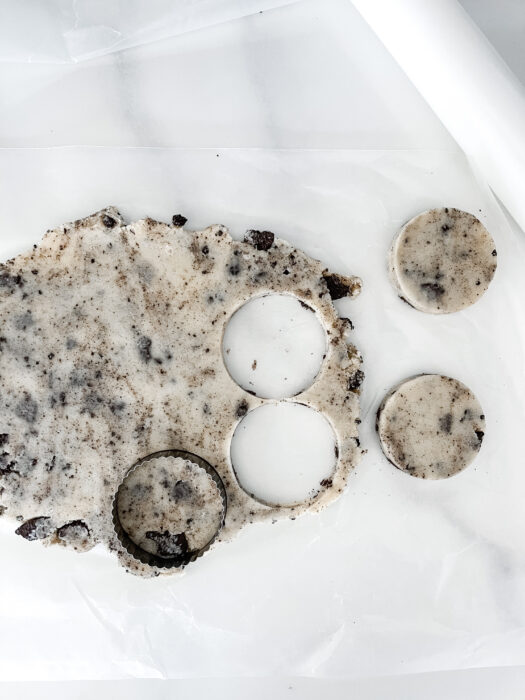
Once your dough is chilled to the point where it is stiff (but not frozen), it's time to cut out your shapes! Place cutouts on the lined baking sheet Place the first batch in the oven at 350 degrees with a bake time of 12-14 minutes (or until the bottom edges of the cookies are slightly golden brown).
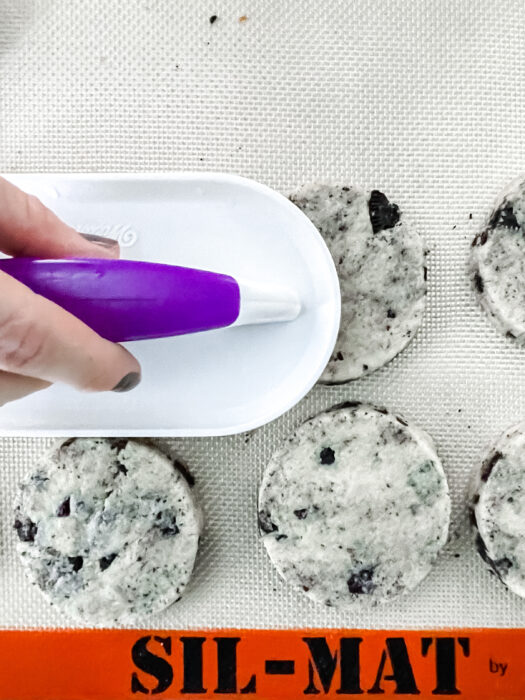
As soon as you take the cookies out of the oven, flatten them with a fondant smoother to make sure any oreo pieces that may be sticking up, are flat. This step is only important if you plan to decorate your cookies with royal icing.
Let the cookies rest on the cookie sheet for at least 5 minutes, transfer to a wire rack, and let sit until completely cool.
Decorating Your Cookies and Cream Sugar Cookies
This is a perfect cookie recipe to go with so many different kinds of frosting! My favorite frosting for decorating is Royal Icing. You can find my royal icing recipe here or my complete royal icing guide!
You could also frost these with buttercream frosting and top with a few crushed Oreos. I don't have a buttercream recipe posted yet, but there are so many great options out there. Though I haven't tried it, I suspect a cream cheese frosting would be really darn delicious with these!
If frosting is not your cup of tea, you can absolutely leave these bad boys plain too!
Storing Cookies and Cream Cookies
You can store these cookies and cream sugar cookies in an airtight container for up to 5 days or freeze them for up to 3 months. These are my favorite storage containers!
If you tried and loved this recipe, if you could give me a five star rating in the recipe card below I would really appreciate it. It would help me out so much!
Related
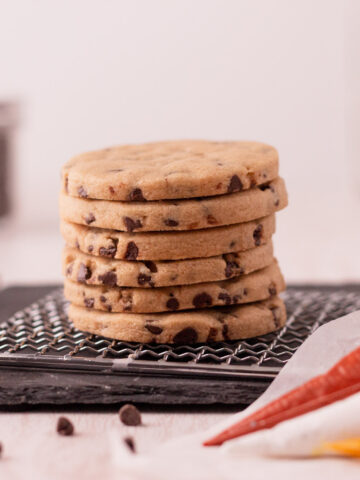
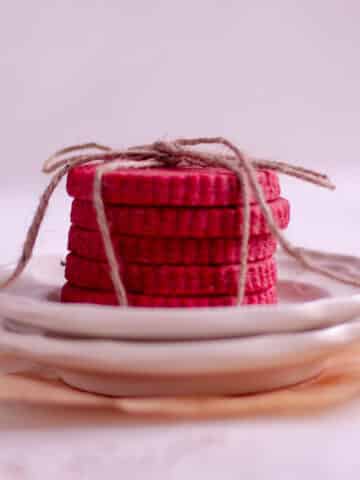
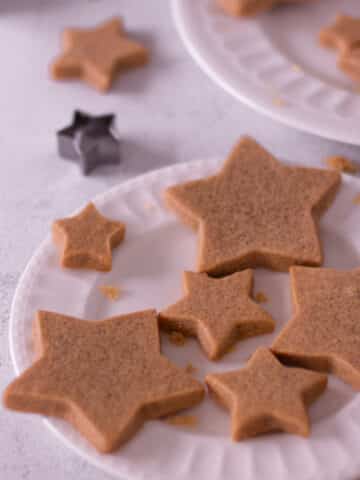
More cookie recipes that were created for royal icing cookie decorating:

Cookies and Cream No Spread Sugar Cookie
Ingredients
- 1 Cup Unsalted Butter (room temperature)
- 1 Cup Granulated Sugar (210g)
- 2 tablespoon Brown Sugar
- 1 Egg
- 1 tablespoon Vanilla Extract
- 3 ¼ Cups All-Purpose Flour (420g)
- ¼ teaspoon Salt
- ¼ teaspoon Baking Powder
- 2 tablespoon Heavy Cream
- 12 Oreos (crushed)
Instructions
- In a medium bowl, combine flour, baking powder, and salt. Whisk well to fully combine, set aside.
- Crush Oreos into small pieces. You can either use a food processor or put all of the Oreos in a zip lock bag and smash with a rolling pin. Set aside.
- In a large bowl using a stand mixer with the paddle attachment or hand mixer, beat room temperature butter, sugar, and brown sugar on high until fully combined (about 2 minutes).
- Add egg and vanilla extract. Beat on low until just incorporated.
- Add the dry ingredients, about ½ cup at a time, and beat on low speed until just combined. The dough will appear dry. Add the heavy cream and beat on high for 10-30 seconds until fully mixed and the dough is more cohesive.
- Stir in the Oreos by hand (or using stir setting on stand mixer).
- Preheat oven to 350 degrees and line baking sheets with parchment paper or silicone mats.
- Layout a piece of wax paper on a flat surface. Take half of the dough and form a long horizontal log shape. Place dough sticks, if using, outside of the dough. Cover the dough with the other piece of wax paper and roll out to ½" thick. Repeat the process with the other half of the dough.
- Let the dough chill in the freezer for 10-15 minutes until stiff (but not frozen).
- Form your cut outs and place them on the prepared baking sheet. Bake at 350 degrees for 12-14 minutes (or until bottom edges look slightly golden brown).


Kate says
Made this recipe with no adjustments except for adding a little more salt (1/2 tsp, to balance the sweetness of the buttercream I put on top), and it was exactly what I was hoping for. I made a logo-shaped cookie cake with it, and topped it with a buttercream transfer. This cookie was delicious, and it had a great texture— chewy in the middle, a little golden crispy on the outside. I did roll mine a 1/4” thick. Took about 20 min for a giant cookie to bake, but it held its shape perfectly without spread. I left the Oreo cookie chunks a little larger and it didn’t seem to disrupt the bake. Thanks for this recipe! I’m adding it to my collection.
Courtney Karl says
I'm so happy you liked this recipe! Great idea to add salt especially when adding buttercream on top.