
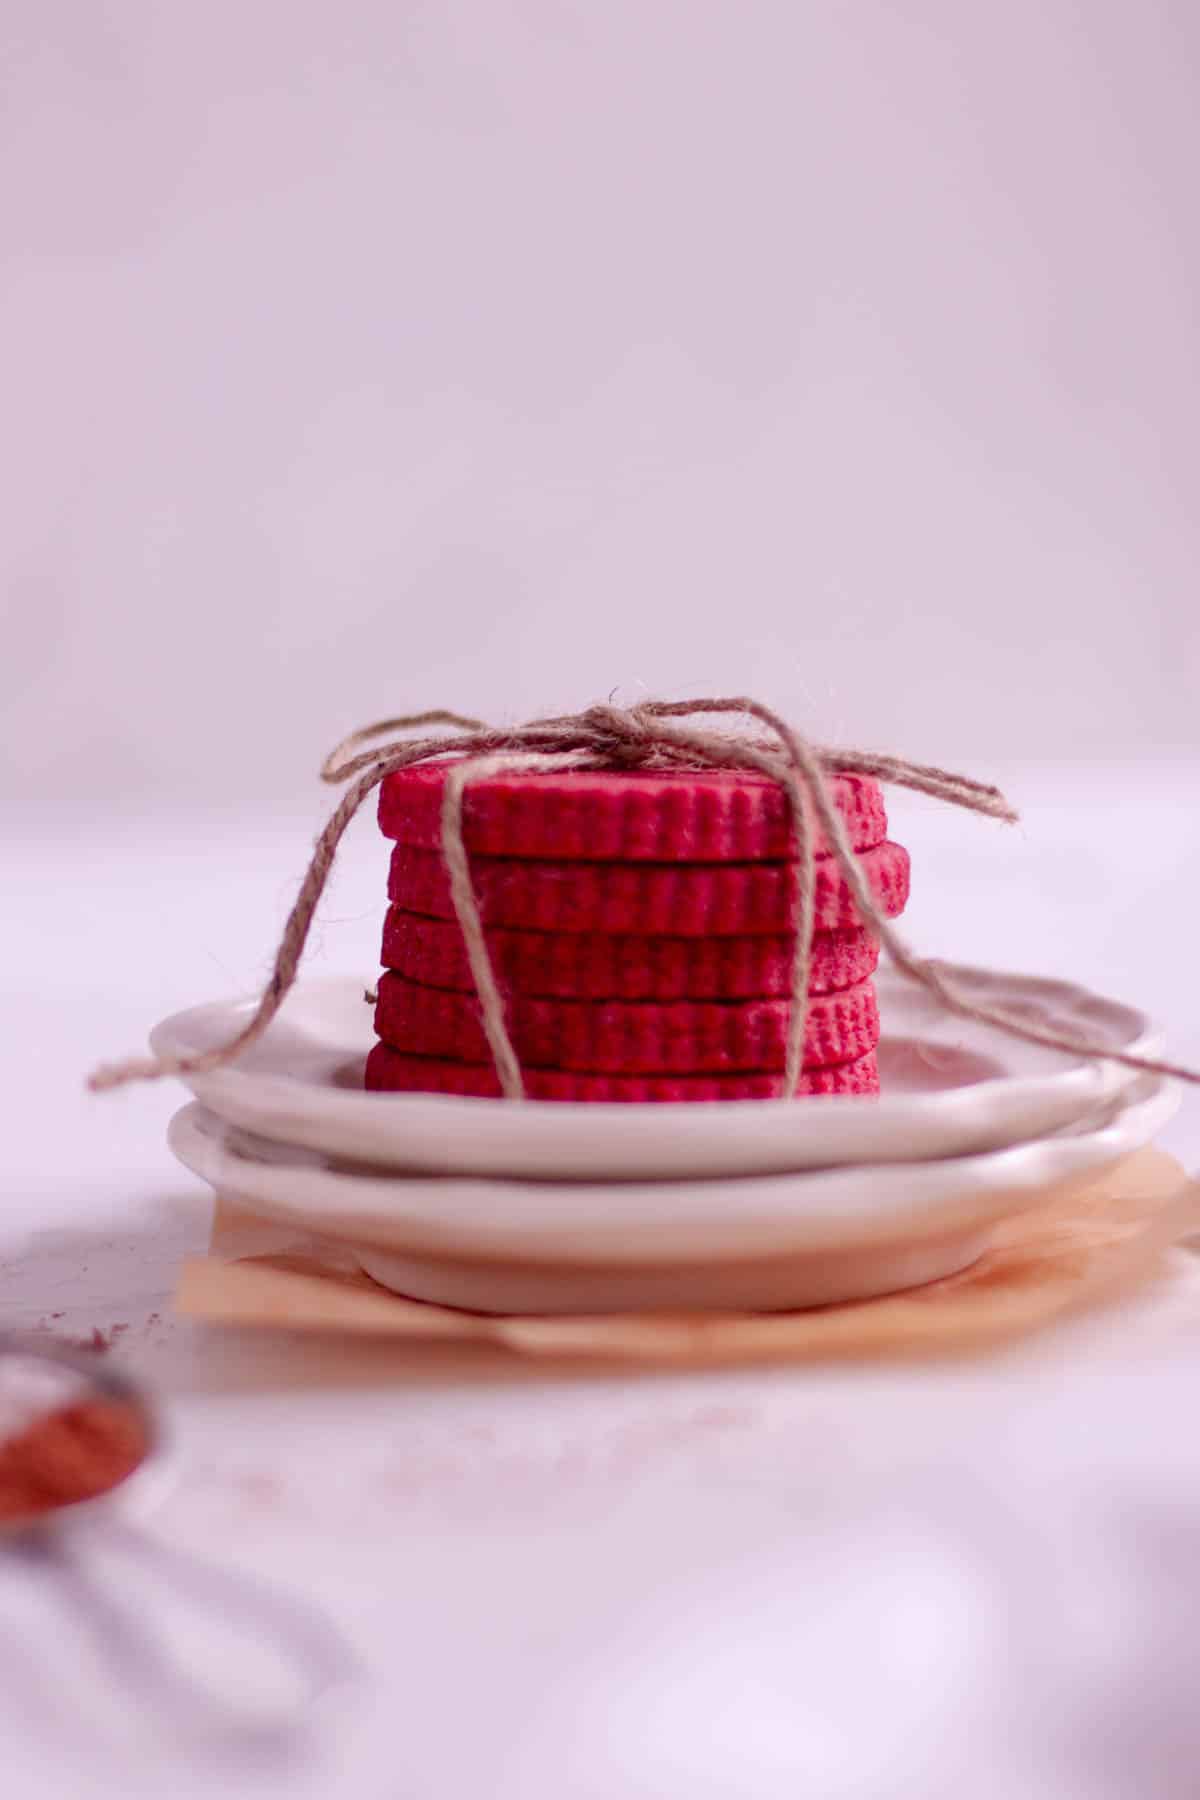
There is something special about red velvet, whether it is the bright color or the soft, velvety flavor. Whatever draws you to red velvet, these cookies will be a showstopper. They have the same subtle cocoa flavor and sharp red color, but instead of a traditional cake, this recipe makes red velvet sugar cookies perfect for cookie decorating.
Red velvet tends to be the most popular during either Christmas time or Valentine’s Day due to the red coloring of the baked goods. However, you can enjoy red velvet any time of the year. You can use this recipe to decorate these cute stocking cookies for Christmas or Valentine’s Day Hearts.
These cutouts make flat cookies with sharp edges, making them an ideal option for royal icing cookie decorating. If you’ve never used royal icing, check out my Ultimate Guide to Royal Icing Cookie Decorating and my classic 3 Ingredient Royal Icing Recipe.
Disclaimer: This post may contain affiliate links, meaning I may get a small commission if you decide to make a purchase through my links at no cost to you.
Jump to:
Ingredients

- All-Purpose Flour: A staple for many cookie recipes! This recipe has only been tested with all-purpose flour and hasn’t been tested using any other flour.
- Natural Cocoa Powder: Cocoa powder is a classic ingredient in red velvet desserts. Though you use just a small amount, it adds a ‘velvety’ texture and subtle cocoa flavor. In original red velvet recipes (before red food coloring existed) natural cocoa powder was used (as opposed to Dutch-processed cocoa) and the reaction between the vinegar and the natural cocoa powder created a subtle red hint. I used Hershey’s Natural Unsweetened Cocoa for this recipe, but if you use Dutch-processed that is okay too since now we use red food coloring for the red color.
- Baking Powder: Acts as a leavening agent. Only a small amount of baking powder is used in this recipe so that the cookies bake quite flat making them suitable for royal icing decorating.
- Salt: For Flavor!
- Unsalted Butter: This recipe calls for room temperature butter. I prefer to use unsalted butter because you can control how much salt is added to the recipe. Each brand of salted butter may use a different amount of salt, so to have more control in your baking, I recommend unsalted butter!
- Granulated Sugar: The only kind of sugar I used in this recipe.
- Egg: Add structure, stability, and moisture to the recipe.
- Red Food Coloring: This allows you to get the bright red color in these cookies. I used McCormick Red Food Coloring and was able to get the red I liked with 1 tablespoon. However, feel free to add less or more depending on how bright or subtle you want the red to be. Also, if you use red gel food coloring, you may not need quite as much as they tend to be more concentrated. I’d recommend starting with less, you can always add more!
- White Vinegar: Vinegar is a classic red velvet ingredient. Before cake flour was invented, vinegar was added to cakes to get a light, fine crumb. It also adds that very subtle bitter flavor that is common in red velvet cakes.
- Vanilla Extract: If you can splurge for pure vanilla extract it is worth it for a stronger vanilla flavor.
- Buttermilk: Another classic red velvet ingredient. I use milk in most of my cut-out sugar cookies to bind together the dough at the end. I decided to use buttermilk for this recipe to keep it as close to a classic red velvet. However, feel free to substitute for whole milk or heavy cream.
See recipe card for quantities.
Instructions
Preheat Oven and Prep Ingredients: First, preheat your oven to 350 degrees. Line a baking pan with sheets of parchment paper or silicone mats. I love this silicone mat as it allows the cookies to bake evenly and is super easy to clean up - just pop it in the dishwasher!
Prepare Dry Ingredients: In a medium bowl, whisk together the all-purpose flour, cocoa powder, baking powder, and salt. Set aside.
Cream Butter & Sugar: In a large bowl beat together the room-temperature butter and sugar with an electric mixer. You can use either a stand mixer with the paddle attachment or a hand mixer for this. Beat on high speed for at least a minute until the butter lightens in color and the mixture looks ‘fluffy’.

Whisk together dry ingredients

Cream Butter and Sugar
Forgot to let your butter come to room temperature beforehand? Guilty here! While this may not be “proper baking etiquette” I use my microwave to get the butter to room temperature in a pinch. Place your stick (or sticks) of butter in the microwave and turn it on for 15-second increments at 50% power. This may take a bit of trial and error depending on the power of your microwave. Start lower if you’re not sure, you can always add a few seconds but if the butter starts to melt then it won’t work for this recipe.
Mix in the white ingredients: Add the egg, red food coloring, vanilla extract, and vinegar to the butter mixture. Cream together on medium speed until combined. At this point, it will still look pretty runny/liquidy and bright red.
Add the Dry Ingredients: Add about 1 cup of the dry ingredient mixture at a time and beat on low speed. Make sure it is mostly mixed in before adding the next scoop of flour mixture. Once all of the flour has been added and mixed in, stop beating. Scrape a spatula along the sides of the bowl to get any remaining flour bits incorporated into the dough.

Adding egg, vanilla, vinegar, and red food dye.

After adding the flour mixture, the dough will look a bit dry.
Adding in Buttermilk: At this point, the dough will be slightly dry (though if yours is moist, stop here and don’t add any milk/buttermilk). Add 1 tablespoon at a time of buttermilk (or whole milk or heavy cream) and beat on high speed for about 10-15 seconds to bring the dough together.
As soon as your dough is mixed and no longer dry and crumbly, it is completed! It should be easy to work with and moist, but should not stick to your hands.
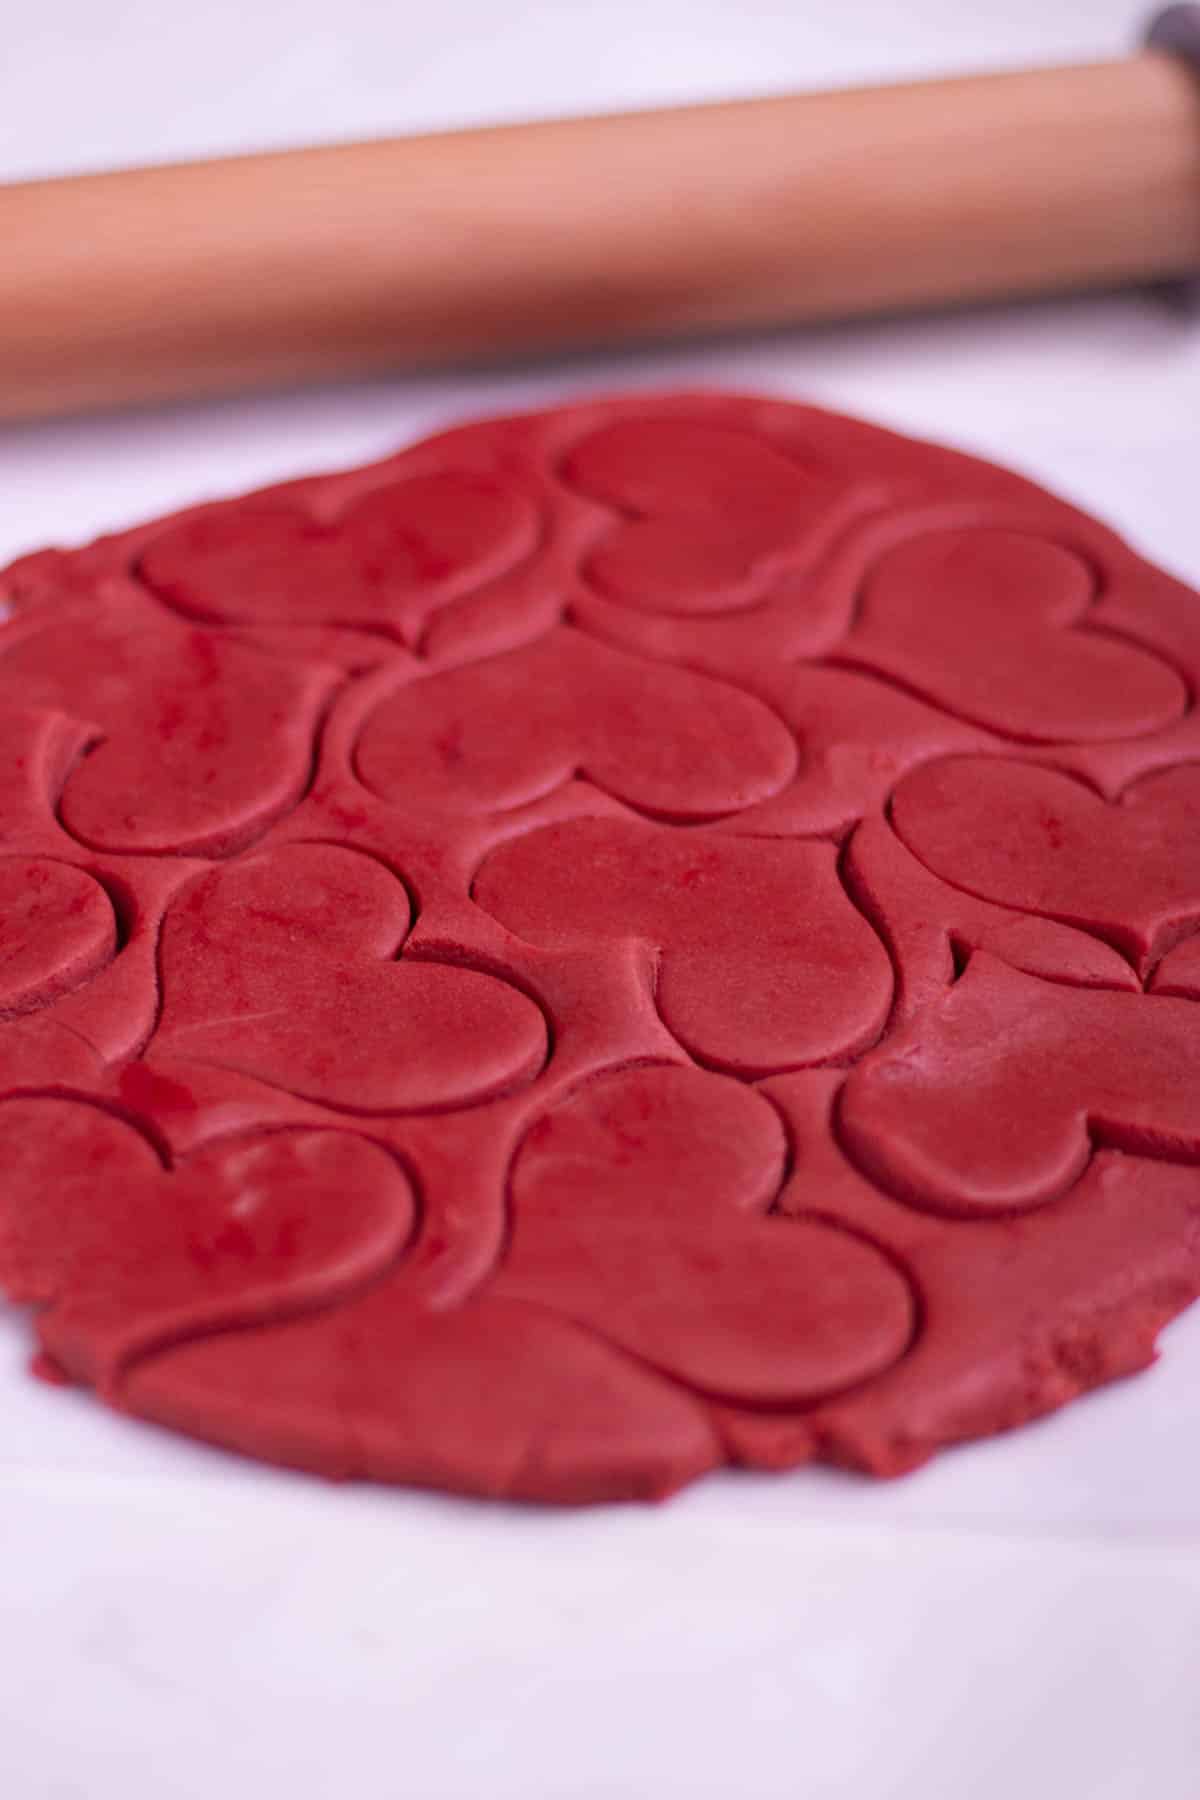
Making the Cut-Outs: Take approximately half of the dough and roll it to ⅜” thick. I recommend using either this kind of rolling pin or dough sticks to ensure a nice and even roll (especially if you plan to decorate these with royal icing).


Pro Tip: Roll out your dough between two sheets of wax paper. This prevents the dough from sticking to your surface and the rolling pin and also makes for a super easy cleanup!
Cut out your shapes with your selected cookie cutters and place them on the prepared baking sheets. They won’t spread so you can place them relatively close together, but I still like to leave an inch between them to be safe.
Bake for 10-12 minutes. The cookies will be done when the tops of the cookies are no longer moist and shiny looking, but have a more matted look.
Decorate your Cookies
Now for the fun part! It’s time to decorate the cookies. Make sure your cookies are completely cool before you start decorating.
You can leave the red velvet cut-out cookies plain, but I think the slight bitterness of red velvet pairs so nicely with a sweet frosting. Cream cheese frosting is the traditional option but you could use a classic buttercream as well.
However, if you want to decorate with more precision and details, give royal icing a try! Learn more about it with my Ultimate Guide to Royal Icing and check out my Royal Icing Recipe too.
Substitutions
- Natural Cocoa Powder: You can use Dutch-processed cocoa for this recipe as well. Natural cocoa powder is the traditional ingredient used in red velvet historically. But now that we use red food dye to make the cookies bright red, you can use either type of cocoa powder.
- Buttermilk: Another traditional red velvet ingredient. Feel free to use whole milk or heavy cream instead.
Storage
These cookies will remain soft when stored in an airtight container for up to 5 days. You can freeze for up to 3 months as well. When you remove them from the freezer, don’t open up the container and allow them to come to room temperature first.
I put together a post on all of the best ways to store your decorated cookies and extra royal icing too!
Tips for Making the Best Cut-Out Cookies
- Measure your Flour Properly: If you have a kitchen scale, that is ideal. If not, use the scoop and level method. Essentially, scoop the flour into your measuring cup until it is overflowing. Then, take the straight edge of a knife or spatula and scrape off the excess flour back into the container. Too much flour in cookies will lead to a dryer final product.
- Make Sure Your Oven Temperature is Correct: Using an oven thermometer can be super helpful for both cooking and baking. Your oven may be running hot or cool and you would really never know without a thermometer. They are pretty reasonable and you can just let one hang on your oven rack and be assured your cookies are baking at the right temperature.
- Bake Sized Cookies Together: If using multiple different cookie cutters, bake similarly sized cut-outs on the same cookie sheet when possible. Avoid baking really large cookies with small cookies as they will not bake evenly.
- Roll Cookie Dough Between Sheets of Wax Paper: For all of my cut-out recipes, I like to roll the dough between two sheets of wax paper. This prevents it from sticking to the rolling pin and your surface. If the dough does appear to stick to the wax paper when you remove it, simply pop it in the freezer for a few minutes to help it firm up. Wax paper also makes cleaning up a breeze!
- Measure Height of Rolled Cookie Dough: Whenever you make cut-outs, you want to try and get an even roll of the cookie dough so your cookies bake evenly. This is even more important when you decorate them with royal icing as you need a nice, flat surface. To accomplish this, I recommend either using a rolling pin with measuring discs or dough sticks. With the dough sticks, all you do is place one on each side of the dough you are rolling and then roll as usual with your rolling pin.
Related
Looking for more cut-out cookie recipes? Try these:
Royal Icing
Some of my favorite tips and tricks for royal icing cookie decorating:


Red Velvet Cut-Out Cookies
Ingredients
- 3 ¾ Cup All-Purpose Flour (450g)
- 2 Tablespoons Natural Unsweetened Cocoa Powder (10g)
- ¼ Teaspoon Baking Soda
- ¼ Teaspoon Salt
- 1 Cup Unsalted butter, room temperature (226g)
- 1 ¼ Cups Granulated Sugar (250g)
- 1 Egg (~50g)
- 1 Tablespoon Red Food Coloring
- 1 Teaspoon White Vinegar
- 1 Teaspoon Vanilla Extract
- 1-2 Tablespoon Buttermilk (as needed)
Instructions
- Preheat the oven to 350 degrees and line cookie sheets with parchment paper or silicone mats.
- In a medium mixing bowl, whisk together the flour, cocoa powder, baking soda, and salt. Set aside.
- In a large mixing bowl (hand mixer or stand mixer with the paddle attachment), beat together the butter and sugar until light in yellow and fluffy in appearance.
- Add in the egg, red food coloring*, vanilla extract, and white vinegar and beat together on medium speed until combined.
- Slowly add in the dry ingredients, about 1 cup at a time. Mix on low speed in between each addition.
- Once all of the dry ingredients have been incorporated, the mixture will be slightly dry (if it’s not, then stop here). Add 1 tablespoon of buttermilk in and mix on high for 10-15 seconds to bring together the dough. Add another tablespoon if needed. As soon as the dough no longer is crumbly, stop mixing.
- Roll out dough to ⅜” inch* between two sheets of wax paper.
- Create your shapes with your cookie cutters and place them on the prepared cookie sheet.
- Bake for 10-12 minutes until the top of the cookies no longer looks shiny and raw, but solid with a matte texture.
- Remove from the oven and allow the cookies to cool for about 5 minutes so the shapes set. Transfer to a wire rack to cool completely.
- Decorate with royal icing or your desired frosting!


