
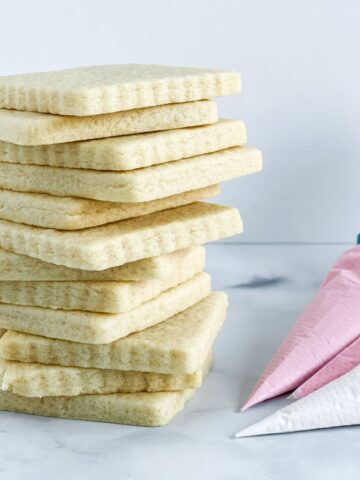
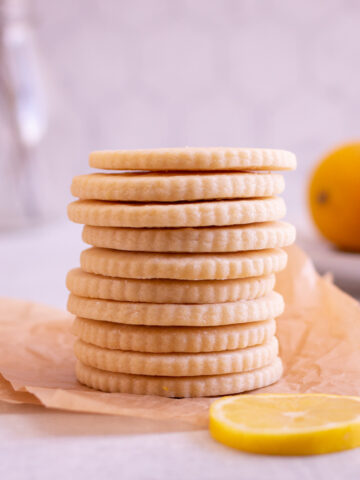
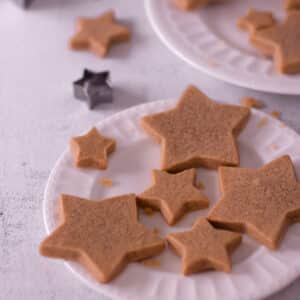
If you love decorating cookies but are tired of the same old sugar cookie recipe, these brown sugar cut-out cookies may be just what you need. These are a fun brown sugar twist on the classic sugar cookie and are rich, soft, and delicious. I created this recipe to have sharp edges and a flat surface making them great for royal icing cooke decorating.
Disclaimer: This post may contain affiliate links, meaning I may get a small commission if you decide to make a purchase through my links at no cost to you.
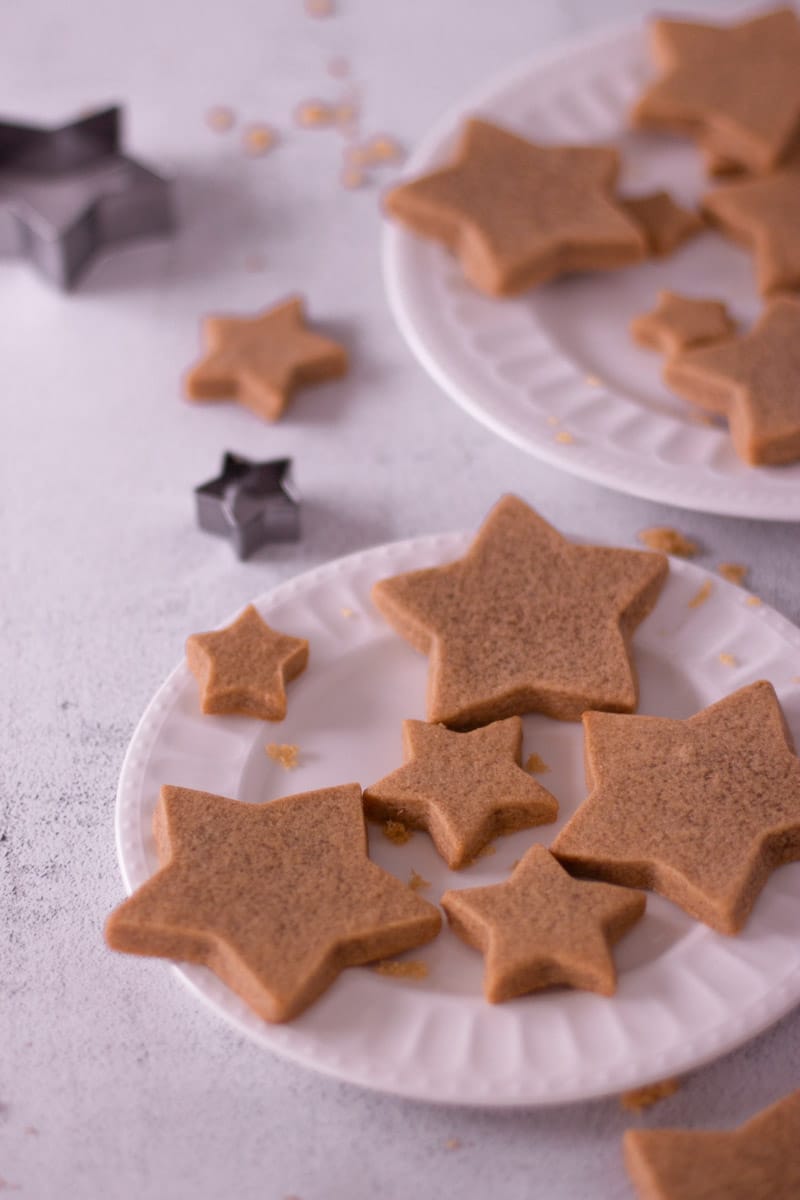
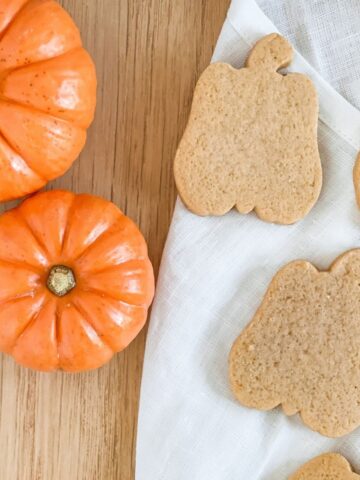
The rich flavor of the brown sugar makes these cookies great for fall or winter baking, but you can really make them any time of the year. Depending on what cutouts you use, they will be great for holidays including Valentine’s Day, Easter, 4th of July, Halloween, Thanksgiving, and Christmas cookies!
I have several other recipes that are great for royal icing cookie decorating including my classic cut-out sugar cookies, chocolate chip cut-out cookies, almond sugar cookies, and cookies and cream cut-out cookies.
Jump to:
Ingredients You’ll Need:
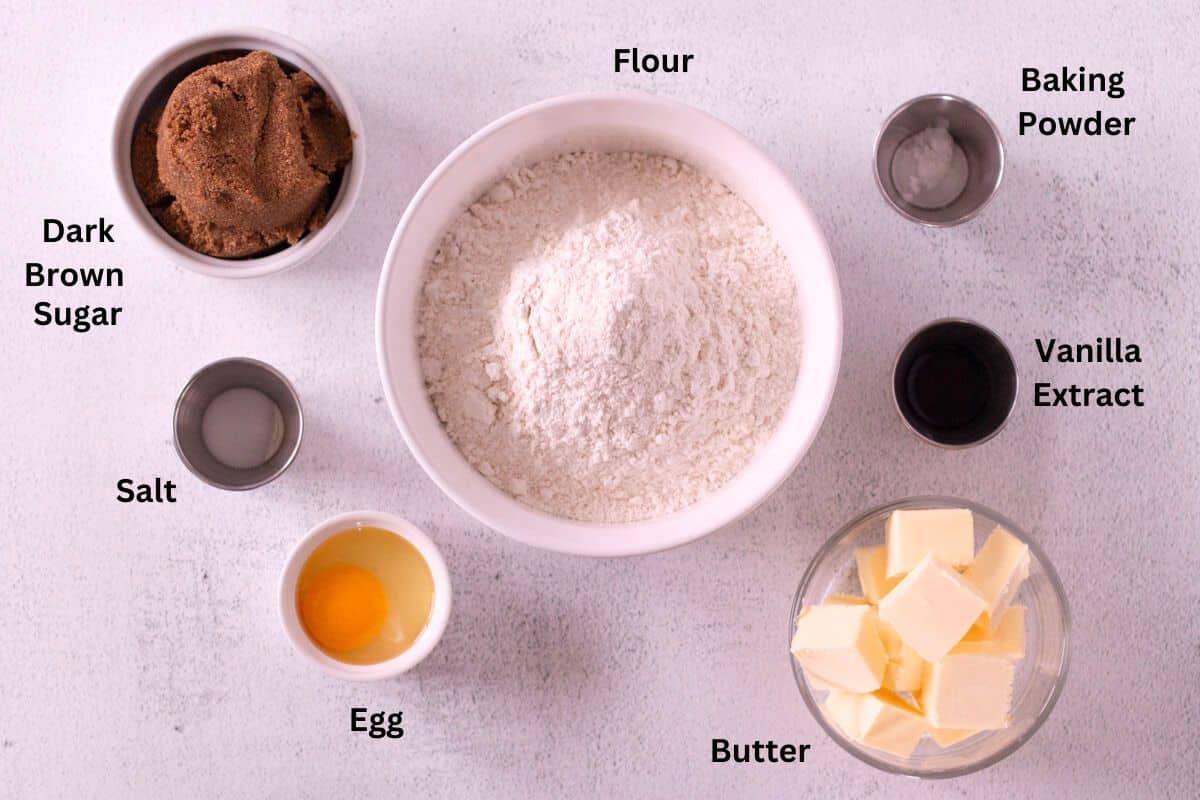
- All Purpose Flour: A staple for many cookie recipes. This recipe has only been tested with all-purpose flour.
- Baking Power: Acts as a leavening agent.
- Salt: For flavor!
- Unsalted Butter: I prefer to use unsalted butter because you can control how much salt is added to the recipe. Each brand of salted butter may use a different amount of salt, so to have more control in your baking, I recommend unsalted butter!
- Dark Brown Sugar: The major difference between white sugar and brown sugar is the addition of molasses. Dark brown sugar has twice the amount of molasses as light, giving these cookies a nice, rich flavor.
- Egg: Just 1 egg for this recipe.
- Vanilla Extract: If you can splurge for pure vanilla extract it is worth it for a stronger vanilla flavor.
See recipe card for quantities.
Supplies You’ll Need:
- Electric Mixer: Either a hand mixer or a stand mixer (with paddle attachment) will work.
- Rolling Pin: This rolling pin has measuring rings on the side so you can get consistent thickness when you roll out the dough. If you use a rolling pin without those rings, I would recommend getting a set of dough sticks.
- Cookie Cutters: For whatever occasion or holiday you are making cookies for!
Instructions
Prepare Ingredients and Supplies
Preheat the oven to 350 degrees. Line cookie sheets with parchment paper or silicone mats. I love these mats because they allow for a nice even bake of the cookies. They are also great for making all sorts of things in the oven and just pop them in the dishwasher to clean.
In a medium bowl, whisk together the flour, salt, and baking powder, and set aside.
Making the Cookie Dough
In a large mixing bowl, beat together the room-temperature butter and dark brown sugar on high speed. Once they are well combined, add the egg and vanilla extract into the butter mixture and beat on medium speed.
Add the dry ingredients in thirds. Between each addition, beat on low speed until mostly combined. Once all of the flour mixture has been added and mixed in your dough should be able to be handled without being too sticky.
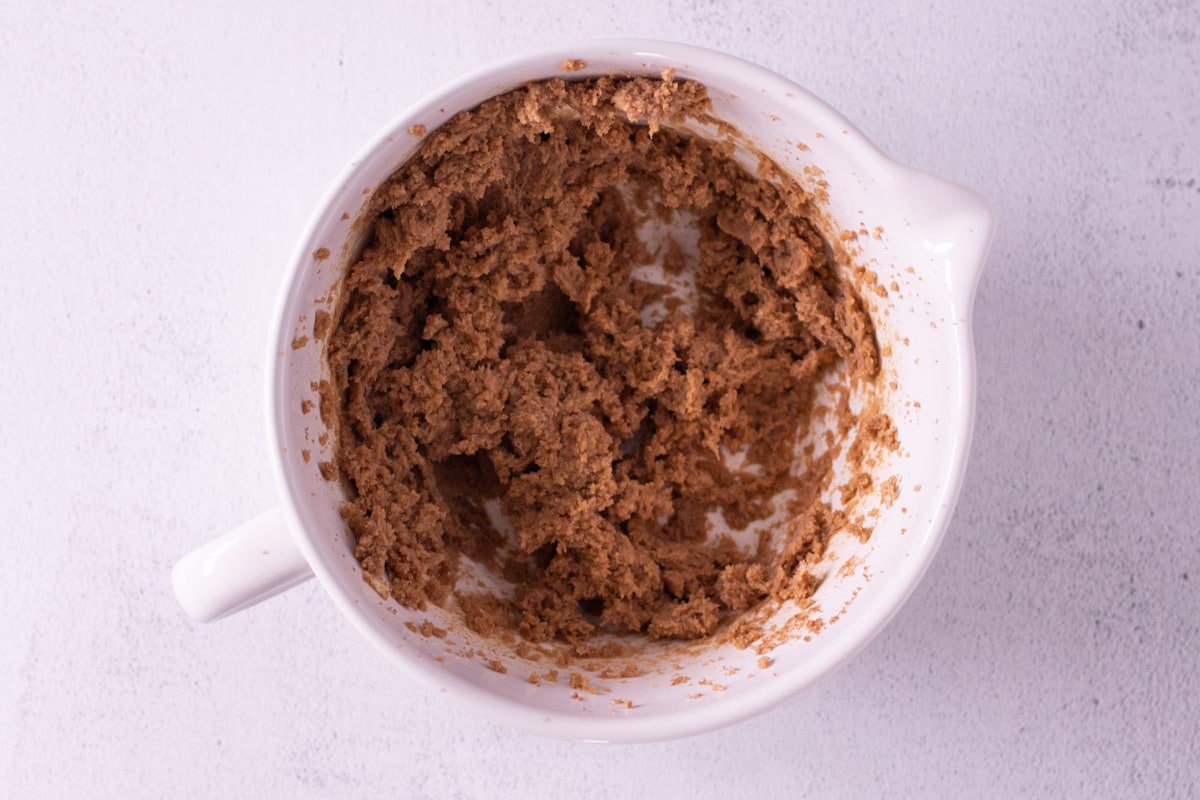
The mixture after beating together butter and dark brown sugar.
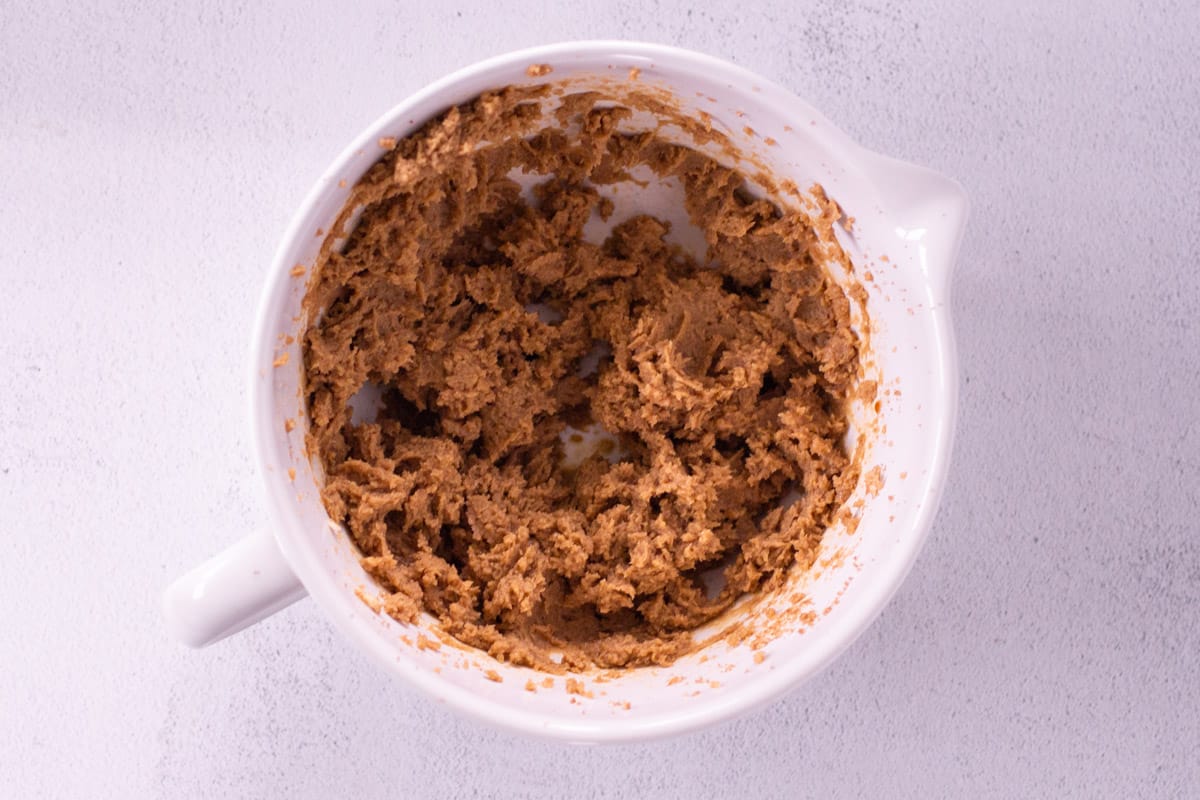
After adding egg and vanilla extract to the butter and sugar.
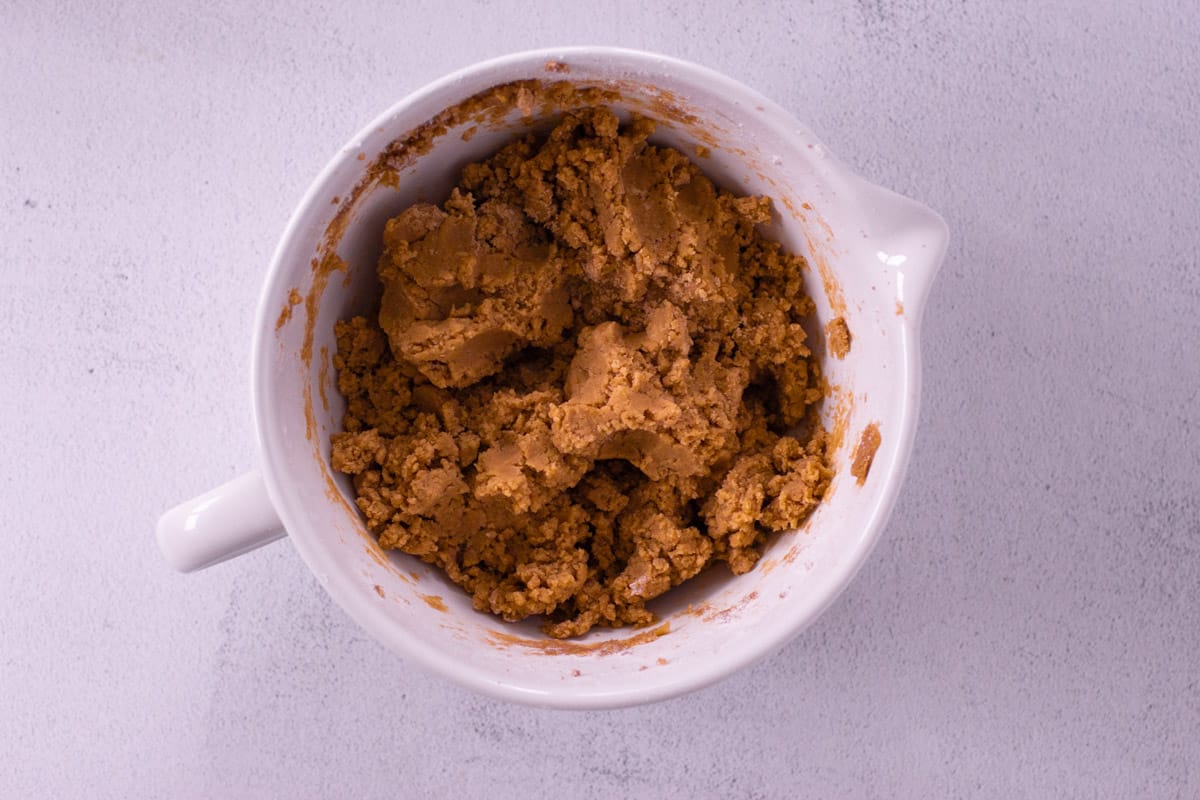
Dough completed after adding the flour mixture in three groups.
Rolling the Dough
Divide dough into two portions. Take one portion, roll a long log shape, and place it on a piece of wax paper. Take another piece of wax paper and cover the dough log. Roll out with your rolling pin to ⅜” thickness.
Pro Tip: Rolling out your dough between sheets of wax paper cuts down on stick dough and also makes cleanup really easy.
Place the rolled-out dough on a flat surface (like an extra cookie sheet) and place it in the freezer for 10-15 minutes until it’s solid but not frozen.
Remove the dough from the freezer, cut your shapes with your favorite cookie cutters. Place the cookies on the prepared baking sheet.

Shape the dough into a horizontal log shape.
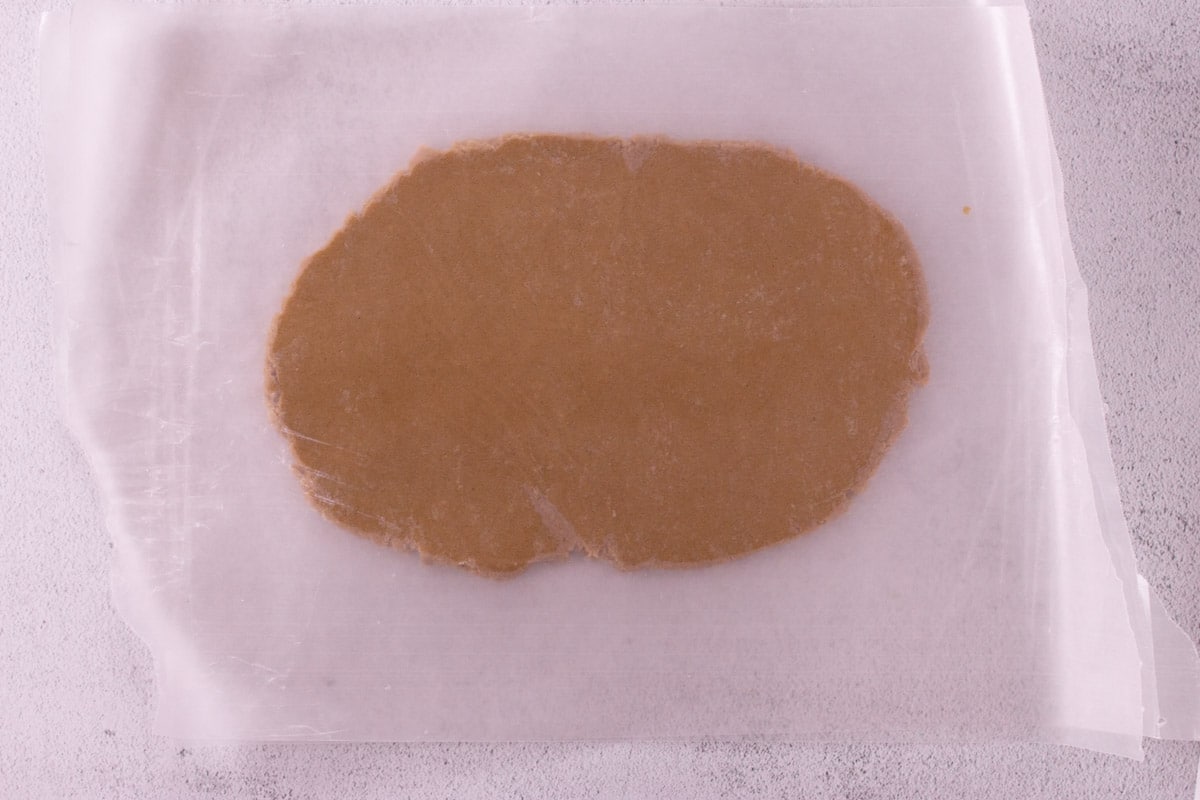
Between two sheets of wax paper, roll out the cookie dough.
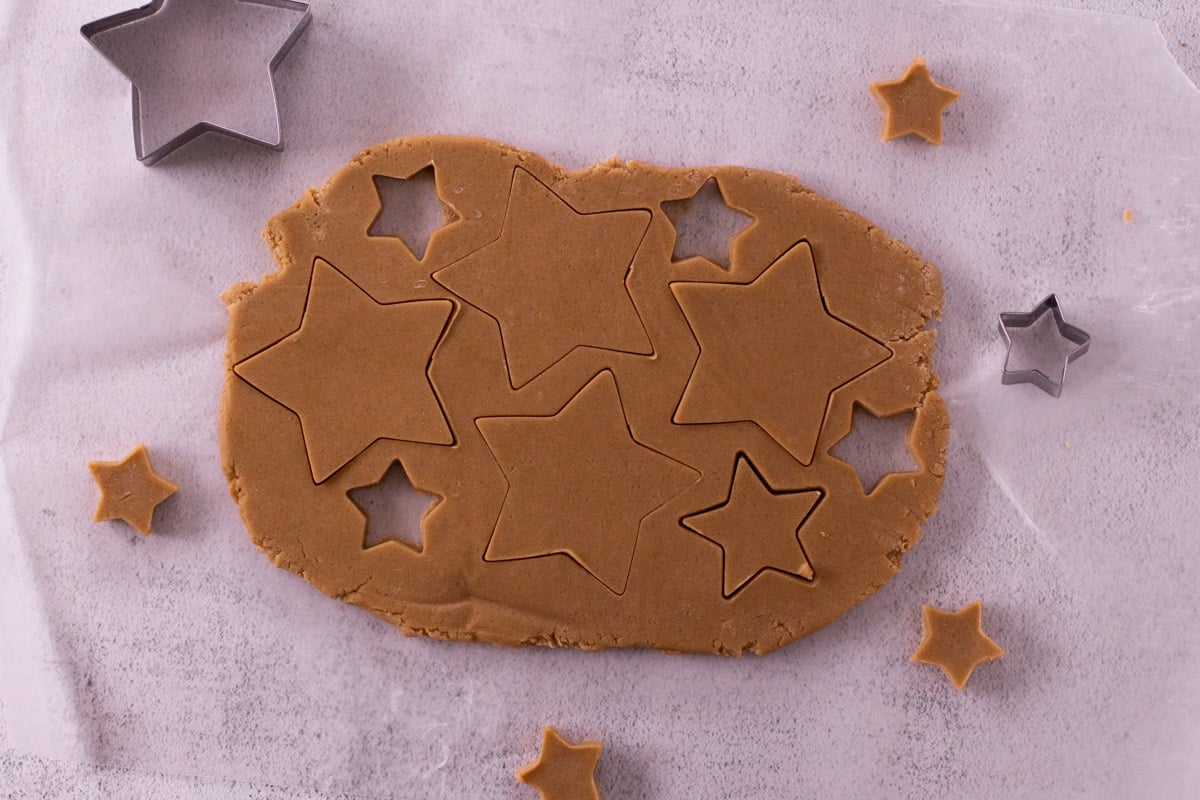
Cut out the shapes with your cookie cutter.
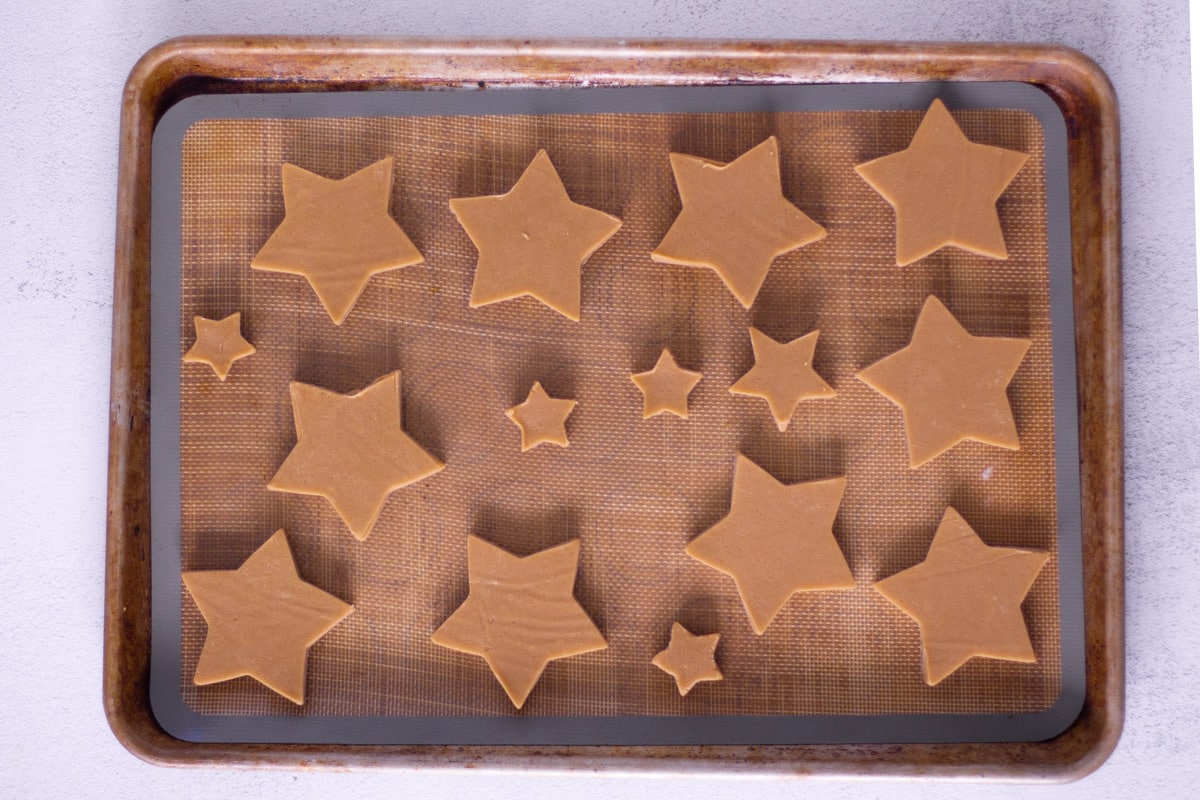
Line the dough shapes on a prepared cookie sheet.
Baking the Cookies
Bake the cookies for 11-13 minutes at 350 degrees. The cookies will be done when the bottom edges are slightly golden brown and the tops are no longer shiny.
Remove them from the oven and allow them to cool on the cookie tray for about 5 minutes until the shapes are set and you can safely transfer them to a wire rack to completely cool.
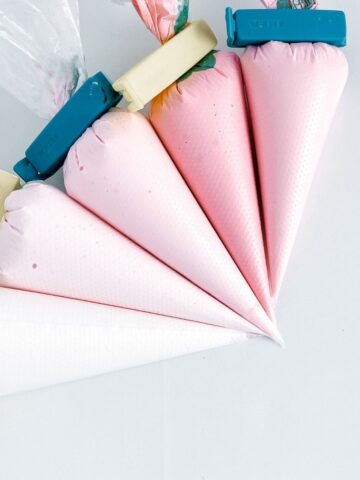
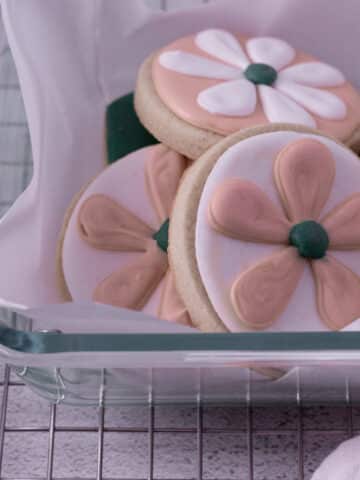
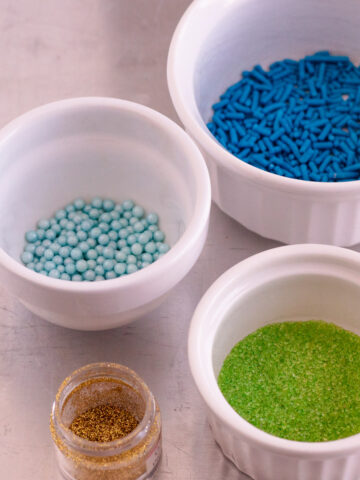
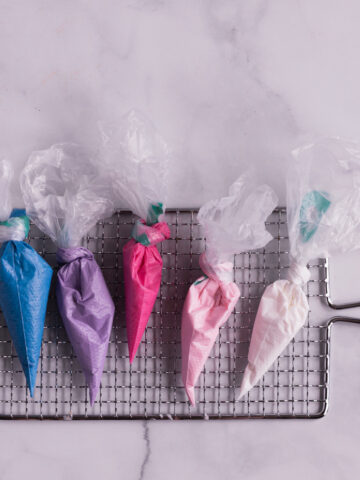
Decorating Cookies
Once the cookies have cooled completely it’s time to decorate! You can decorate these brown sugar cut-out cookies with royal icing, buttercream, or whatever your favorite icing is! I also have an almond buttercream recipe that would pair nicely with these cookies.
If you are new to cookie decorating, start by reading my Ultimate Guide to Royal Icing Cookie Decorating. For more royal icing info I have a post on drying royal icing cookies and how to make them shiny!
Tips for Making the Perfect Cut-Out Cookie
- Roll Out Dough as Few Times as Possible: The more times you roll out your cookie dough, the tougher the cookies will be. Try to cut out as many cookies as possible each time you roll the dough to minimize the number of times you are rolling it.
- If the dough gets too soft when you are rolling and baking the cookies, simply roll it out between two sheets of wax paper again, place it on a cookie sheet, and put it back into the freezer for a few minutes to solidify it.
- Bake the Same Size Together: When baking your cut-outs, do your best to bake the shapes with similar sizes to get the most evenly baked cookies.
- Measure your Flour Properly: If you have a kitchen scale, that is ideal. If not, use the scoop and level method. Essentially, scoop the flour into your measuring cup until it is overflowing. Then, take the straight edge of a knife or spatula and scrape off the excess flour back into the container. Too much flour in cookies will lead to a dryer final product.
- Don’t Overmix: A common mistake in cookie baking is overmixing your cookie dough. The more you mix, the more the gluten develops, which then leads to a tougher, less soft cookie. Stop mixing as soon as you see the flour has been incorporated.
- Make Sure Your Oven Temperature is Correct: Using an oven thermometer can be super helpful for both cooking and baking. Your oven may be running hot or cool and you would really never know without a thermometer. They are pretty reasonable and you can just let one hang on your oven rack and be assured your cookies are baking at the right temperature.
Storage
These brown sugar roll-out cookies can be stored in an airtight container for up to 5 days. If you plan to decorate them at a later date, freeze them in an airtight container for up to 3 months.
After the cookies are decorated, I like storing them in these Rubbermaid containers because they have a large flat surface area so you don’t have to stack the cookies too high.
I have a whole post about how to store cookies once they are decorated with royal icing.
Substitutions
I crafted this recipe to make flat cookies with sharp edges that are great for cookie decorating. Therefore I highly suggest using the ingredients I have recommended. Here are a few minor changes that can be made:
Butter: You can substitute salted butter for unsalted butter. However, remove the added salt from the recipe. Keep in mind, different salted butter brands use different amounts of salt, thus I cannot guarantee the flavor of the final cookie, depending on your selected brand of unsalted butter.
Sugar: If you want to use white sugar instead of brown sugar, follow my classic cut-out sugar recipe. You can substitute light brown sugar for dark brown sugar 1:1.
Flour: I did NOT test this with any other flours. If you do try it, let me know how it goes!
FAQ
Yes, you can substitute light brown sugar for dark brown sugar one to one. They will be slightly less rich and lighter in color, but still delicious.
This recipe will make approximately 24 cookies. However, this could vary based on the size of your cookie cutters.
This really depends on your taste preferences. If you like softer cookies, go for thicker cutouts and thinner cookies will be crispier. For this recipe, I really like around ⅜” but I often go down to ¼” thickness too.
Related
Looking for more cookies that are prefect for royal icing cookie decorating?
Learn More About Royal Icing
Brown Sugar Cut-Out Cookies
Ingredients
- 3 ½ Cups All-Purpose Flour (420g)
- ½ Teaspoon Salt
- ¼ Teaspoon Baking Powder
- 1 Cup Unsalted Butter, room temperature (226g)
- 1 Cup Dark Brown Sugar, packed (250g)
- 1 Egg (52g)
- 2 Teaspoon Vanilla Extract
Instructions
- Preheat the oven to 350°.
- Prepare cookie sheets with silicone mats or parchment paper.
- Whisk together flour, salt, and baking powder. Set aside.
- Mix room-temperature unsalted butter and dark brown sugar with an electric mixer on high speed until combined.
- Add the egg and vanilla extract and beat with the mixer on medium speed until combined.
- Add the dry ingredients in thirds, beating on low with an electric mixer in between each addition.
- Between 2 sheets of wax paper, roll out the cookie dough to ⅜” thickness* with the rolling pin measuring rings or dough stick. Freeze for 10-15 minutes to solidify the dough.
- Cut out shapes with cookie cutters and place them on a lined cookie sheet. Bake for 11-13 minutes. Cookies will be done when the bottom edges are very slightly turning a golden brown color and the tops of the cookies are no longer shiny.
- Remove from the oven and allow the cookies to set on the cookie tray for at least 5 minutes or until you can move them with a spatula and the hold form.
- Allow the cookies to completely cool for at least a few hours up to overnight before decorating.
Notes
- If you adjust the thickness of the cookies, you may need to adjust the baking time slightly up or down.
- Store cookies for up to 5 days in an airtight container or store in the freezer for up to 3 months.


Chloe says
I'm sure this a great recipe, but for some reason I struggled with it. I found the dough very tricky to work with. Maybe it's a recipe meant for a more skilled baker than I.
Courtney Karl says
I'm sorry that the dough was tough to work with! With cut-outs when the dough is more tacky than it should be I'll add an extra tablespoon or two of flour. If you add too much it could alter the texture of the cookie, but sometimes (especially in more humid climates) that trick helps. Also, freezing the dough in sheets before cutting as notated in the recipe card usually helps quite a bit too. Best of luck!