
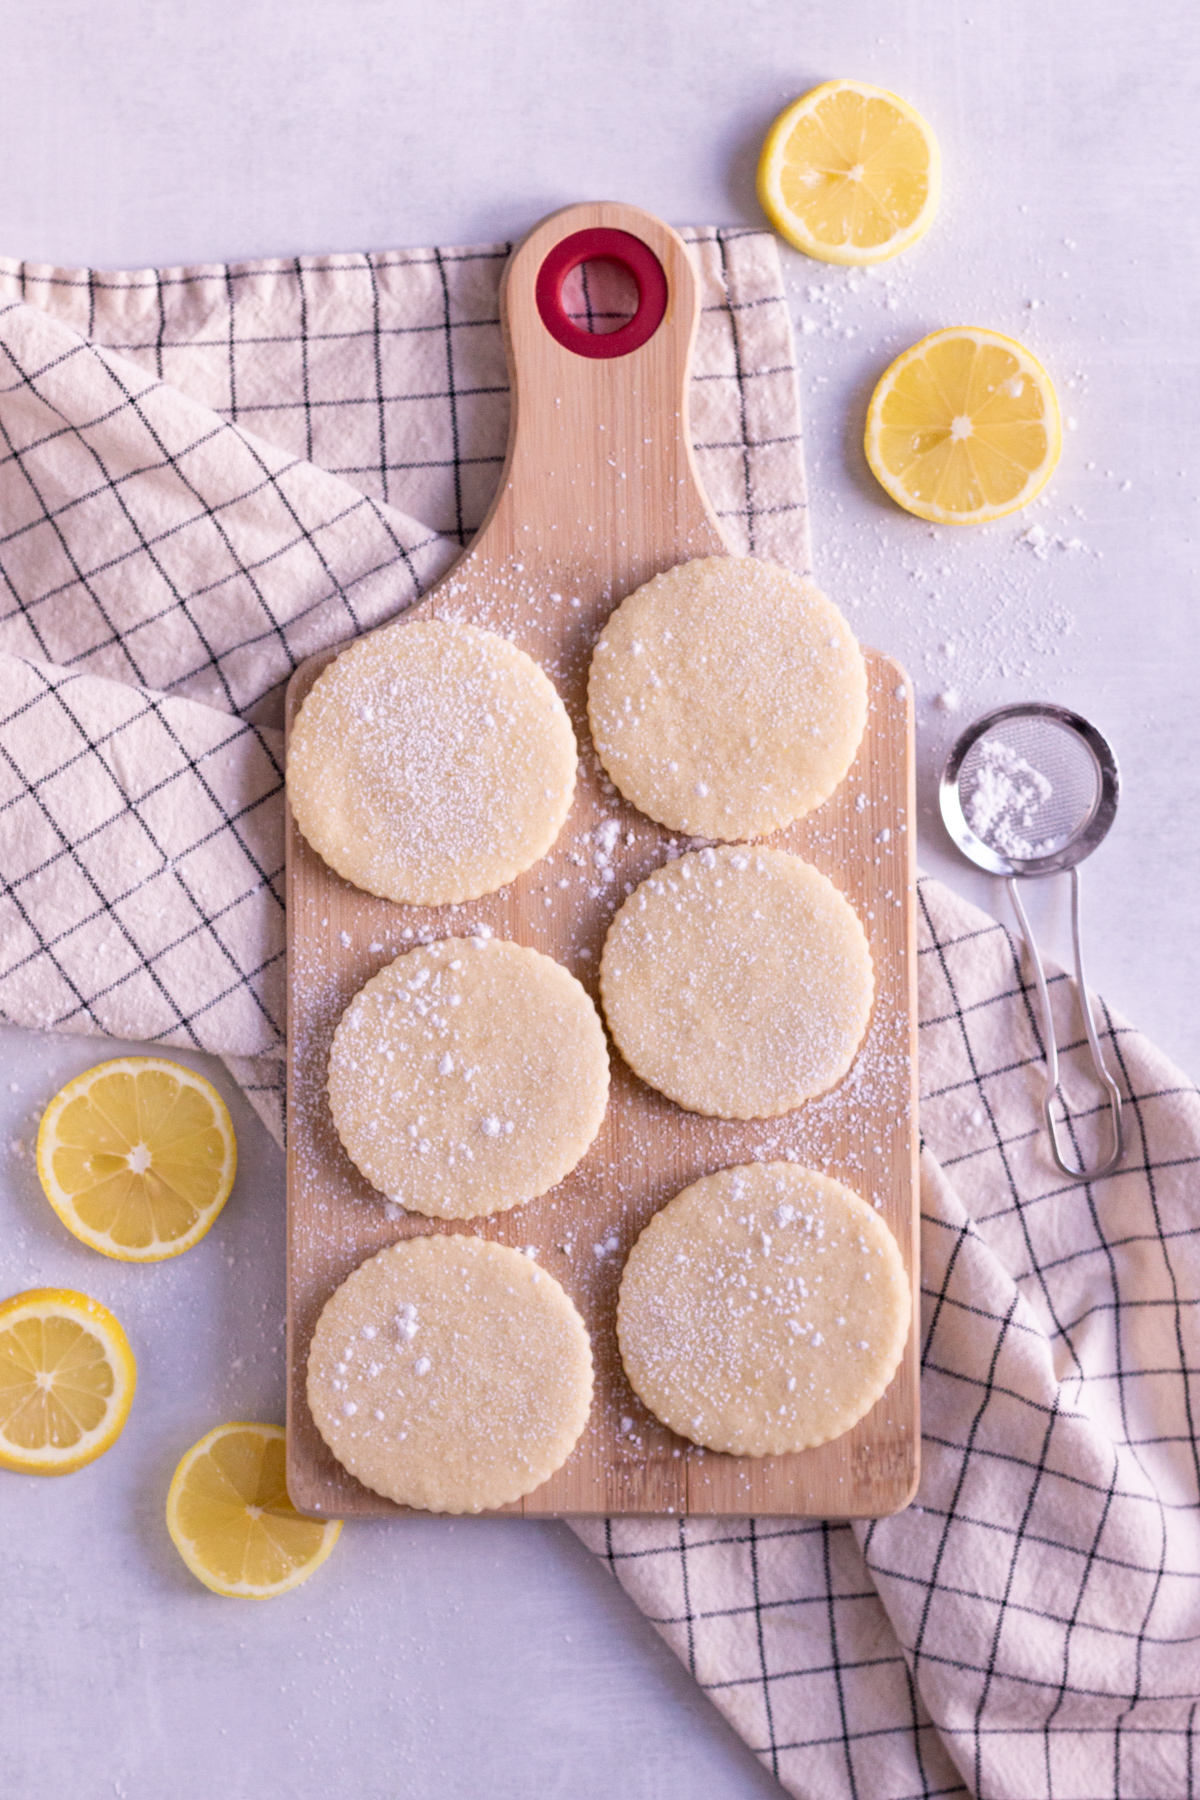
Even though it’s still early spring, I’ve had the biggest craving for all things lemon so I decided to make a classic roll-out sugar cookie, but for lemon lovers! This classic lemon sugar cookie has a sweet buttery taste with a strong, but not overwhelming lemon flavor. These soft cookies have very minimal to no spread and do not rise, so they are great for decorating with royal icing! However, they really don’t even need anything other than a drizzle of glaze to be delicious.
I have always been a huge fan of sugar cookies, admittedly because I do LOVE decorating cookies, so it’s imperative to have a classic sugar cookie recipe on hand. However, after making the same rollout recipe over and over (even though I do love it), it does get tiresome. I’ve decided to work on some fun variations of cut-out cookies, enter these lemon cookies! They are the perfect cookies for all of your cookie decorating needs (or even for Christmas Sugar cookies).
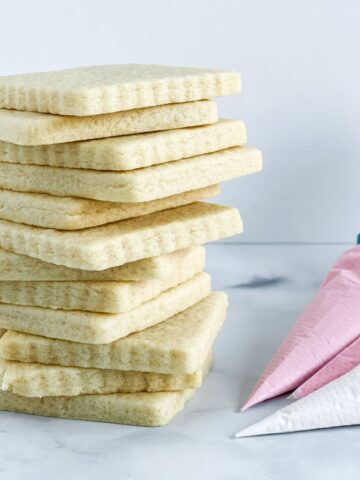
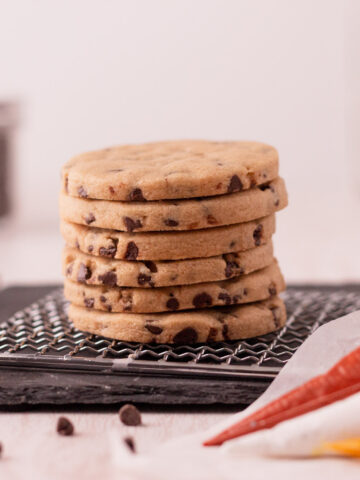
I also have a recipe for Cookies and Cream Cut-Outs, Chocolate Chip Cookie Cut-Outs, and Brown Sugar Cut Out Cookies.
Disclaimer: This post may contain affiliate links, meaning I may get a small commission if you decide to make a purchase through my links at no cost to you.
Making Your Roll-Out Lemon Sugar Cookies
Prepping the Oven and Ingredients
First thing, preheat the oven to 350 degrees. Line your cookie sheets with parchment paper or silicone mats. If you bake a lot, I highly recommend getting a set of silicone baking mats (I use these). They help cookies to bake evenly in the oven - and just toss them in the dishwasher to clean, easy peasy!
In a medium bowl, combine dry ingredients - flour, baking powder, and salt. With a whisk, combine the mixture very thoroughly. Set aside.
I find it easier to zest my lemon before I start making the dough. Wash your lemon very well to start. Using a lemon zester or a small cheese grater (if you don’t have either of these here are a few more clever ways to zest!) Shave off about ½ teaspoon of zest (or even more if you want an even bigger kick of freshness in your cookies). You can set the zest aside and save the inside of the lemons for another use (maybe this glaze).
Combining Wet Ingredients
Make sure your unsalted butter is softened, but not melted. It should be just slightly warmer than room temperature, but it should still have its shape. I habitually forget to take my butter out ahead of time, so my trick to speeding up the softening process is to place the stick of butter in the microwave for 15 seconds on 50% power. Then I continue microwaving in 5 second increments on 50% power until I get the right softness.
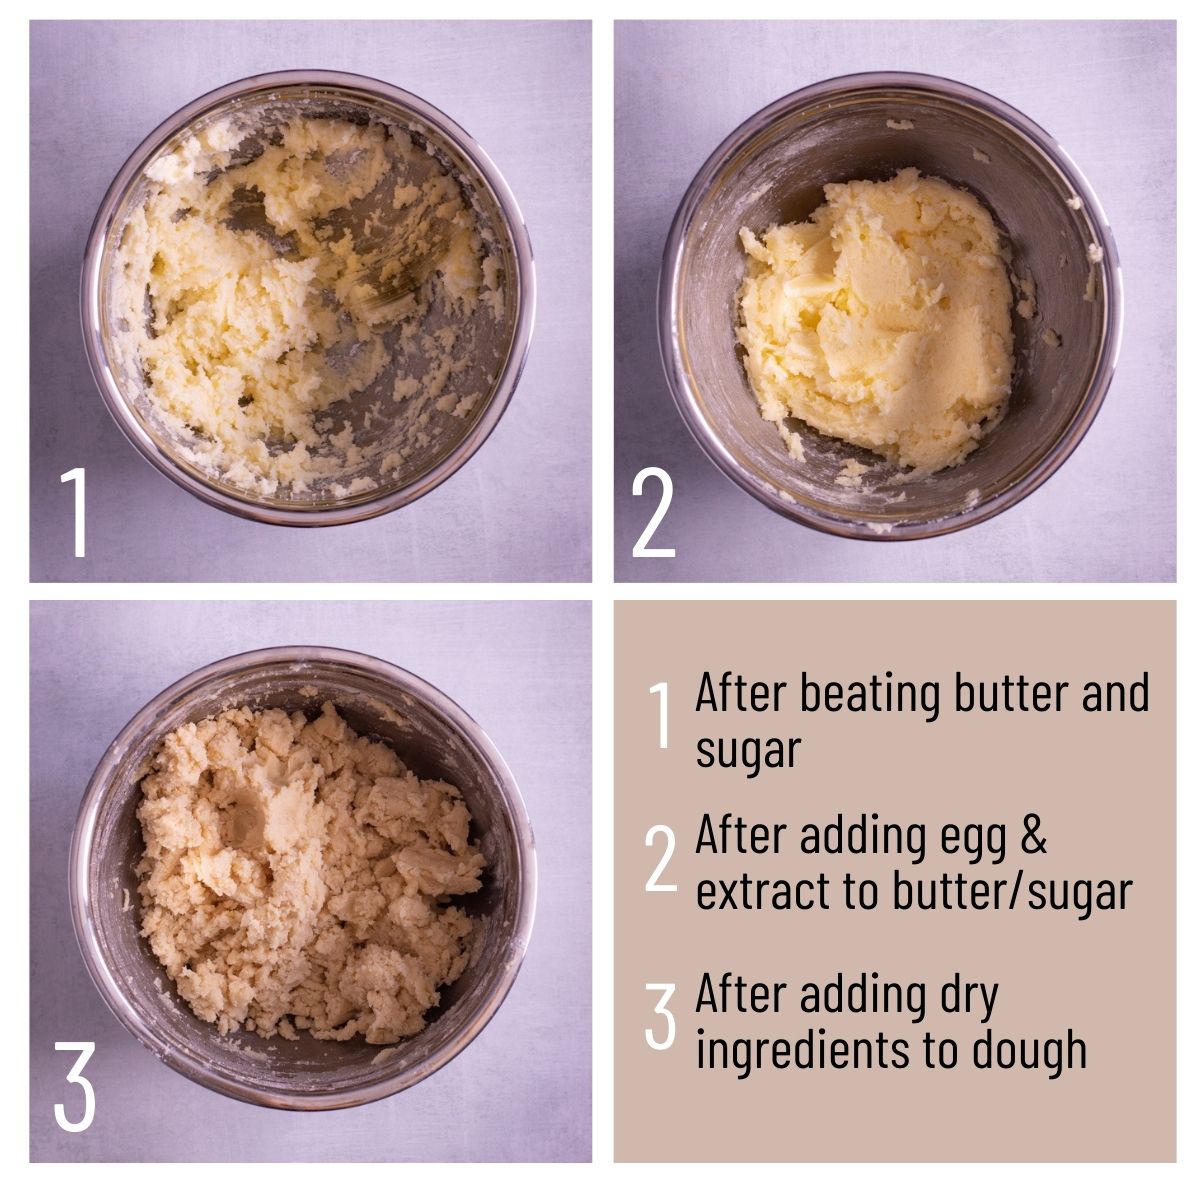
In a large bowl, add the softened butter and white sugar. Using an electric mixer (either a hand mixer or a stand mixer with the paddle attachment), beat the ingredients on high speed for about 1 minute. The sugar will have combined into the butter, so you shouldn’t see many granules anymore. The mixture will look light in color and appear somewhat ‘fluffy’.
Add the egg and lemon extract to the butter and sugar. Beat on medium speed for about 30 seconds to 1 minute. The mixture will start to come together more cohesively and look a bit smoother. It will almost look like whipped butter at this point.
Adding Dry Ingredients
Now bring back out your bowl of mixed dry ingredients. Add a heaping ¼ cup of the dry mixture into your large mixing bowl and beat on low to medium/low. Once that first ¼ cup is fully combined, add another ¼ cup and continue beating with your electric mixer. Continue the process until you have added the entirety of your dry ingredients. Scrape down the sides of the bowl with a spatula to make sure everything is combined.
Fresh Lemon Zest Time
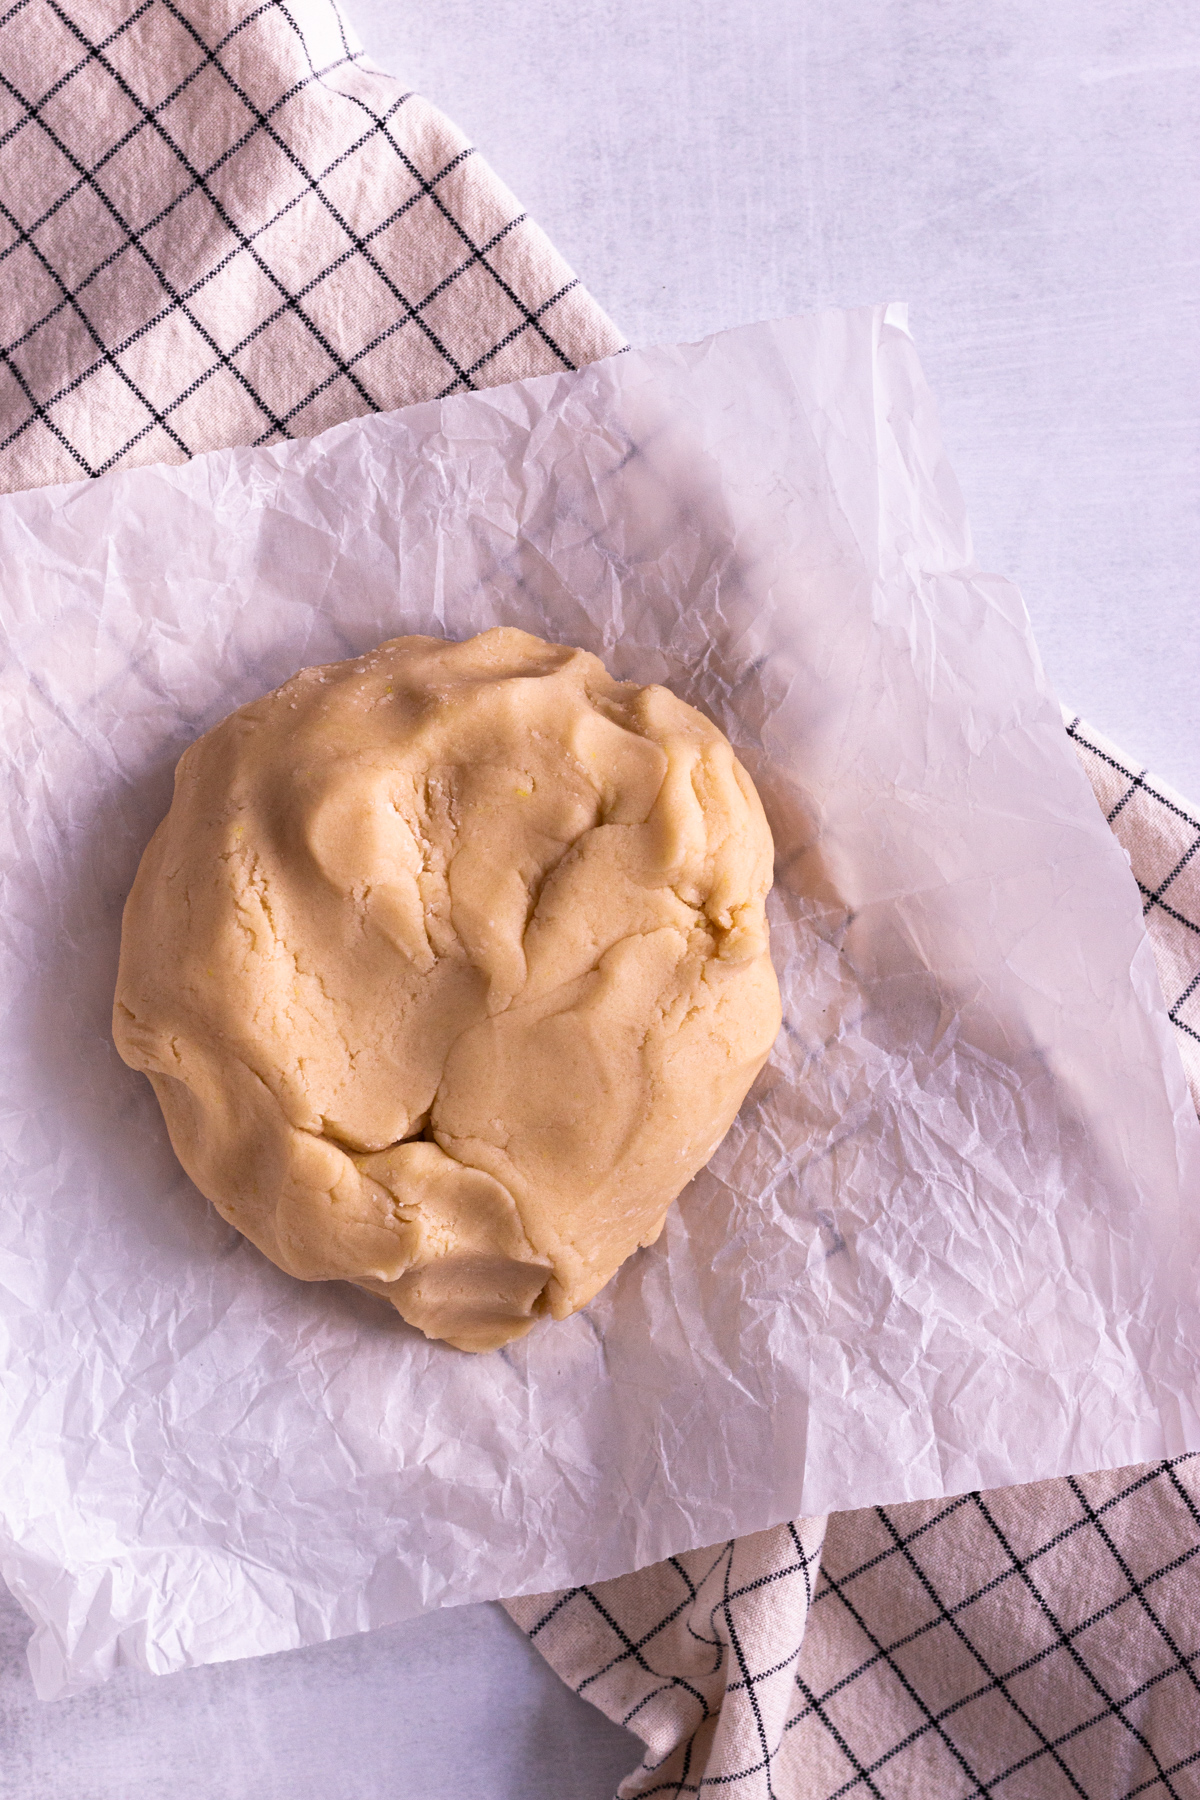
Now add your lemon zest to the cookie dough. Beat them on high for 20-30 seconds. If your dough is a bit on the drier side and the flour crumbles haven’t quite combined, add 1 teaspoon and mix for another few seconds. Continue to add milk 1 teaspoon at a time until you get a nice firm dough (you shouldn't need more than 2-3 teaspoons tops). Add the milk very gradually, you do not want to add too much or the dough will become too sticky and hard to roll out. The texture of the cookie dough will be slightly tacky, but again, should NOT be sticky.
Rolling Out the Perfect Cookies
Now for the fun part - cookie cutter time! Start by placing a piece of wax paper on a flat surface (I add a silicone baking mat underneath the wax paper to prevent it from sliding around the counter). Take half of your cookie dough and shape it into a long, but thick log - place horizontally on the piece of wax paper. Place one more piece of wax paper on top of the dough.
Using your rolling pin, roll the cookies to ¼” inch thickness. I use this rolling pin which has measuring guides on the side so you can obtain an even thickness across all of your cookies. If you bake sugar cookies on the regular, I HIGHLY recommend it.
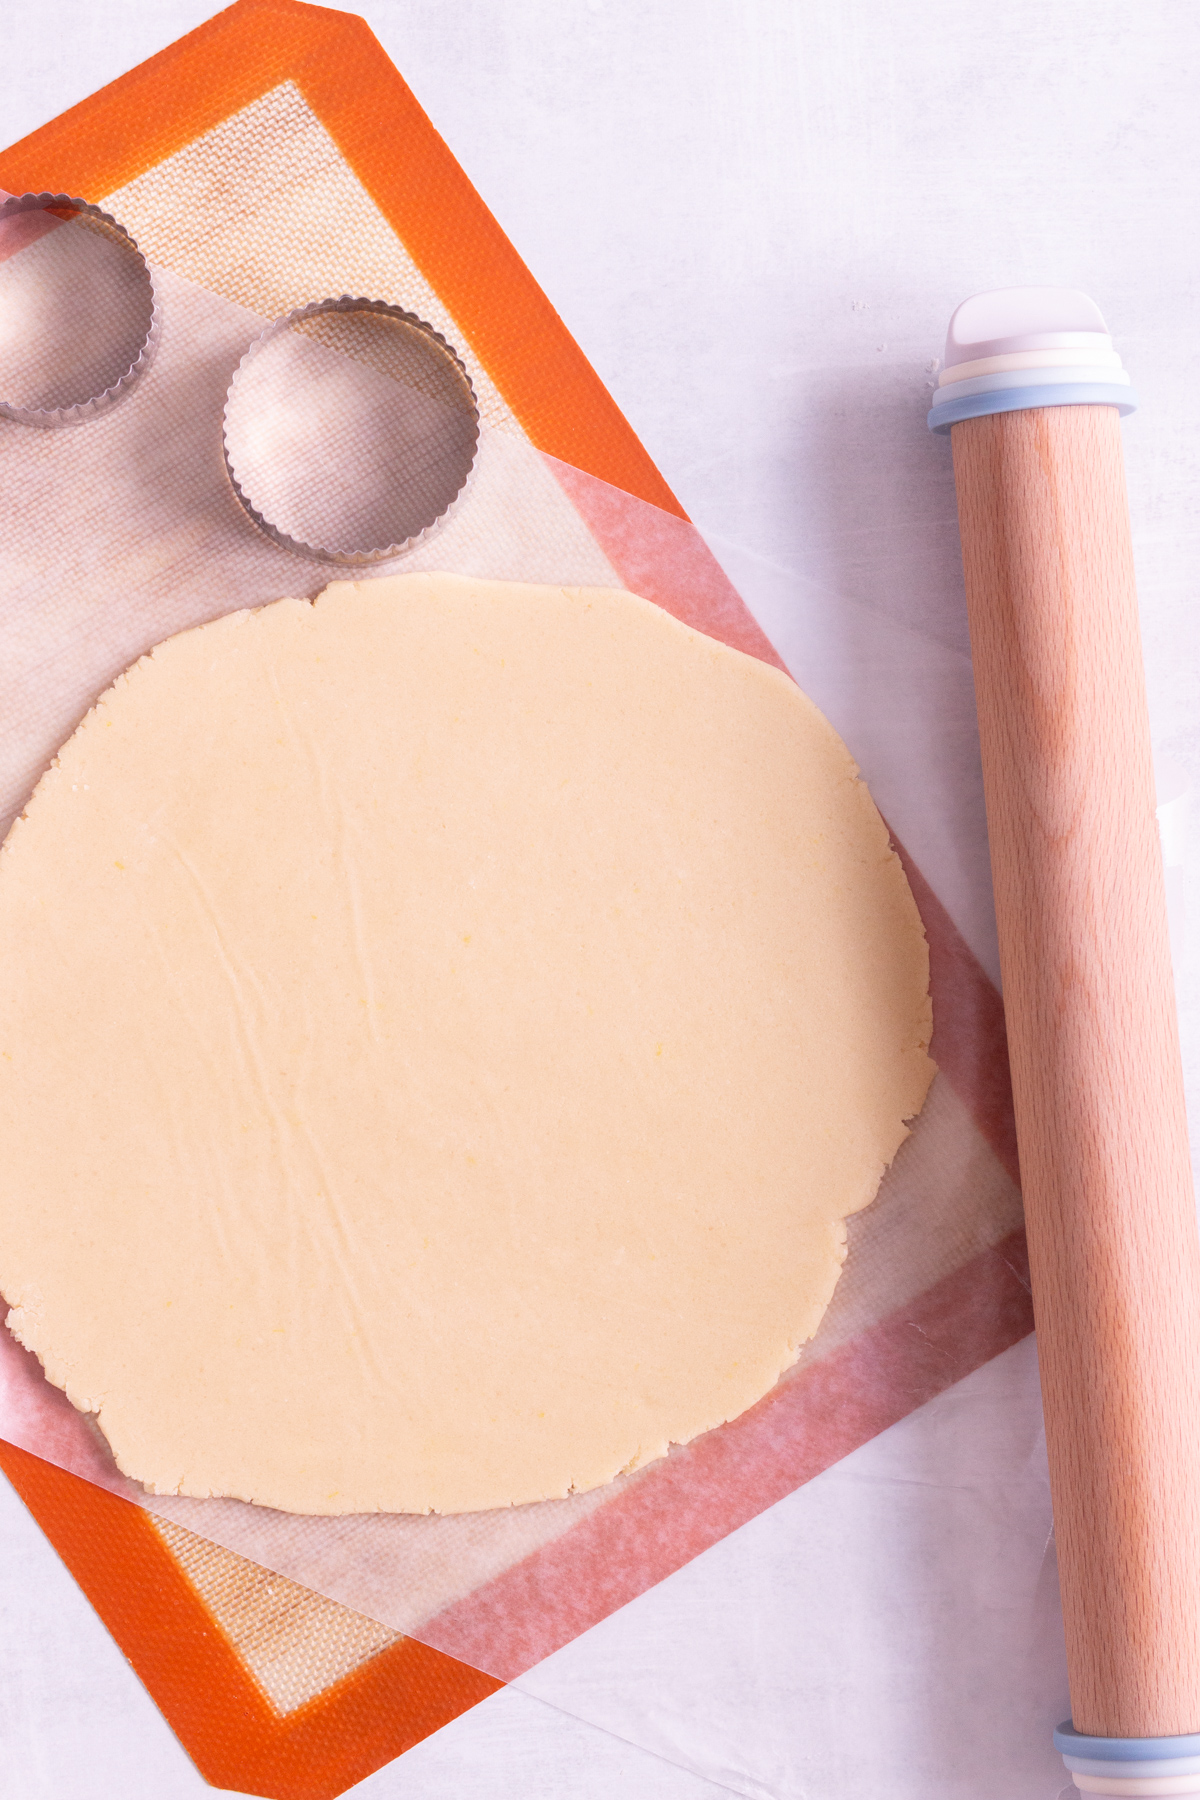
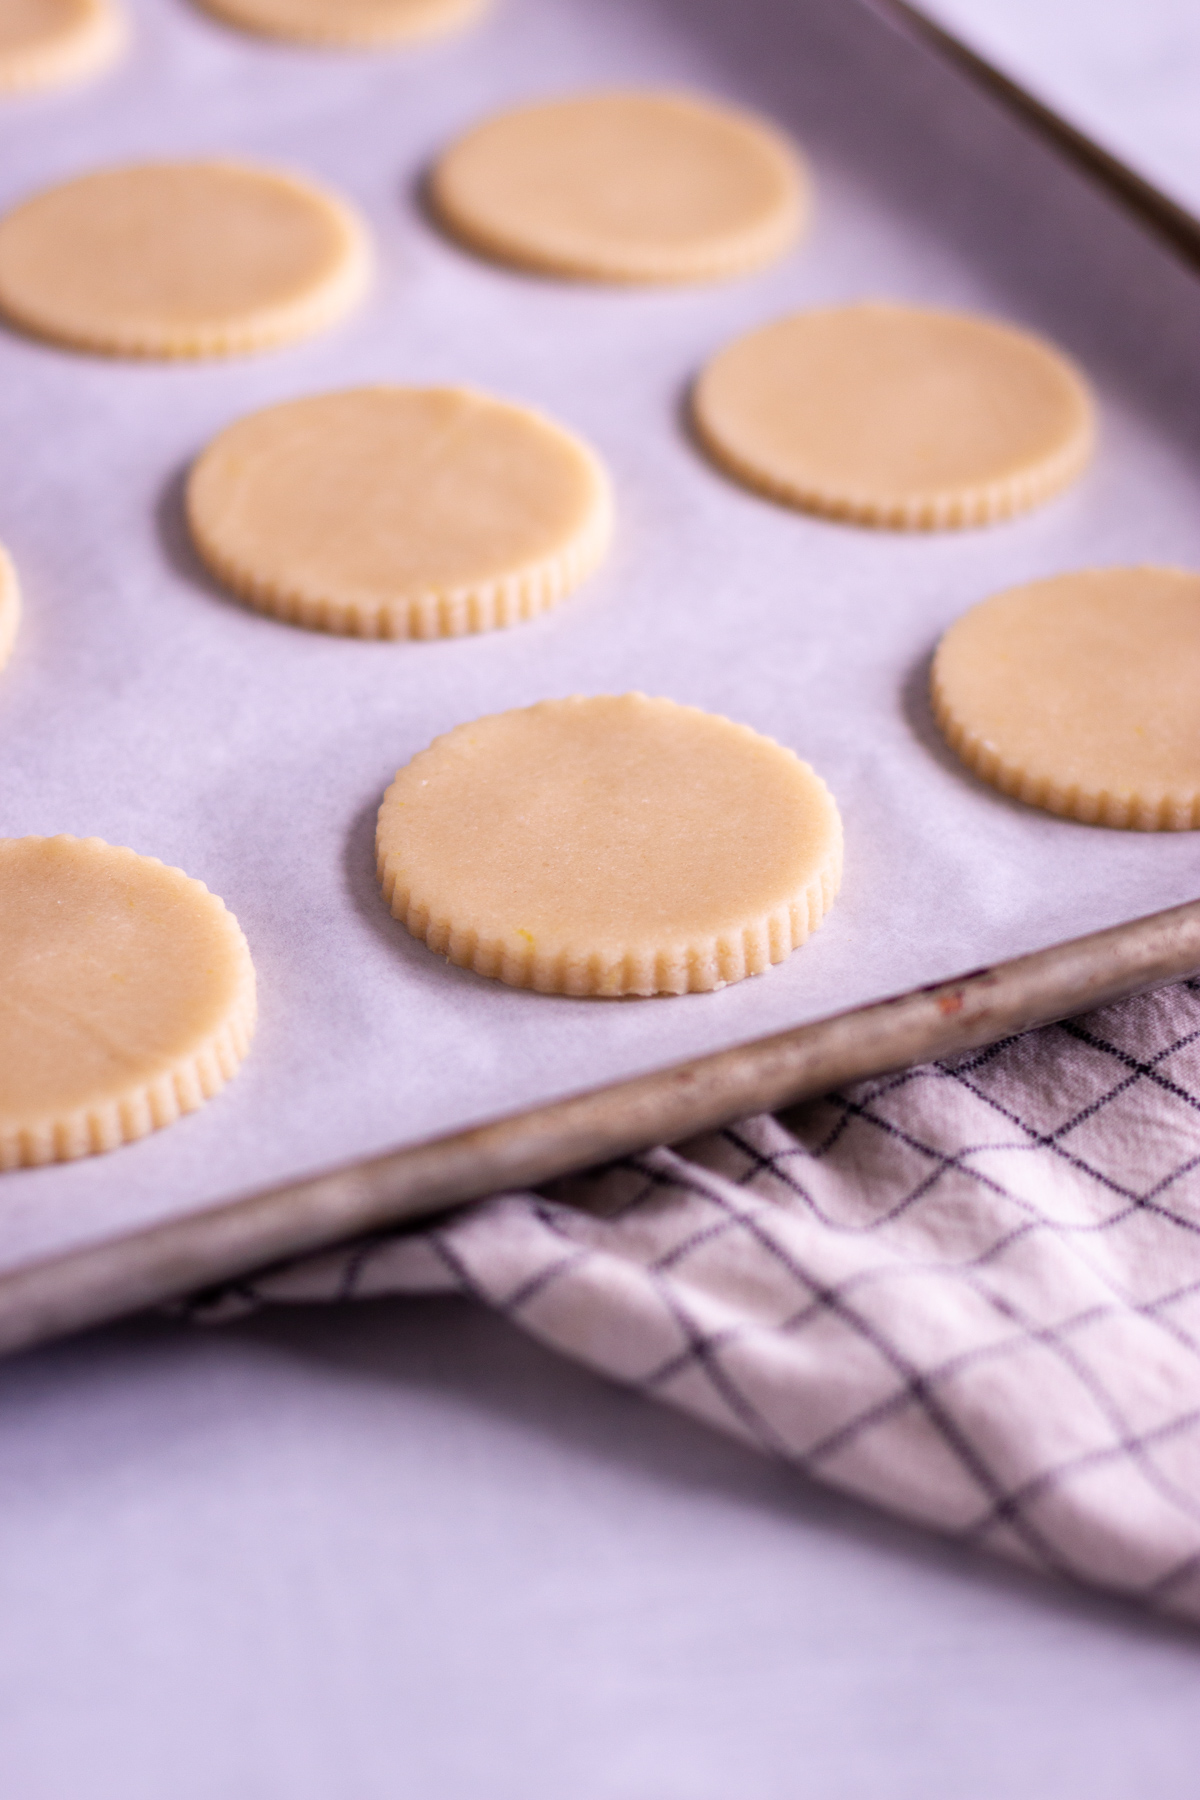
Cut out your shapes with your favorite cookie cutters and place them on your prepared baking sheets. Make sure the cookies are at least ¾” away from each other to be safe, though the cookies shouldn’t spread much at all.
Once you use the first half of the dough, gather the scraps and set them aside. Continue the process with the second half of cookie dough. With the excess dough, repeat the process. I try not to roll my dough out more than 2x or it will start to get tough when baked. But I also hate wasting dough, so I will just bake the last “tough” dough for my own tasting or to practice cookie decorating with!
If your dough gets too soft and begins to get hard to work with, place the rolled dough between wax paper sheets on a tray and place it in the freezer for 5-10 minutes to firm.
Baking Lemon Sugar Cookies
Place the baking sheets in the oven and bake the cookies for 10-12 minutes. The cookies will be done when the tops no longer have a shiny look and more of a matte texture to them. Remove from the oven and let them sit on the cookie sheet for at least 5 minutes before transferring them to a wire rack to completely cool.
Decorating Cookies
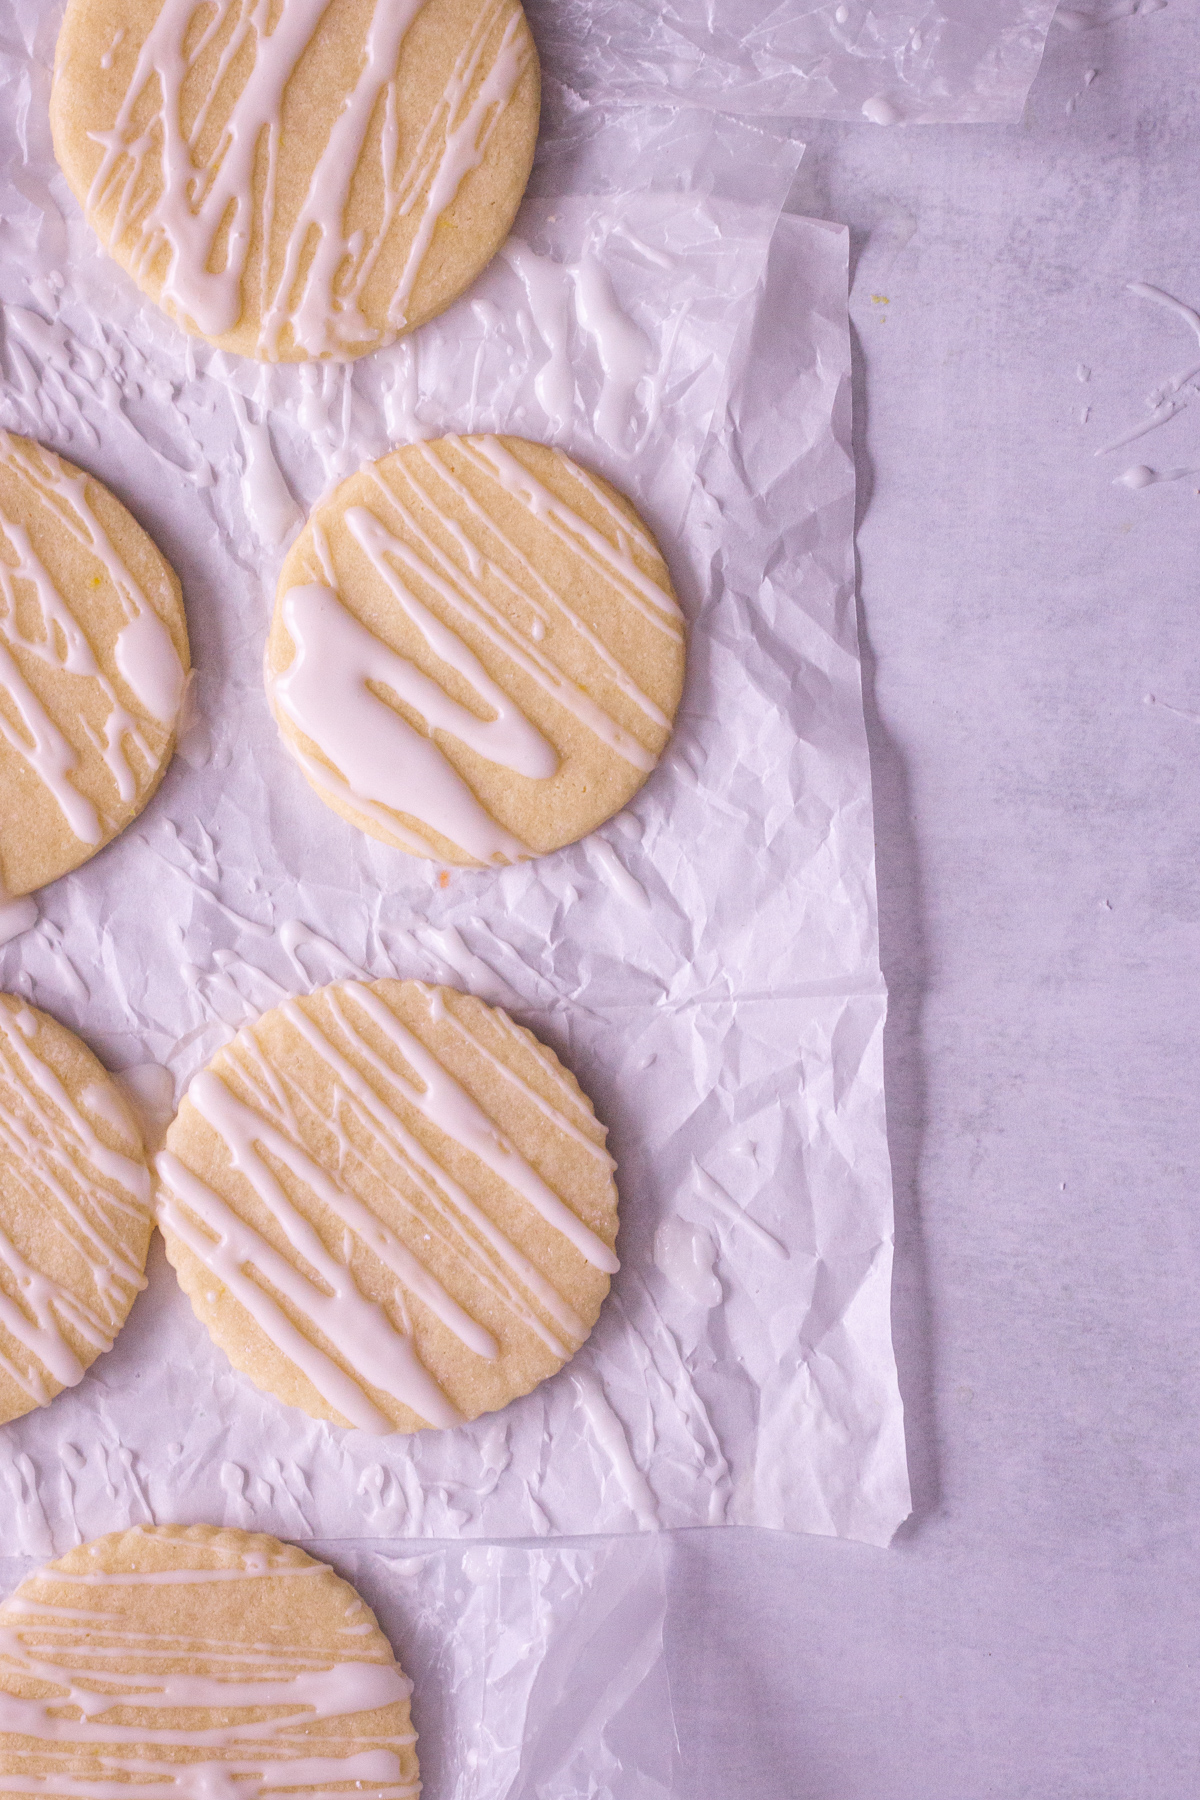
Once your buttery sugar cookies have completely cooled, it’s time to decorate. Though personally, I think these cookies taste great on their own, I always love adding a touch of flair to the top of each cookie.
- Lemon Glaze: Check out this lemon glaze recipe that is a breeze to make and the perfect topping for these lemon sugar cookies. Simply whisk it up, add the icing to a piping bag, and drizzle on the cookies.
- Royal Icing: As a huge fan of royal icing decoring, I created this original recipe with cookie decorating in mind. You can find my royal icing recipe here!
- Buttercream or Other Frosting: You can also use your favorite vanilla buttercream or even some canned frosting to top off these babies. Add some sprinkles for an extra touch of fun!
Tips for Making the Perfect Cut-Out Cookie
- Roll Out Dough as Few Times as Possible: The more times you roll out your cookie dough, the tougher the cookies will be. Try to cut out as many cookies as possible each time you roll the dough to minimize the number of times you are rolling it.
- Measure your Flour Properly: If you have a kitchen scale, that is ideal. If not, use the scoop and level method. Essentially, scoop the flour into your measuring cup until it is overflowing. Then, take the straight edge of a knife or spatula and scrape off the excess flour back into the container. Too much flour in cookies will lead to a dryer final product.
- Bake the Same Size Together: When baking your cut-outs, do your best to bake the shapes with similar sizes to get the most evenly baked cookies.
- Don’t Overmix: A common mistake in cookie baking is overmixing your cookie dough. The more you mix, the more the gluten develops, which then leads to a tougher, less soft cookie. Stop mixing as soon as you see the flour has been incorporated.
- Make Sure Your Oven Temperature is Correct: Using an oven thermometer can be super helpful for both cooking and baking. Your oven may be running hot or cool and you would really never know without a thermometer. They are pretty reasonable and you can just let one hang on your oven rack and be assured your cookies are baking at the right temperature.
Cookie Storage
These cookies will stay fresh in an airtight container for 4-5 days. Freeze them in an airtight container for up to 3 months (these are my favorite).
Check out my post on storing cookies decorated with royal icing.
I hope you enjoy these citrus cookies! If you loved this recipe, I would really appreciate a 5 star rating at the top of the recipe card.
Related
More cut-out cookie recipes for you to try:


Cut-Out Lemon Sugar Cookies
Ingredients
- 3¼ Cups All-Purpose Flour (390g)
- ¼ Teaspoon Baking Powder
- ¼ Teaspoon Salt
- 1 Cup Unsalted Butter, softened (226g)
- 1 Cup Granulated Sugar (198g)
- 1 Egg (~50g)
- 1 Teaspoon Lemon Extract
- ½ Teaspoon Lemon Zest
Instructions
- Preheat the oven to 350° and line cookie sheets with parchment paper or silicone mats.
- In a medium bowl whisk together flour, baking powder, and salt. Set aside.
- In a large bowl, add softened butter and granulated sugar. With an electric mixer beat on high for approximately 1 minute until the mixture is cohesive (see post for details/pictures).
- Add the egg and lemon extract. Beat with an electric mixer for about 30 seconds, until it looks smooth and kind of like whipped butter (see post for details/pictures). Make sure to scrape down the sides of the bowl to make sure everything is mixed in well.
- Slowly incorporate the dry mixture a heaping ¼ cup at a time. Beat on low with an electric mixer. Once the first ¼ cup is combined, add the next, and continue the process until you have used all of the flour mixture.
- Add in the lemon zest and beat with an electric mixer on high for about 20-30 seconds to combine*.
- Roll out the dough to ¼" thickness. See the post for details on my favorite (and easy clean-up method) for rolling out cookie dough.
- Using a cookie cutter, cut out your shapes and place on the lined baking sheet.
- Bake cookies for 10-12 minutes. Let cool on the baking sheet for 5 minutes and transfer to a wire rack to completely cool.
Notes
- Store cookies in an airtight container for 4-5 days.
- Freeze cookies for up to 3 months in an airtight container
- Cookies can be enjoyed plain, drizzled with lemon glaze, or decorated with buttercream or royal icing.


Luna says
They taste amazing!!!!!!!!!!!!!!!!!!!!!!!!!!!!!!