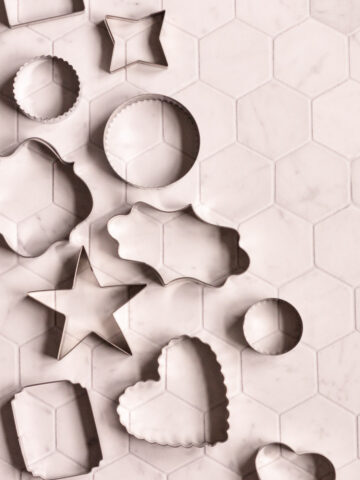
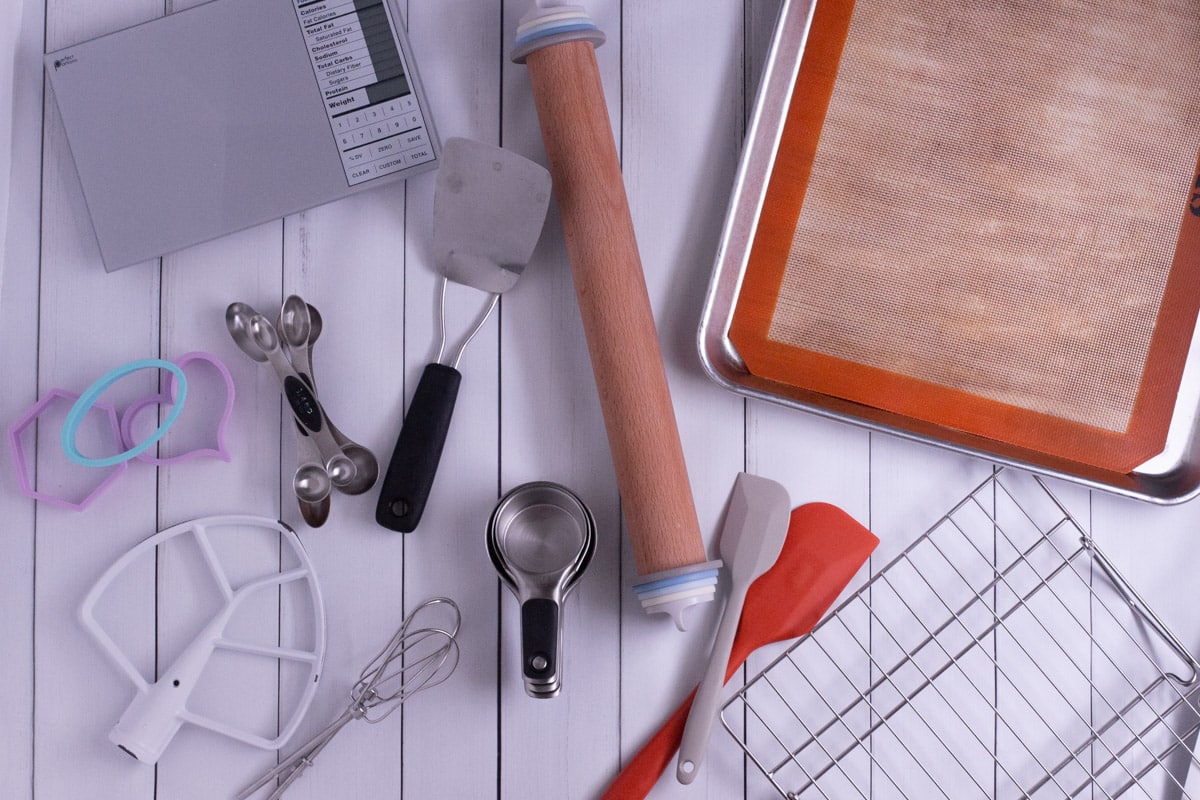
Thinking about learning how to decorate cookies, but are overwhelmed by the selection of tools and supplies? Cookie decorating can be as simple or as complicated as you want it to be. I have compiled a list of all of the supplies you will need for each step of the process including all of the necessary tools and some extras that can take your cookie game to the next level.
Disclaimer: This post may contain affiliate links, meaning I may get a small commission if you decide to make a purchase through my links at no cost to you.
Jump to:
Types of Cookie Decorating
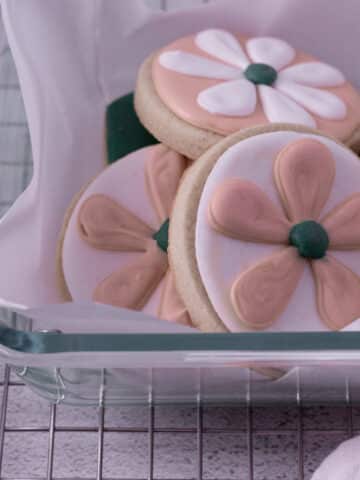
The two main kinds of cookie decorating use buttercream or royal icing. For the purpose of this post, I am mainly going to focus on the supplies and tools for royal icing cookie decorating. This type of cookie decorating allows for so much creativity and the ability to do some fun and simple cookies up to detailed and intricate designs.
Basic Cookie Decorating Process
- Bake cookie dough and roll out, cut, and bake sugar cookies.
- Let cookies set for up to a few hours. While they are cooling/setting make royal icing.
- Decorate the base layers of the cookie with flood icing. Let dry for 8 hours up to overnight.
- Add the details, borders, and designs using detail and medium consistency icing.
- Allow cookies to fully dry, several hours up to overnight, before packaging and serving!
Supplies for Baking Cookies
Cookie Recipe
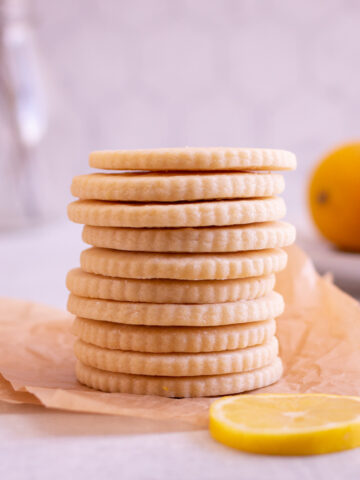
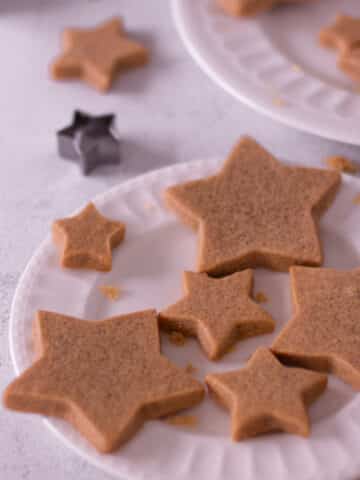
You'll need a good cut-out cookie recipe for a good cookie decorating base. I have a classic sugar cookie cut-out recipe you can check out. However, if you want to switch it up, you can try my cookies and cream recipe, pumpkin sugar cookie recipe, or lemon cut-out cookies. If you have another recipe you like, just make sure the cookies do not rise and create a slope from the center to the edge of the cookie. Royal icing cookie decorating needs a flat cookie base.
Electric Mixer
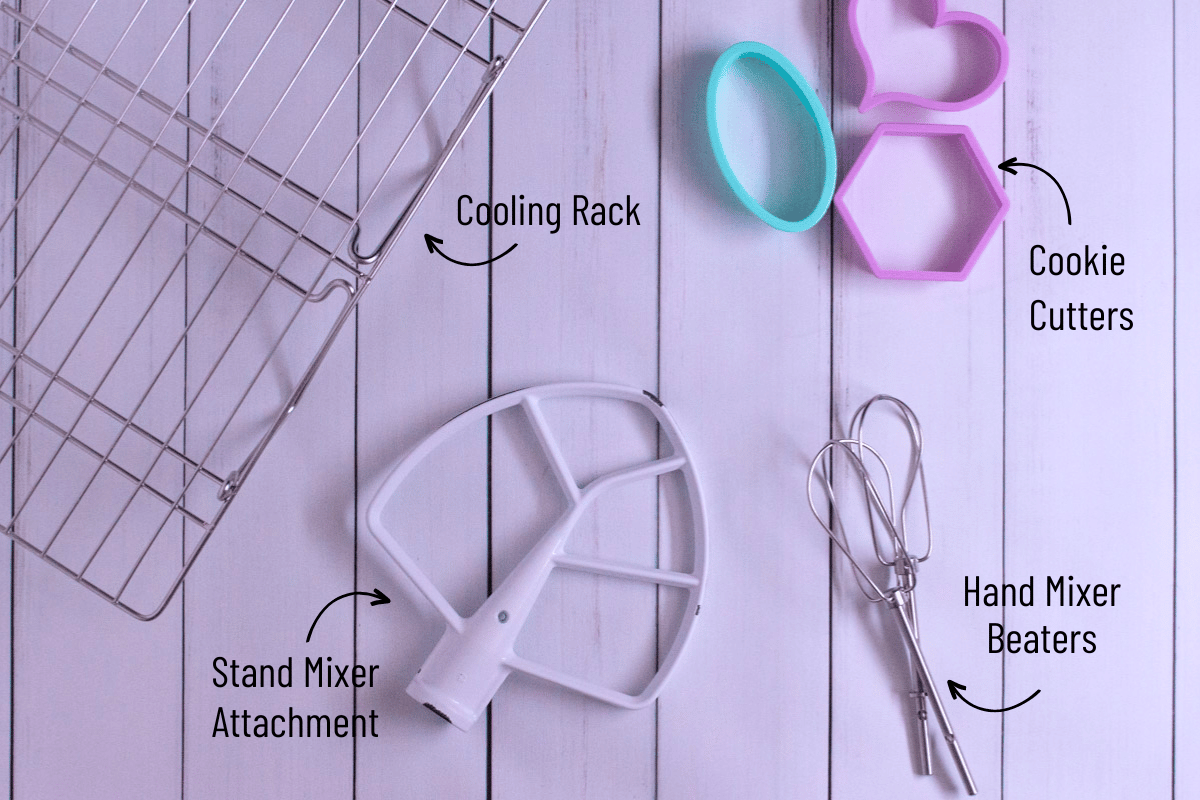
Most sugar cookie recipes will call for an electric mixer of some kind. My recipe can use a hand mixer or a stand mixer. However, stand mixers (such as this Kitchenaid Stand Mixer) will save you a lot of effort and you can do larger batches too.
Measuring Cups and Spoons
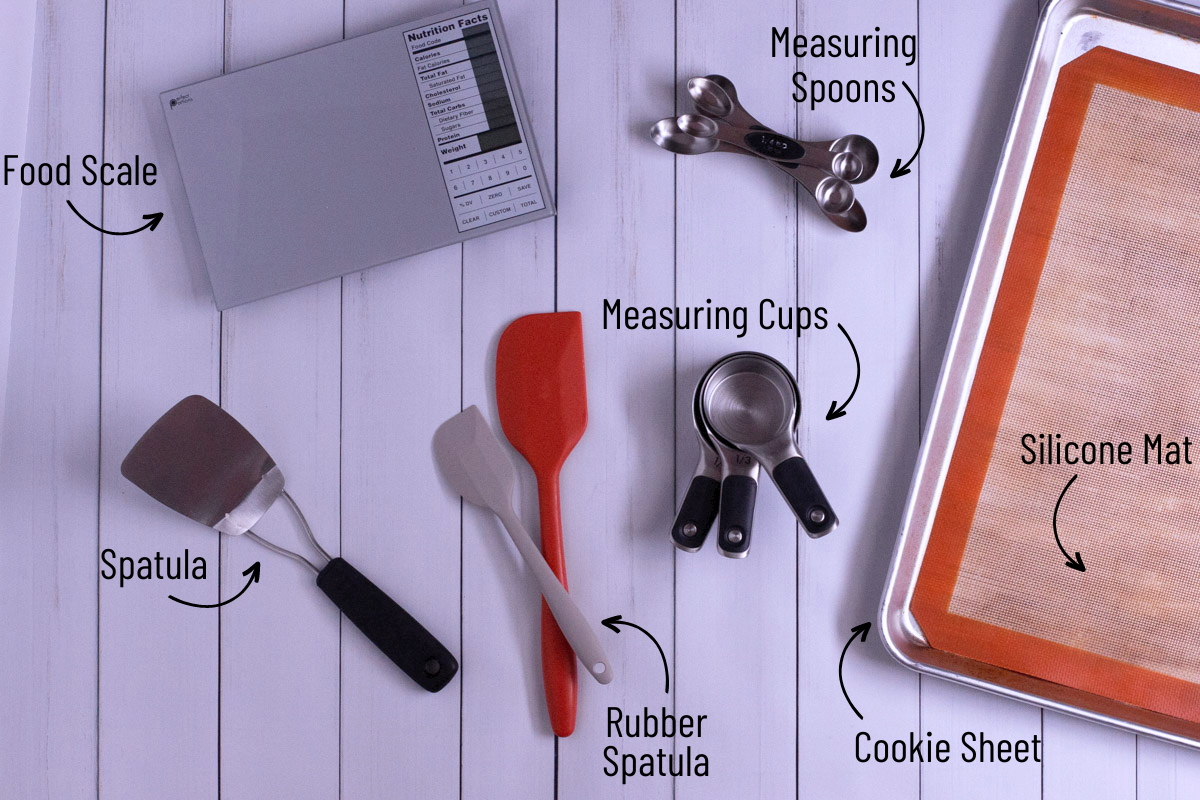
If you bake a lot, having a good set of measuring cups and spoons is a necessity. I love this set because they are magnetic and stack nicely (Same with these measuring spoons!).
Food Scale
Having a food scale will allow you to be more consistent with your recipes, especially when trying to replicate or double a recipe.
Rolling Pin
Any rolling pin will work well, but this Joseph Joseph rolling pin comes with discs that will allow your dough to be an even height across. I have also used dough sticks like these to measure height. With these, you can use any rolling pin and simply place the sticks on the outer edges of the dough you are rolling.
Cookie Cutters
There are so many places to get cookie cutters from. Typically craft stores will have a nice selection of the basic shapes along with seasonal selections. Amazon will of course have a wide variety too. However, my favorite place to get cookie cutters is Etsy! Not only do you get to buy from small businesses, but they have so many fun and creative shapes.
Silicone Spatula
Spatulas that are made out of silicone are one of the basic tools that are great for many baked goods. They are super helpful to scrape the side of the bowl and make sure all ingredients are fully incorporated.
Cookie Sheet
This is another basic baking tool that you need in your arsenal. Though they are called cookie sheets, you can use them for so many other items in the oven. I use these and they are reasonably priced and work very well.
Silicone Mat or Parchment Paper
Lining a baking sheet with a silicone mat or parchment paper is key when baking cookies. They will not only keep your cookies from sticking to the sheet, but they also help the heat to transfer more evenly, thus baking your cookie more evenly. These silicone mats work very well!
Check your local Dollar Tree for parchment paper - that is always where I purchase mine!
Spatula
A spatula will help transfer a cookie from the tray to a cooling rack while keeping the cookie shape intact and preventing them from breaking.
Cooling Rack
Once cookies are removed from the oven, allowing them to cool on a wire rack will allow them to cool quicker and evenly. Also, when a cookie sits on the tray immediately after removing it from the oven, because of the heat from the pan, the cookies will continue to bake. After the cookie sets for a few minutes to firm up, it's best to let it fully cool off of the hot tray (unless of course, a recipe states otherwise).
I love these stacking ones to save counter space!
Basic Supplies for Cookie Decorating
Royal Icing Recipe
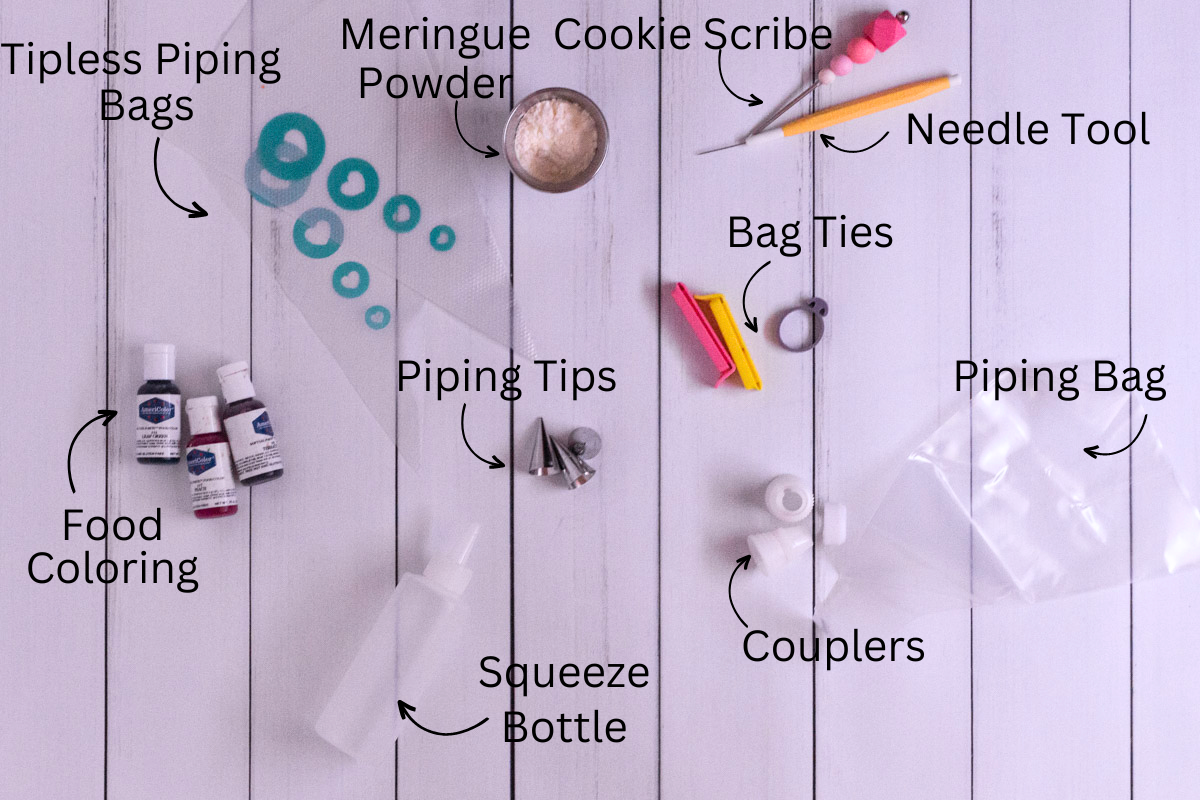
You can use your favorite royal icing recipe or you can try my 3 ingredient royal icing recipe. My recipe calls for meringue powder, so depending on the recipe you may need to get a can of that. I've had success with Wilton Meringue Powder, but there are so many brands that have good results too.
Food Coloring
Gel food coloring is best to use to dye royal icing. Make sure to use water-based (not oil-based) food dye. My favorite brand is Americolor, they have so many options and have great vivid colors. However, you should be able to find Wilton brand food coloring or something similar at one of your local craft stores.
Piping Bags
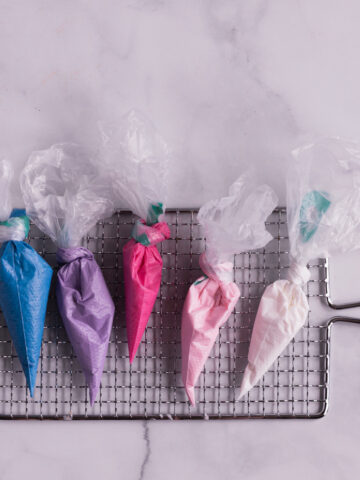
Once you have made your royal icing, you will need to transfer each color into separate piping bags. Piping bags are plastic, cone-shaped bags that are used to add fine details to your cookies. If you use tipless bags, you simply cut off a small piece of the tip of the bag. However, you can also use tip couplers.
Couplers and Tips
Couplers are plastic pieces placed inside the piping bag that allows you to change out the piping tip depending on your design. Tips are small metal cones that have different sizes and shapes in the opening to create different designs with your icing. For royal icing, you will primarily want size 1 or smaller. Wilton 12-inch piping bags are great for using with couplers and tips.
Bag Ties
Oftentimes, I will simply tie off the piping bag in a knot to hold in the icing. However, sometimes there isn't enough space left in the piping bag after adding icing, and when that happens I use these handy chip clips. You can also use bag ties or rubber bands - whatever keeps in the icing will work!
Squeeze Bottles
To add the flood icing (flooding is the thin icing you use for the base of the cookie), you can either use tipless piping bags or squeeze bottles. I personally prefer piping bags because the cleanup is SO much easier (essentially just toss the bag in the trash when it's gone). However, some cookie decorators prefer to put the thin royal icing in squeeze bottles for flood icing.
Cookie Scribe
A scribe tool is a tool with a sharp point used to pull and spread icing around the cookie. You can definitely use a toothpick as well, but a scribe has a nice handle that is more comfortable to work with (especially if you are decorating a lot of cookies).
Needle Tool
A needle tool is almost the same as a cookie scribe but has a much sharper point. It is often used for removing air bubbles from royal icing or when working on small details.
Advanced Cookie Decorating Tools

Luster Dust
Luster dusts are powdered colors used to add accents to cookies. I often use pink luster dust to add blushed cheeks when making animal or people cookies. There are also metallic colors as well (TMP has the best colors)! Mix with a touch of vodka or water and these turn into a paint.
Food Brushes
Purchasing these food-safe brushes are ideal for adding luster dust to cookies. You can also use them for adding watercolor techniques to cookies too.
Edible Glitter or Sprinkles
These are kind of self-explanatory, but both edible glitter and sprinkles are great for adding fun decorations to your cookies! Sanding sugar is a great option for adding texture accents to cookies.
Edible Markers
These are markers that are food safe and are perfect for writing on dried royal icing. I love these rainbow dust food pens as they are two-sided, thin-tipped and brushed tip. I often use an edible pen for adding text to cookies and also adding eyes, noses, mouths, etc. when doing faces on animals/people.
Cookie Swivel
A cookie swivel is essentially a small turntable made for cookie decorating. It allows you to easily turn the cookie as needed when decorating, and minimize the risk of messing up the icing by turning the cookie by hand.
Projector
Propping up a projector above, and shining the design onto the cookie, is a great way to get consistent and sharp designs across cookies. This pico projector is the one I use and would highly recommend. It's a bit of an investment, but if you decorate royal icing cookies regularly, it may be worth it for you. This stand is a good budget option or you can get an Arkon mount which is great for this projector and also for making videos and reels for social media.
Airbrush and Stencils
To be very honest, this is not a tool that I have used. However, many professional cookie decorators use the air brush technique regularly to add shading details and dimension to their cookies. With a stencil, you can create great shapes and backgrounds for your royal icing cookies.
Storage
Cellophane Bags
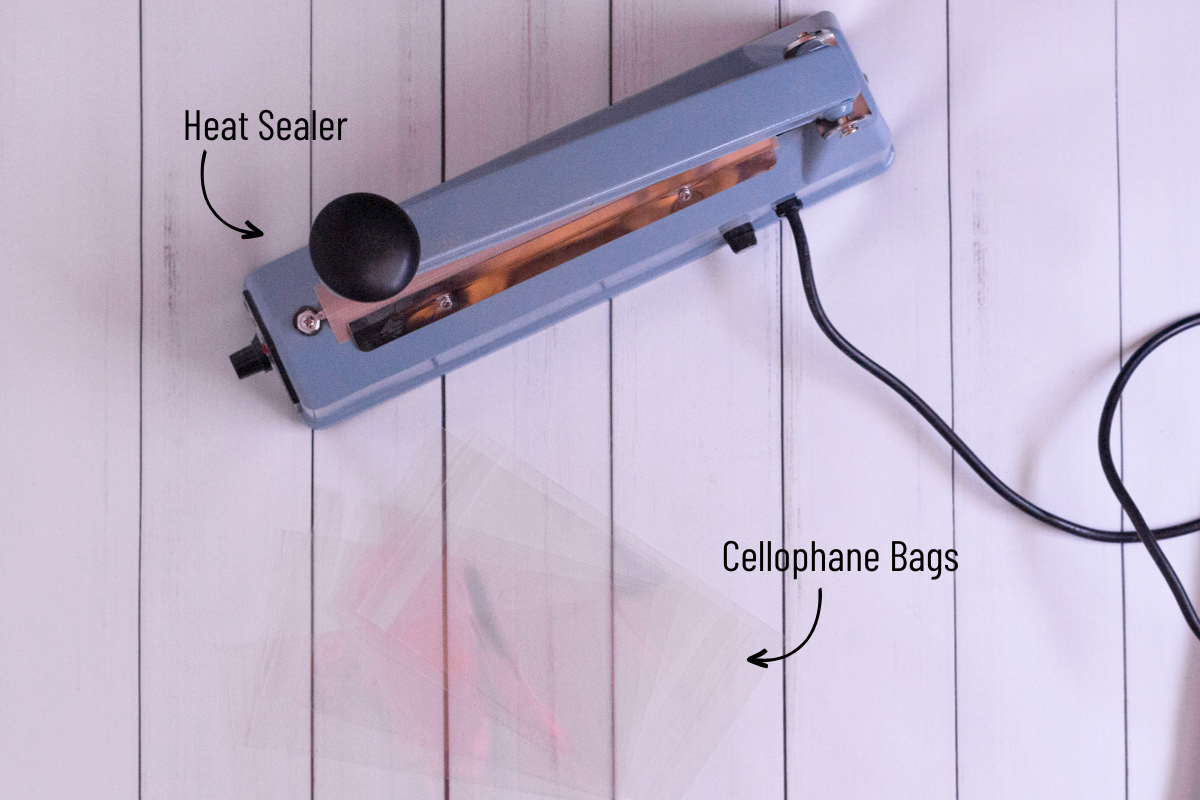
4"x6" bags fit most cookie shapes unless you have very large cookies. You can buy them with a sticky back to seal your cookies or tie them off with a ribbon for decoration.
Heat Sealer
If you are selling royal icing cookies (or other baked goods for that matter) a heat sealer is clutch. They are not too expensive and will seal your baked goods in cellophane bags and keep everything fresh. Learn more about sealing and transporting cookies here.
Airtight Containers
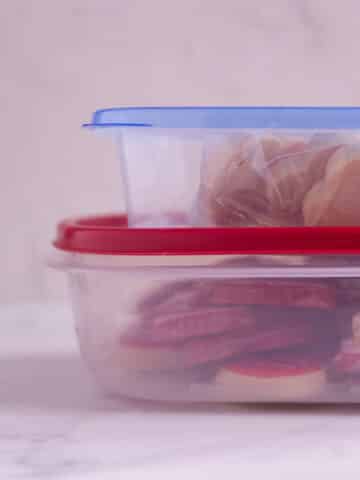
Freezing royal icing decorated cookies will keep them fresh for several months. These Rubbermaid containers are my favorite as they are large and flat, allowing you to spread out cookies. I don't like to stack more than 2 (maybe 3) layers of cookies to protect the decorations.
Top tip
While this list is comprehensive and lists so many decorating supplies, keep in mind you do not need everything. At the end of the day you need a cookie, some royal icing, and a piping bag to start creating beautiful cookies. Happy Decorating!
Next Steps
I hope this list helps you to plan out exactly which cookie decorating supplies are best for you. Get started with royal icing decorating by reading my Ultimate Guide to Royal Icing for Beginners. Get baking with my Classic Sugar Cookie Cut-Out Recipe and Royal Icing Recipe!
Royal Icing
More tips and tricks for royal icing cookie decorating:
Related
More cookie recipes created for royal icing decorating:
